Repair
30 3A8099A
Repair
Check all possible remedies in the troubleshooting
charts before disassembling the gun. See
Troubleshooting, page 25.
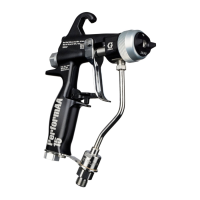
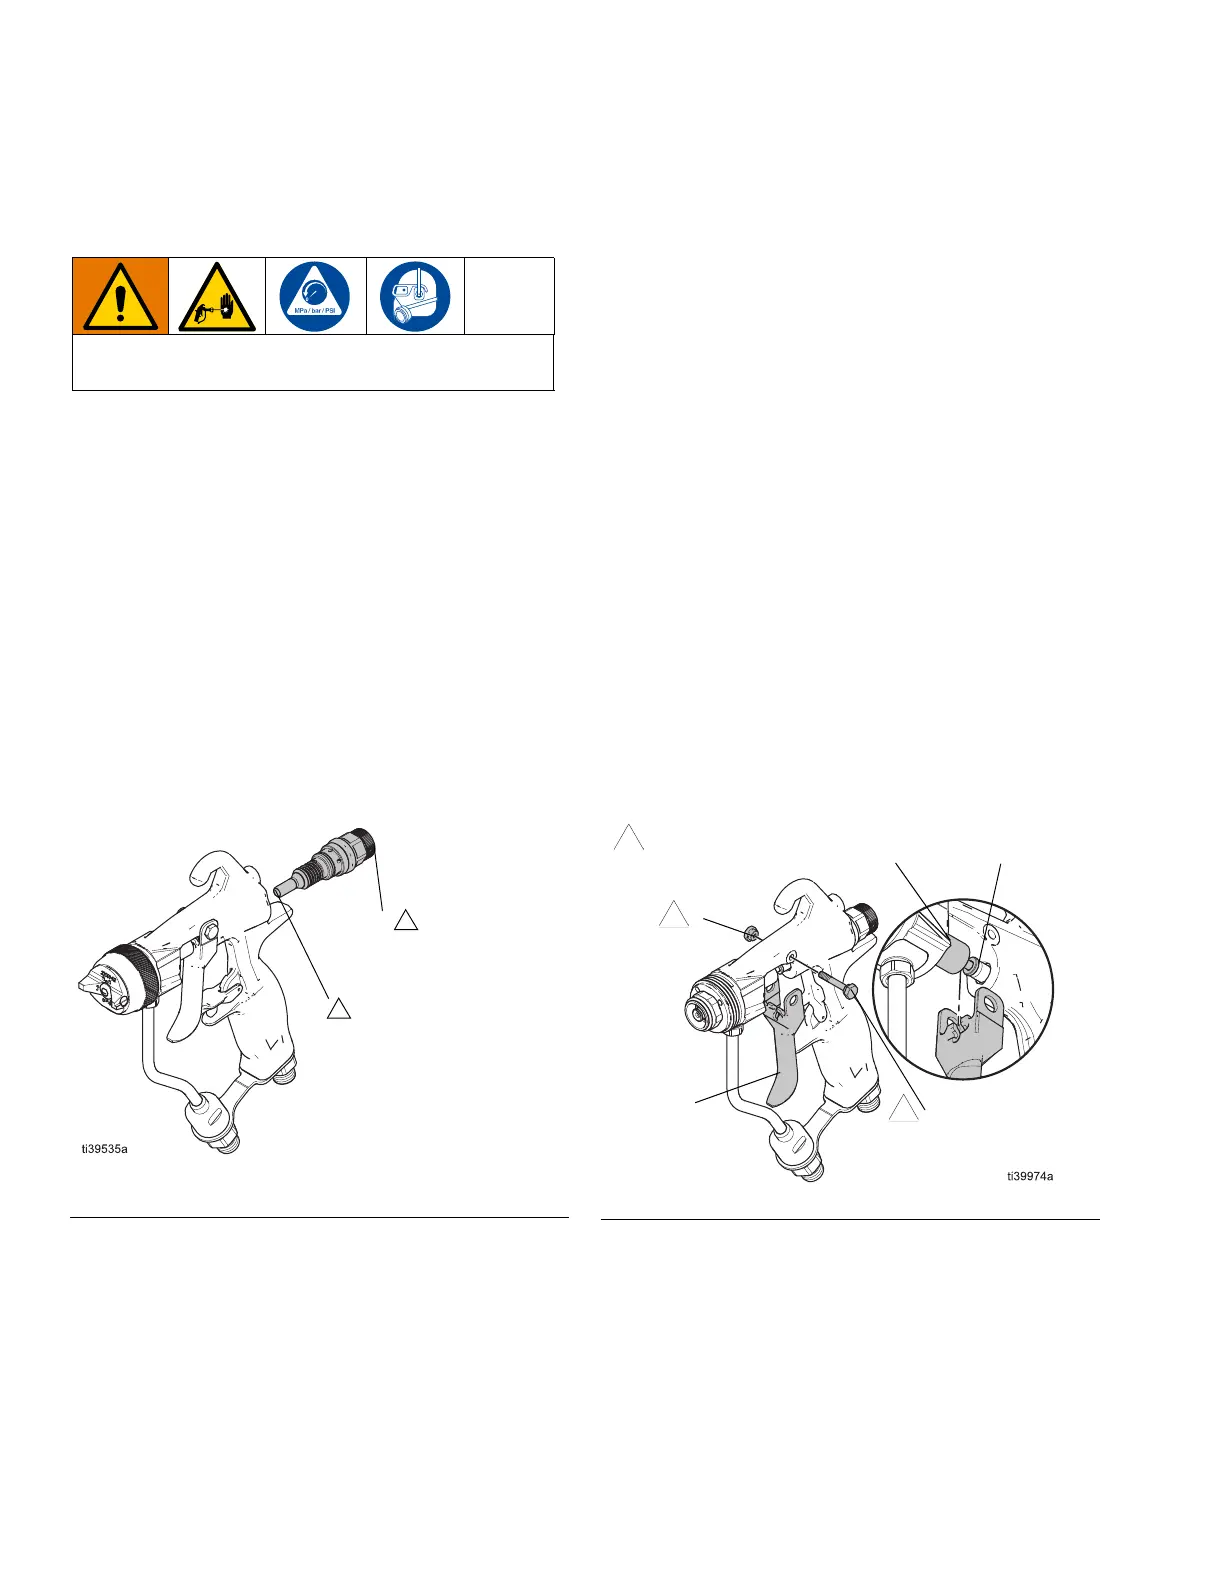
Air Cartridge Replacement
Procedure
Use an air cartridge replacement kit to replace the air
cartridge assembly (21) and the u-cup (2). See Fluid
Cartridge Repair Kits, page 55.
1. Follow the Pressure Relief Procedure, page 15.
2. Loosen the air cartridge assembly (21) from back of
gun body with the gun tool (29).
3. Slide assembly (21) out of the gun.
4. Follow the U-Cup Replacement Procedure,
page 31 if needed.
5. Lubricate the air cartridge tip and thread the air
cartridge assembly (21) into the back of the gun.
Torque to 175-185 in-lb (20-21 N•m). See F
IG. 42.
Trigger Procedure
Follow this procedure to remove and install the trigger
assembly or to replace the trigger assembly with kit
26B721.
Remove the Trigger
1. Follow the Pressure Relief Procedure, page 15.
2. Use the nut driver (25) to loosen the trigger nut (11).
3. Remove the trigger pin (10) from the gun to release
the trigger (9).
Install the Trigger
1. Position the trigger (9) between the needle washer
and the needle housing (6b).
2. Insert the trigger pin (11).
3. Thread the trigger nut (10). Torque the trigger pin
(11) and trigger nut (10) to 20-30 in-lb (2-3 N•m).
To avoid injury, follow Pressure Relief Procedure,
page 15, before checking or repairing the gun.
FIG. 42: Air cartridge installation
Lubricate lightly.
3
21
Torque to 175-185
in-lb (20-21 N•m)
FIG. 43: Trigger placement
9
washer
6b
Torque to 20-30 in-lb
(2-3 N•m)