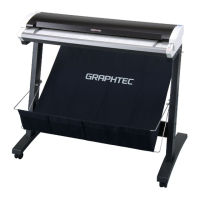
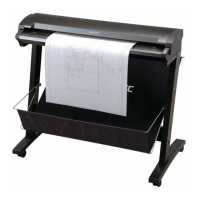
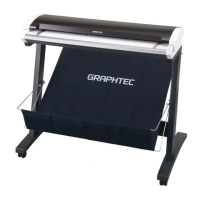
4-11
(5) Calibration ends after approximately 10 minutes. (The calibration time depends on the model.)
Click the [OK] button to complete calibration.
(6) To check the calibration results, click the [Confirm] button in the Calibration screen (shown in step
(2) above).
(7) The following prompt is displayed. Insert the calibration sheet into the scanner once again as
instructed.
(8) Click the [OK] button to start scanning.
The scanned data is displayed when scanning is complete. Colors may differ slightly for individual
sensors to make it easier to identify problem areas in calibration. This does not indicate a defect.
Check that there are no vertical streaks, such as white patches, in the scanned data. (Streaks
occur when calibration is not performed correctly due to contamination by dust or dirt.)
(9) If the data is normal, calibration is complete. Click the [Close] button and exit the Scanner
Adjustment Program.
(10) If any abnormal data is observed, specify the problem areas as follows:
Select Calibration from the Scanner menu, and then select Specified Part in the Calibration screen.
(11) The mouse arrow cursor changes to a cross cursor when moved over the data.
Click the left mouse button with the mouse positioned over the streak data. The selected area is
shown in blue. Repeat this procedure for any additional streaks.
Areas that have been selected (shown in blue) can be deselected by clicking the left mouse button
again.
To deselect all selected areas, click the [Clear] button.
(12) Once all the required areas have been specified, remove the calibration sheet and clean the
transparent contact plate and document-scanning table surfaces. Check the calibration sheet for
dust and dirt.
(13) Click the [Execute] button and then follow the instructions displayed on the screen.The procedure
will be the same as that described in Steps (3) to (5) above. (The time required for calibration will
vary according to the number of repeats specified.)
(14) Perform Steps (8) to (10) once more, and verify the calibration results.
Caution
If you perform the calibration procedure several times with no discernible results, there
may be a problem with the scanner itself. In this case, please contact the store where
you purchased your scanner or your nearest Graphtec representative.