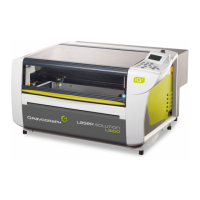
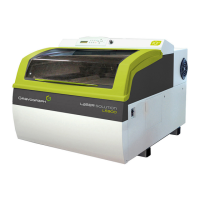
NOTICETECHNIQUEGAMMEM40
M40RANGETECHNICALMANUAL
Date:June2009From
AftersalesTechnicalSupport
Ref.M40GB/FF‐Vers.1.0
Page - 87
OPERATION:M40‐A02
MACHINE ADJUTMENTS – REGLAGES MACHINES.
Power up the machine and wait 2 short beeps then press an arrow key to send back the
spindle to the left corner origin.
Mettre la machine sous tension, attendez les 2 bips courts puis pressez une touche
flèche pour renvoyer la broche à l’origine coin gauche.
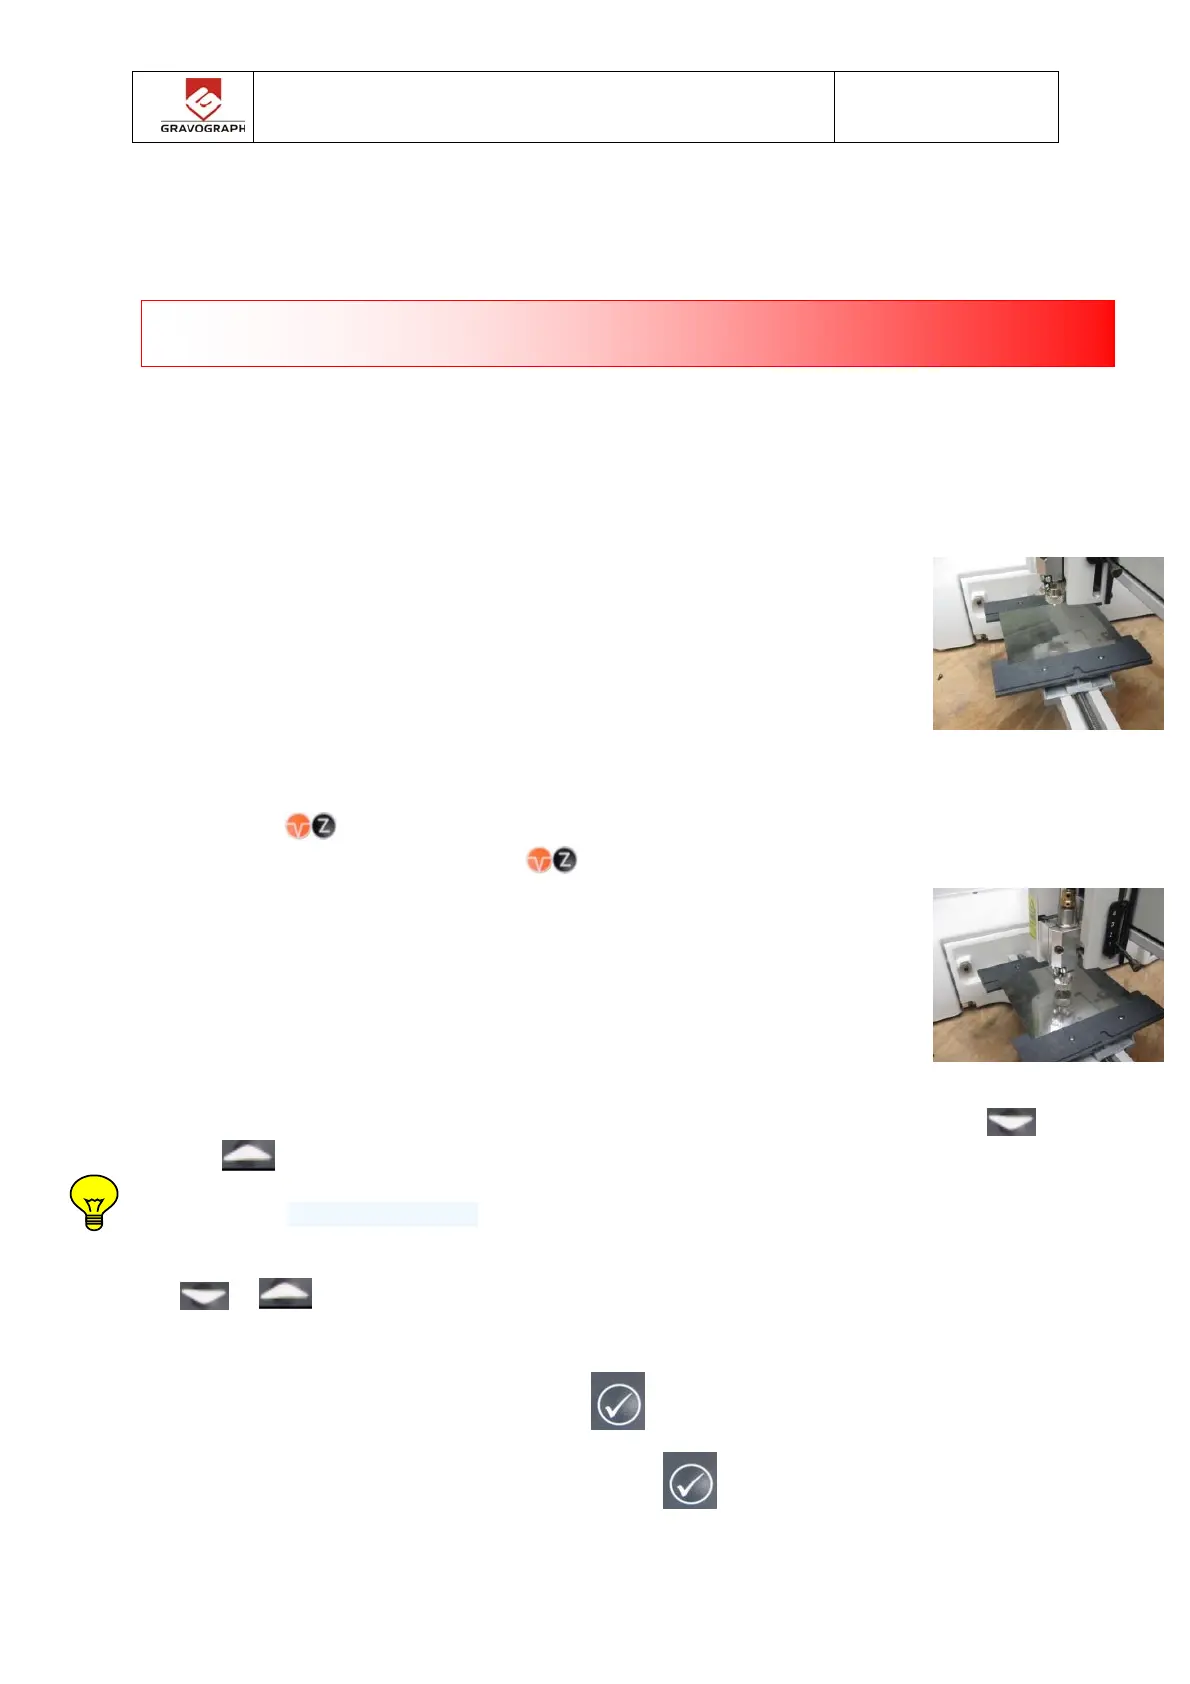
Use the spindle with a depth regulating nose, without cutter and
without spindle pressure (position (1)) and place a rigid plate onto the
vice. (rigid plate to avoid that it bends).
Utilisez la broche avec nez, sans fraise et sans pression (position (1))
et placez une plaque rigide dans l'étau.(rigide pour éviter qu’elle ne se
plie)
Press the keys simultaneously.
Pressez simultanément les touches .
The spindle moves automatically towards the centre of the vice. The
spindle lowers until the depth regulating nose touches the plate.
Le porte outil se déplace automatiquement vers le centre de l'étau. La
broche descend jusqu'à ce que le nez régulateur de profondeur touche la
plaque.
The nose must to be in contact with the plate without pressure, If not use the keys
and
, to put the nose in contact with the plate. You can use a paper between the
nose and plate in order to know the Z auto position, then move down the Z and slide the
paper until it is slightly wedged.
Le nez doit être entre en contact de la plaque sans pression, sinon utilisez les touches
et pour mettre en contact le nez et la plaque. Si besoin, positionner un papier
entre le nez et la plaque afin de connaître la position du Z auto puis bouger le morceau
de papier en ajustant la position Z jusqu'à coincer légèrement le papier.
Save the position of the Z by pressing the key until it shortly beeps. ("Bip").
Operation is finished.
Mémorisez la position du Z en pressant la touche jusqu'à l'émission d'un signal
sonore court ("bip"). Opération terminée .
Z AUTO ADJUSTMENTS
RE
LA
E Z A
T
 Loading...