Water Monitoring System
Ver.5.0.1 – Revision August 2022 Page 43 of 111
4. Slowly inject the content into the PAH calibration chamber, taking care that no air is
mixed into the validation liquid. Look into the chamber to check and remove air
bubbles.
5. Insert the PAH chamber bushing into the PAH calibration chamber refer to Figure 6-4.
6. Place the cleaned PAH sensor in the calibration chamber in an upright position. Wait for
the display of PAH value to approach the value of the used ampoule. If the displayed
value is within the tolerance in Table 6-2, the validation is successful, and a calibration
is not required. If the validation is not successful, please refer to Figure 6-2.
7. Remove and clean the PAH chamber bushing.
8. Empty out the validation liquid from the calibration chamber and wipe it dry with a new
cleaning pad. Clean the PAH sensor.
9. For Dual Range: Repeat steps 3 to 9 until all “validation” liquids according Table 6-3
have been in use.
10. Place the PAH chamber bushing in the PAH measuring chamber again. Please refer to
Figure 6-4.
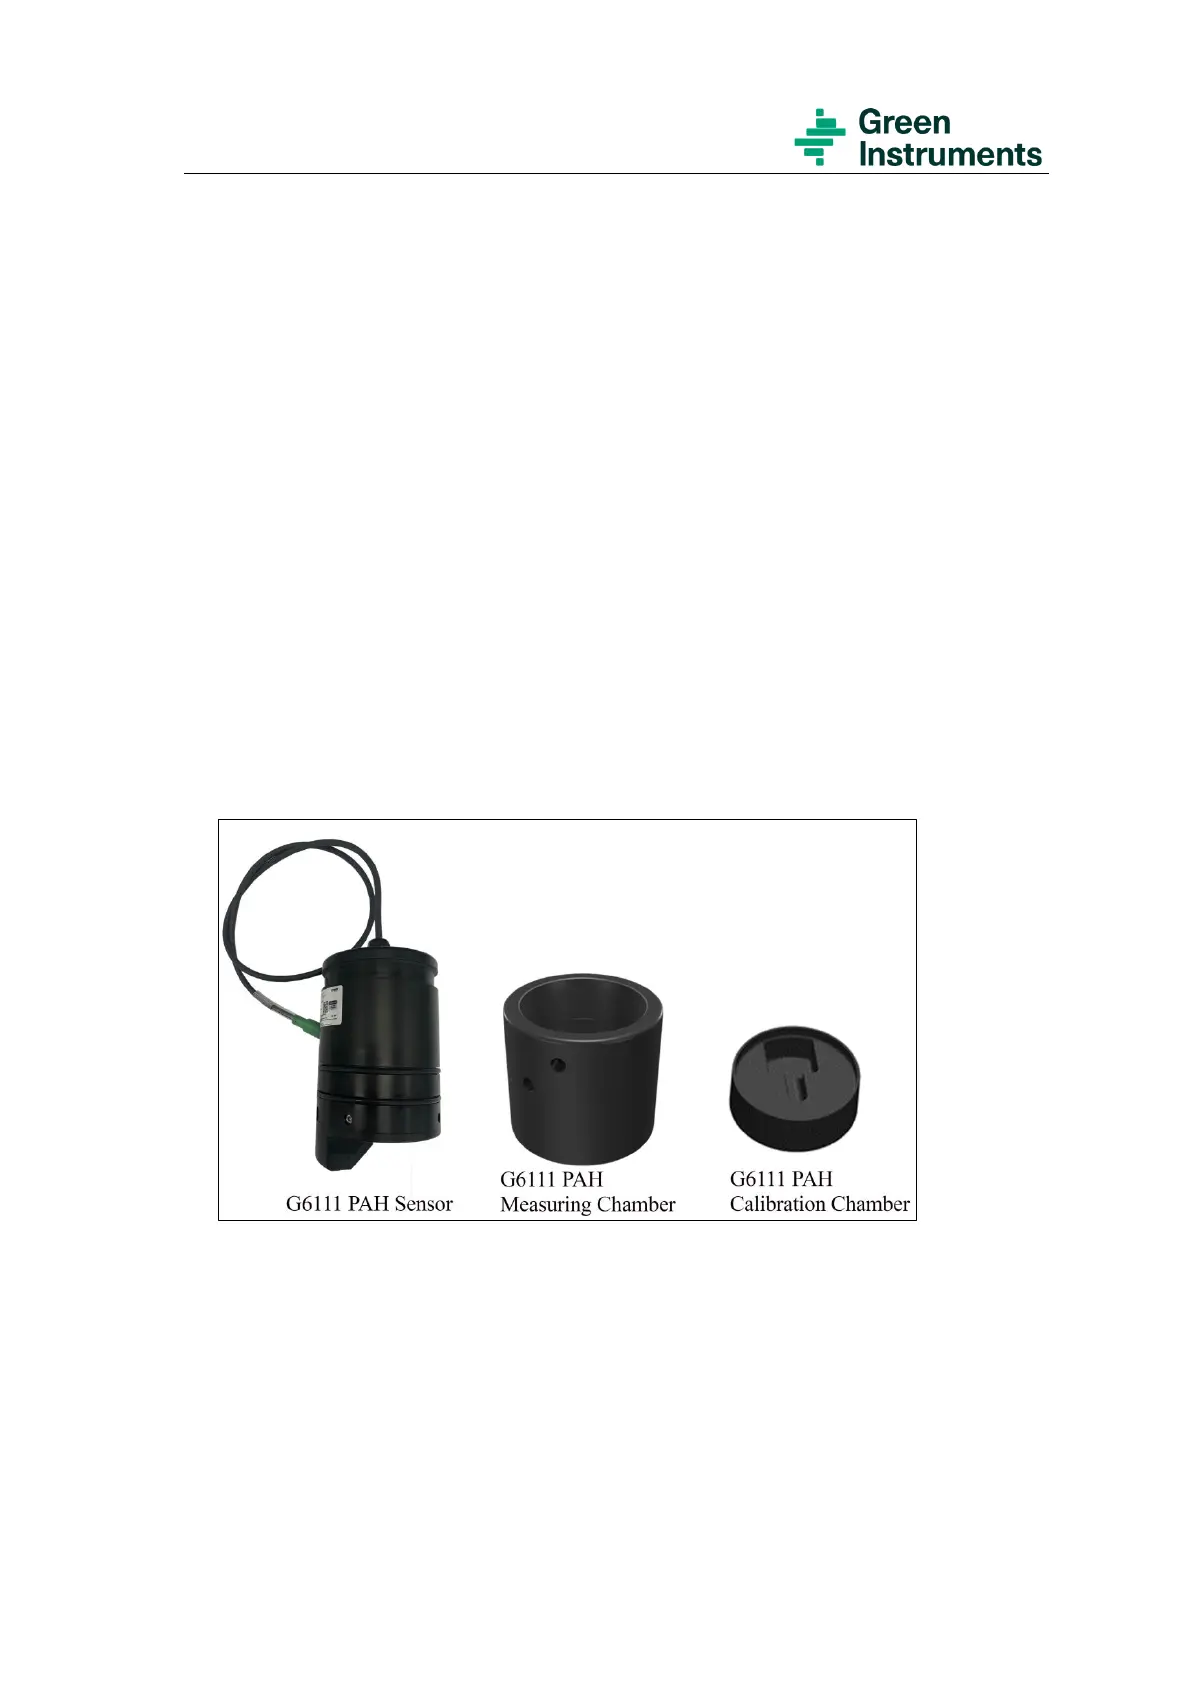
6.3.5 Validation of G6111 PAH Module
Figure 6-5: G6111 PAH Sensor, PAH measuring Chamber & PAH calibration Chamber
1. Press the PAH area on the home screen. Press Calibration Mode – Login – press
Calibration Mode again and wait until the status changes to “Calibration Mode
Enabled”.
Based on the sensor range, please select the validation liquid according to Table 6-1.
2. Take the syringe and attach the needle. Break the neck of the ampoule – fill the syringe
with the entire content.
 Loading...