Commissioning
Page 32 of 111
• The flow paths to and from the system are not blocked.
• The power supply connections are as specified in the Electrical Drawings.
• Protective earth is connected.
• Cut off the small rubber tip on top of the manometer. However, do not remove the
black rubber part.
• The communication connections are as specified in the Electrical Drawings.
• All internal valves are set to Open/Run position.
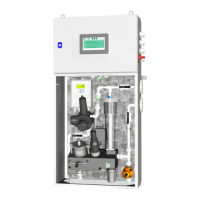
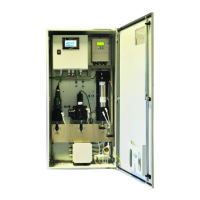
• Power up the system by switching on the automatic fuse. Observe the start-up of
the water monitoring unit and the sensor modules.
• Set the IP-address following section 4.2.5.
• Verify that all functions described in the communication protocol found in the
installation manual are working.
• Set the clock and date on the HMI display by pressing a random area of the screen
for 5 seconds. A popup menu will appear. Choose Show System Settings and go to
Time. Set the time and date and return to the Home Page.
• Open the flow regulator valve inside the WMRTU cabinet to the middle position
(i.e. turn the valve to the outer position, then turn the valve 4 turns in the opposite
direction).
• Start sampling by pressing the RUN button in at the bottom right corner of the
home page on the WMRTU system.
• The WMRTU pressure setting is delivered pre-adjusted. If flow alarm occurs
during initial start-up, it indicates that the installation requires more pressure to
trigger the flow sensor. This can be done by increasing the pressure on the pressure
reducing valve. Please look at the manometer to ensure that the maximum
allowable pressure is not exceeded. Observe that a flow is established, and no flow
alarm occurs.
5.4 WMP
ATTENTION
• The suction line must not be blocked when the pump is running. The pump will be
damaged if the suction line is blocked.
• Do not run pump dry. Avoid air in the sampling to prevent the risk of air lock
leading to flow alarm and damage of the pump.
• Pay attention to the temperature of the pump. Time to cool down can be needed
prior to attempting restart.
 Loading...