Validation & Calibration
Page 44 of 111
3. Slowly inject the content into the PAH calibration chamber, taking care that no air is
mixed into the validation liquid. Look into the chamber to check and remove air
bubbles.
4. Place the cleaned PAH sensor in the calibration chamber in an upright position. Wait for
the display of PAH value to approach the value of the used ampoule. If the displayed
value is within the tolerance in Table 6-2, the validation is successful, and a calibration
is not required. If the validation is not successful, refer to Figure 6-2.
5. Empty out the validation liquid from the calibration chamber and wipe it dry with a new
cleaning pad. Clean the PAH sensor.
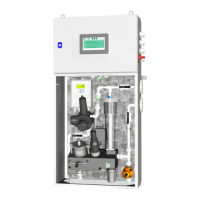
6.4 Calibration of the PAH Module
ATTENTION
Do not leave the sensor in the PAH calibration liquid more than 15 seconds since UV light
degrades the PAH calibration liquid.
G6110: Normally all local calibrations are done using the PAH calibration chamber
with the cleaned bushing installed. However, the PAH measuring chamber can be
used if the PAH calibration chamber is missing.
 Loading...