46
Preparation
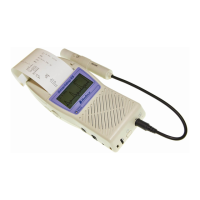
(1) Connect the PV probe to the main unit, and turn
it on.
Note: With the PGV-20 probe, set the PPG/PV mode
switch to the PV mode beforehand.
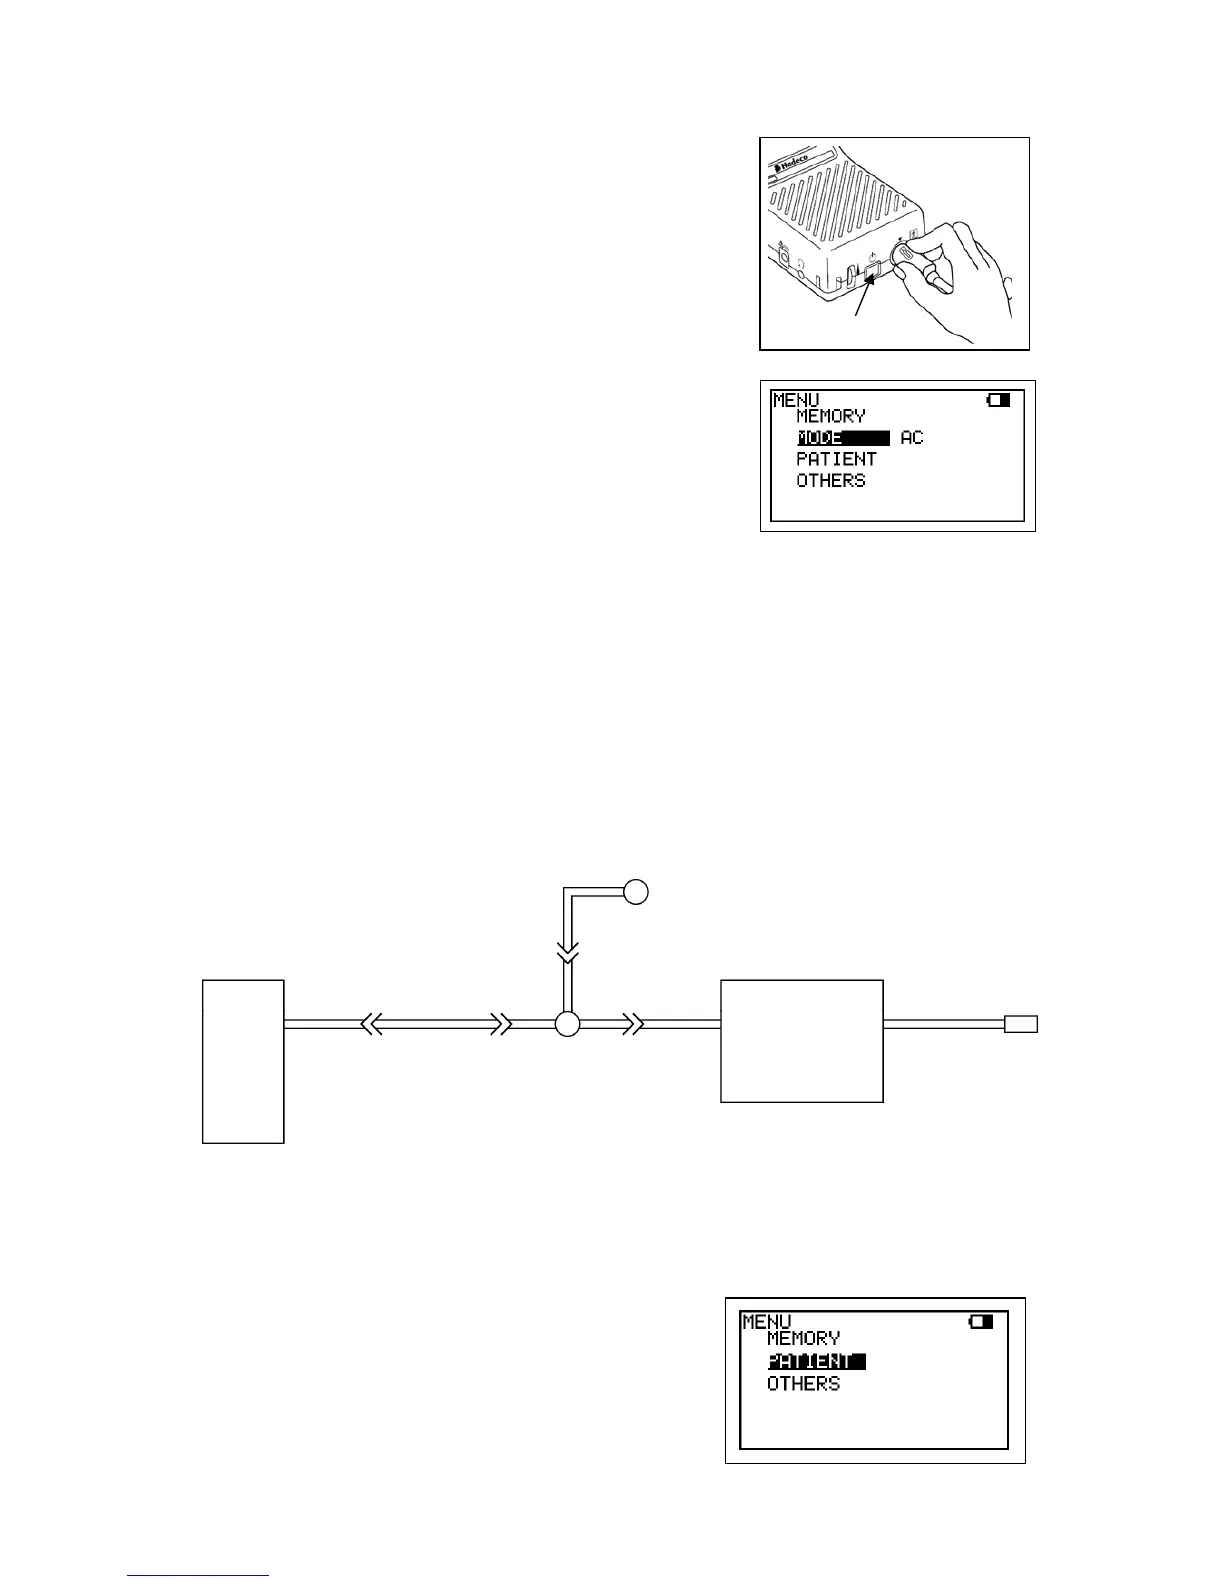
(2) Press Enter button to display MENU and make
sure MODE is on AC mode. If it's been set for
DC mode, press Enter on MODE to change to
AC. Press Left to get out of the MENU mode.
Examination Procedure
(1) Place the patient in supine position with the leg and hip rotated outward. Use pillows
to support the leg and hip comfortably.
(2) Wrap cuffs of appropriate width around the thigh at the groin, above the knee, below
the knee, and at the ankle on both limbs. Avoid wrapping cuffs tightly. The fit should
be snug but comfortable.
(3) Connect a 3-way stopcock to the inlet of the PV interface box. Interconnect the
stopcock, tubing, cuff, and sphygmomanometer as shown in the diagram below.
(4) Turn the stopcock so that air is routed from the
sphygmomanometer to the cuff.
(5) If you wish to input patient data, see “ 3-2-3-j.
PATIENT”.
Sphyg
Cuff
Extender tubing
3-way stopcock
To Main unit
PV interface box
Power button