Microlab
®
STAR User Manual
610766/02 Page 59 of 225
6HTXHQFHV
A sequence is a defined series of pipetting events involving the transfer of liquid from one
container to another. A sequence defines the order of containers in a rack. For example, it
links the single wells of a microtiter plate together so as to treat them as one plate. When the
probe is pipetting, it will follow this order (channel No 1->Sequence Position No 1, channel
No 2 ->Sequence Position No 2, etc.) unless instructed to do otherwise.
A sequence such as the one shown below has three pointers (or important positions) which
may change during a run:
- The current position (which is the first unused well in the current situation),
- the end position (the last position to be used for pipetting), and
- the total number of elements (the overall length of the sequence).
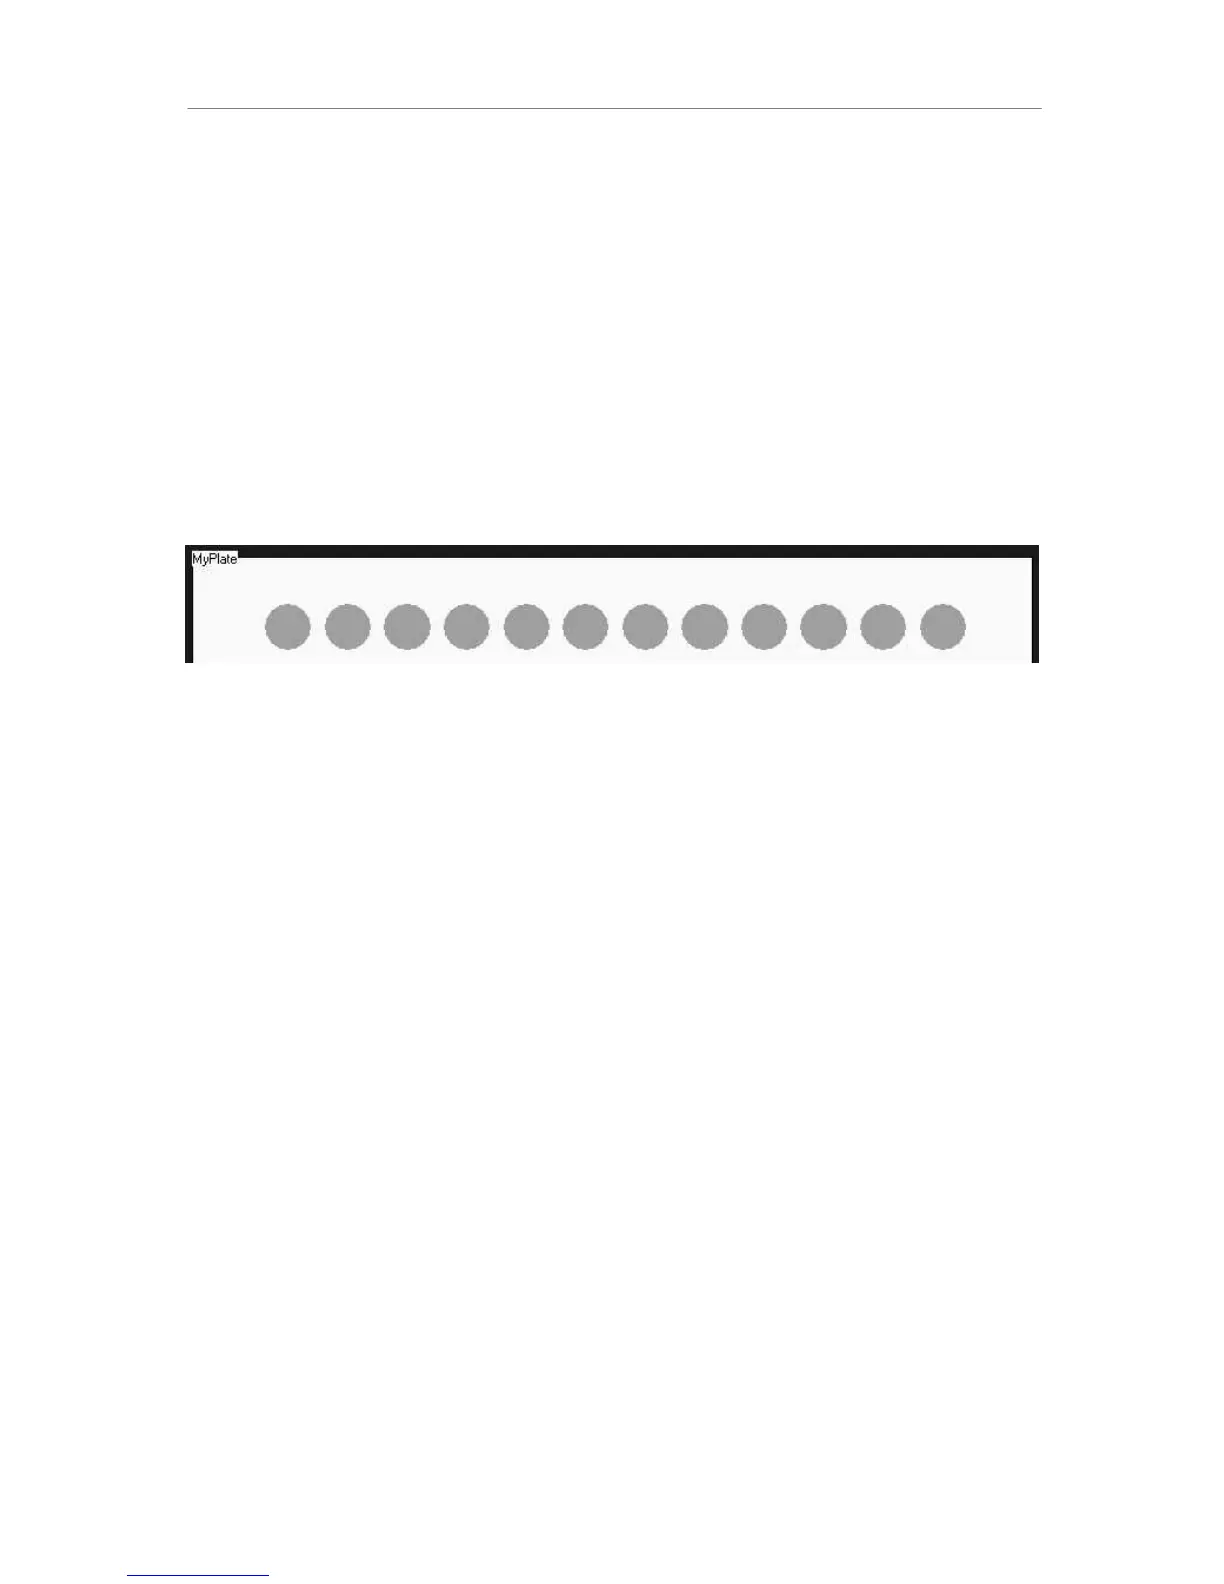
Consider this example:
1 2 3 4 5 6 7 8 9 10 11 12
↑ ↑ ↑
&XUUHQW3RV (QG3RV 7RWDO(OHPHQWV
Within the method, all three positions may be altered or requested by the appropriate
functions.
A standard sequence is created automatically when the rack is placed on the deck. Custom
sequences can be defined graphically by selecting the appropriate wells in the Sequence
Editor, or “on the fly“ within the programming of the method.
In methods defining the pipetting steps to be performed, only the sequences and not the
actual labware items are referred to. Pipetting always occurs according to a sequence.
6HTXHQFH(GLWLQJ
To edit or change sequences, start the sequence editor by selecting Tools->Sequence Editor
in the Deck Layout Editor. The Sequence Editor is illustrated on the next page. When the
sequence editor is started from the Deck Layout Editor, a new untitled sequence is created
automatically. Add labware positions to this sequence by selecting (clicking on) positions
(wells) in the deck layout view. The standard left-click, shift-left-click, control-left-click, and
rubber-banding rectangle are available for selecting positions in the deck layout view.
As positions are added to the sequence, they are displayed in the grid in the left pane of the
window. The grid contains one row for each labware position in the sequence. The order of
the rows in the grid can be changed by standard cut, copy, paste, drag, drop, and delete
operations, thereby changing the order of the positions in the sequence. The grid has a fixed
width. X, Y, and Z columns may not be initially visible. Moving the vertical splitter or the
horizontal scroll bar will allow these columns to be seen. Sequence information cannot be
typed directly into the grid.