66 ODROID-XU4 USER MANUAL
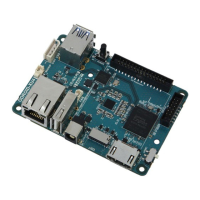
tion and Click on the check icon in order to apply/save all changes, as
shown below.
Save partition information
Reboot the system, then use the following command to validate
the creation of the new partition:
$ df -h
Filesystem Size Used Avail Use% Mounted on
udev 746M 0 746M 0% /dev
tmpfs 200M 6.9M 193M 4% /run
/dev/mmcblk0p2 15G 3.8G 10G 28% /
tmpfs 998M 160K 998M 1% /dev/shm
tmpfs 5.0M 4.0K 5.0M 1% /run/lock
tmpfs 998M 0 998M 0% /sys/fs/cgroup
/dev/mmcblk0p1 128M 7.1M 121M 6% /media/boot
cgmfs 100K 0 100K 0% /run/cgmanager/fs
tmpfs 200M 8.0K 200M 1% /run/user/118
tmpfs 200M 28K 200M 1% /run/user/1000
/dev/sda1 917G 72M 871G 1% /media/odroid/xu4-hdd-01
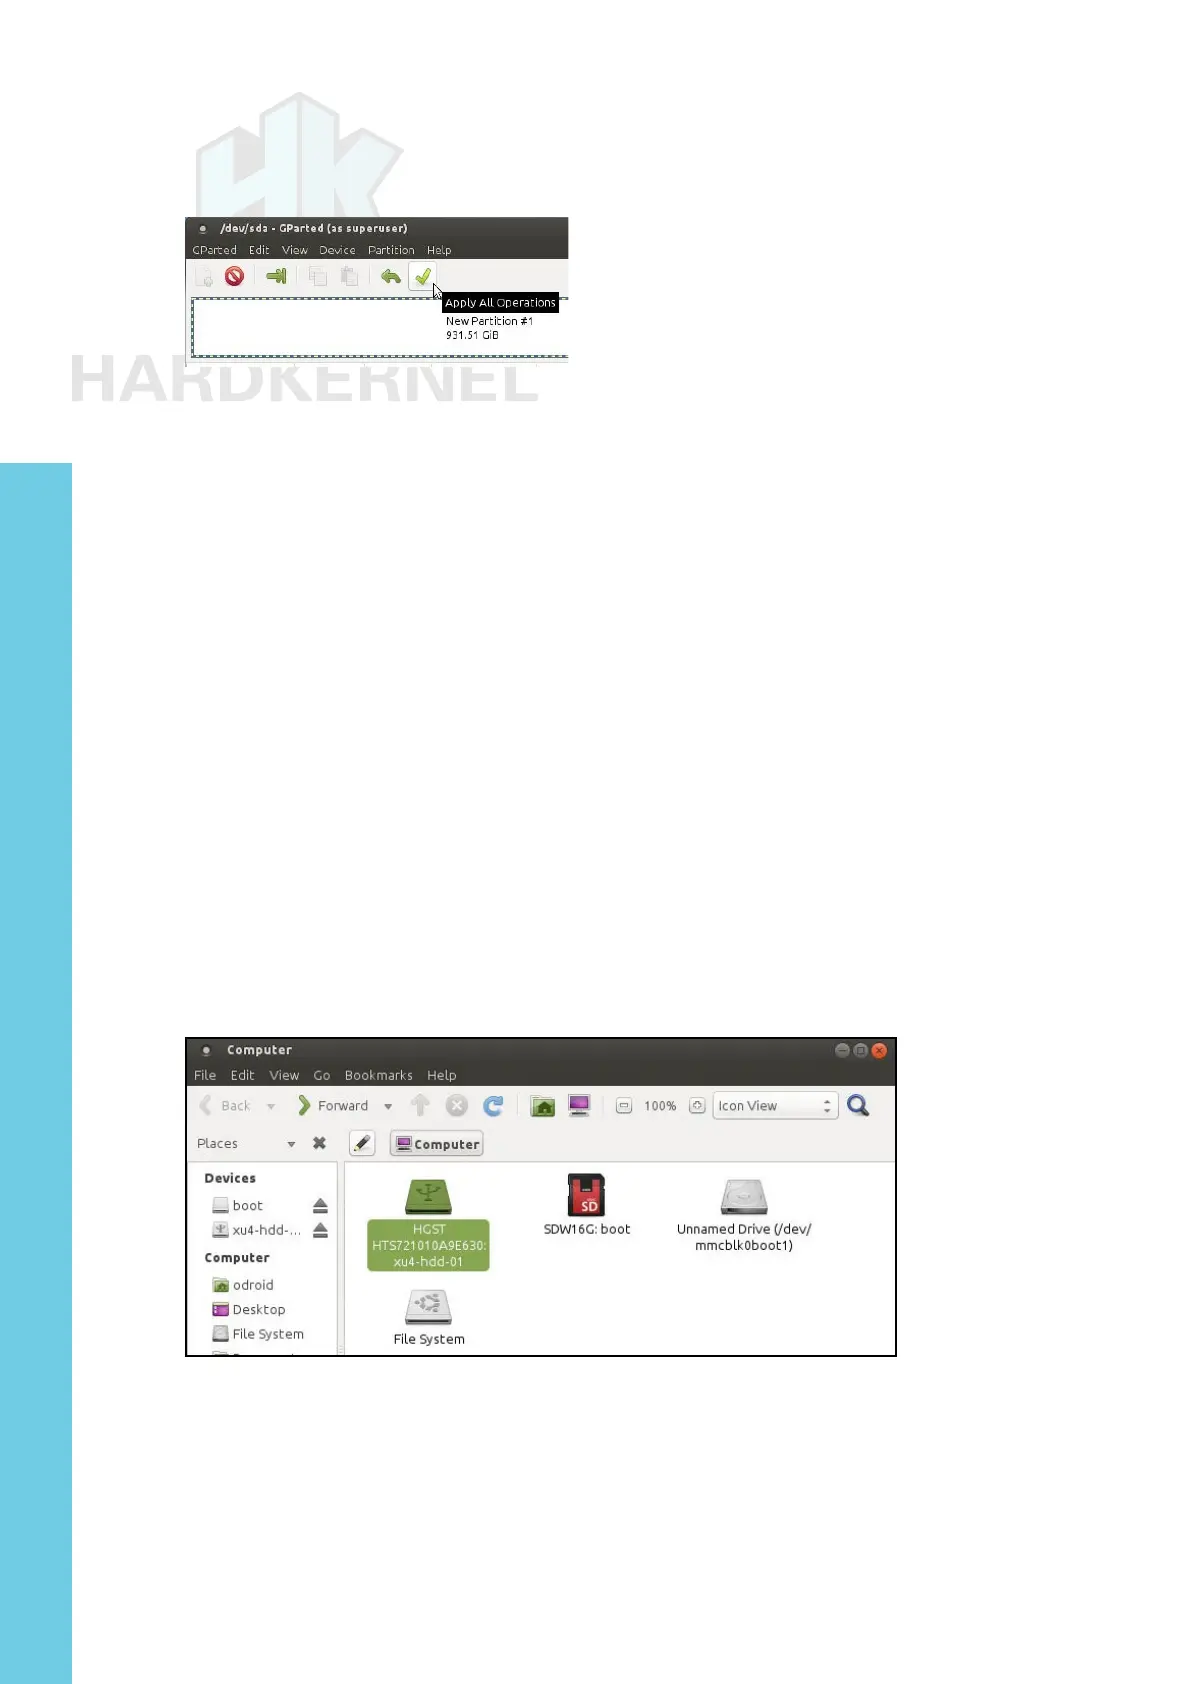
You can also verify using the Console application by selecting
the Places → Computer menu from the desktop. You can see that the
HDD has been installed and mounted, ready for use, as shown below.
New hard drive mounted and ready for use
USB3 / SATA2 HDD/SSD RAID 0/1 Enclosure
As of February 2017, Hardkernel does not yet provide a kit that
ofcially supports RAID 0/1 support for HDDs/SSDs. However, you
may be successful in using some 3rd-party peripherals, such as the
CineRAID CR-H212 2-bay 2.5” HDD/SDD RAID enclosure, with the
Chapter 4