Electrical connection
TIM40 A02590_04_E00_00 HBM: public 27
► Mark your LAN connection with a right‐click and select ”Properties” in the
context menu.
► Select the tab ”General” and mark the Internet (TCP/IP) under ”This con
nection uses the following elements”. Click on the ”Properties” button.
► In the tab ”General”, select the option ”Use following IP address” and enter
”192.168.1.1” in the IP address line (the subnet mask is automatically set to
”255.255.255.0”).
► Confirm twice with ”OK”.
► Update the view by pressing the function key F5.
► Double‐clicking on the TIM40 symbol opens the TIM40 start window.
Alternatively, you can call up your web browser and enter the address
”http://192.168.1.2”, then confirm with ”Return”.
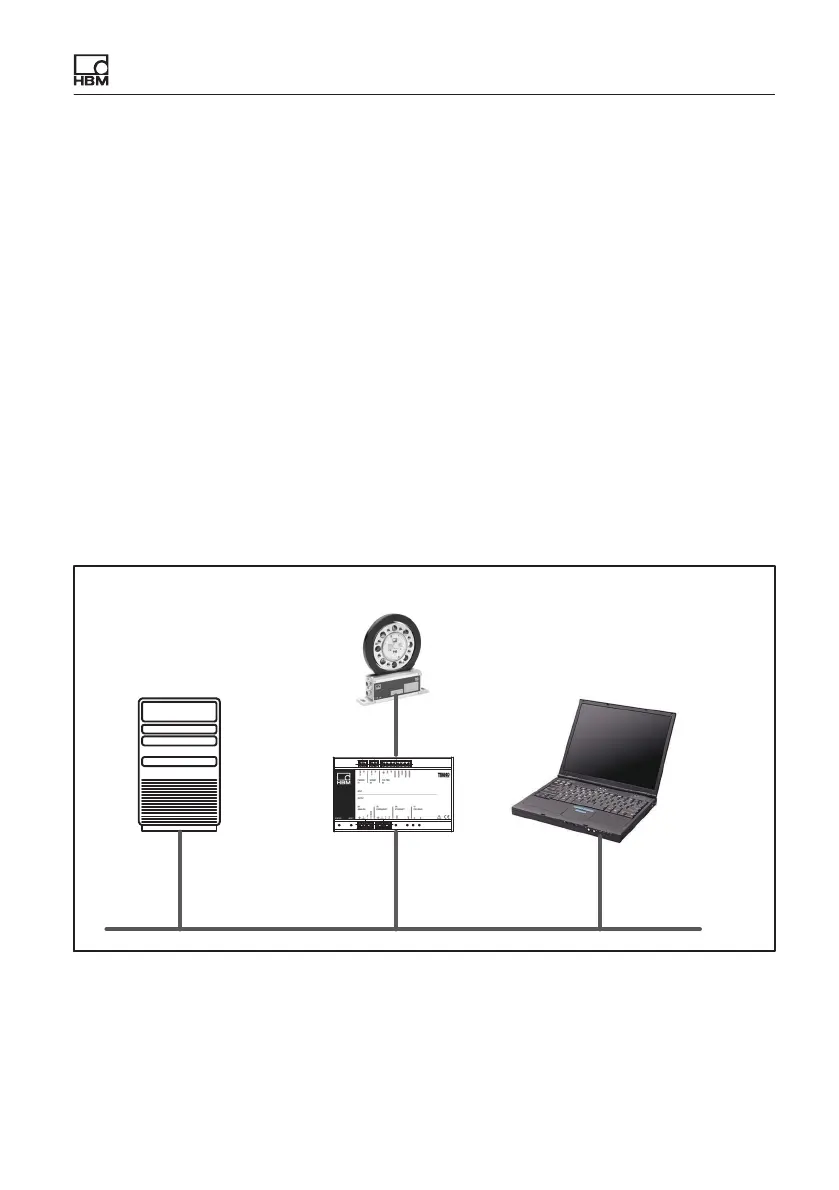
9.5.2 Connecting to a network
LAN
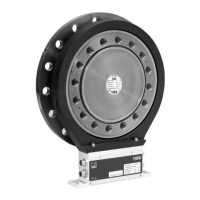
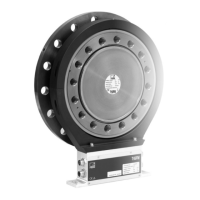
T40
TIM40
Server/Router
UPnP active
DHCP active
PC/laptop
DHCP active
(factory settings)
Fig. 9.4 Example: TIM40 in network
To access the TIM40, you must set the following settings under WindowsXP/
Vista: