9
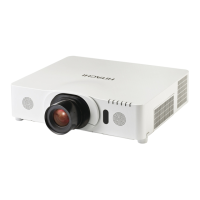
Installation
8. After pressing the ► button, a dialog to
conrm whether or not to save the setting is
displayed.
Press the ► button to complete the setting.
(
19
)
6. Use the ▲/▼ buttons to highlight STACK
MODE, and press the ► button to display the
STACK MODE dialog.
Highlight MAIN with the ▲/▼ buttons, and
press the ◄ button to return to the previous menu.
7. Use the ▲/▼ buttons to highlight LAMP
MODE, and press the ► button to display
the LAMP MODE dialog.
Highlight DUAL with the ▲/▼ buttons, and press the ► button.
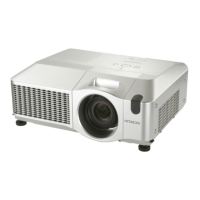
2.3 Installing the second projector (Set B) - Setting up Set B (continued)
4. Display the menu with the 0(18 button. (Operating Guide → Using the
menu function
)
5. Use the ▲/▼/◄/► buttons to go into the following menu.
ADVANCED MENU > OPTION
> SERVICE > COMMUNICATION
> STACK
STACK menu will appear on screen.
(
Operating Guide → OPTION menu)
3. Adjust the image size and position of Set B with the ZOOM, FOCUS and
LENS SHIFT features such that the image can be superimposed well to the
image of Set A.
(Operating Guide → Adjusting the lens)
NOTE • Fine adjustment of the image size and position thereafter with
functions such as KEYSTONE and PERFECT FIT does not increase the
image size. It is therefore important to have the image of Set B completely
overlapping the image of Set A.
•
When controlling Set B with the remote control, Set A may also respond to the
remote control. It is recommended to control Set B with the control panel on Set B.
• If you are using Simple Stack, go to For Simple Stack users. (
12
)

 Loading...