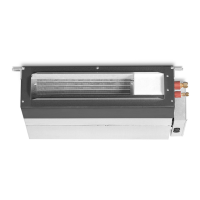
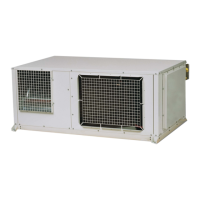
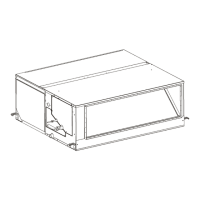
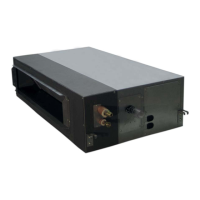
Follow the steps below to hang the cleaning water manifold from
the indoor unit:
1 Tie the rope to the suspension bracket of the indoor unit and
drop downwards.
2 Insert the support bar into the holes in the cleaning water
manifold.
3 Use the indoor unit rope to hang the water manifold.
4 Connect a pipe to the boss and place the end inside a bucket.
Follow the steps below to wash with clean water:
1 Insert the nozzle of the gun into the hole in the cleaning water
manifold.
2 Set the water pump pressure to between 2.5 and 5 kg/cm
2
to
protect the fins.
3 Start the water pump and wash the fins with clean water.
4 Spray cleaning water over the heat exchanger fins.
C A U T I O N
If you are using a cleaning product, wash the heat
exchanger fully with clean water.
Work and checks after cleaning
C A U T I O N
Start the following jobs once the water stops dripping.
1 Fit the fan unit and the drain pan.
2 Measure the drainage pump insulation using a megohmmeter, check that the insulation is over a 1 MΩ on applying 500
V.
3 Connect the wiring.
4 Remove the vinyl sheets.
5 Fit the air distribution chamber and the optional air panel.
N O T E
The cleaning product is neutral. However, after it has been used the cleaning water may no longer be neutral.
6 Collect the cleaning water and apply the neutralisation treatment once you have disposed of it.
RPK - Wall type
D A N G E R
Wear gloves to avoid injuries when handling components.
12 Maintenance notes
373
SMGB0063 rev. 1 - 10/2010
12

 Loading...


