11
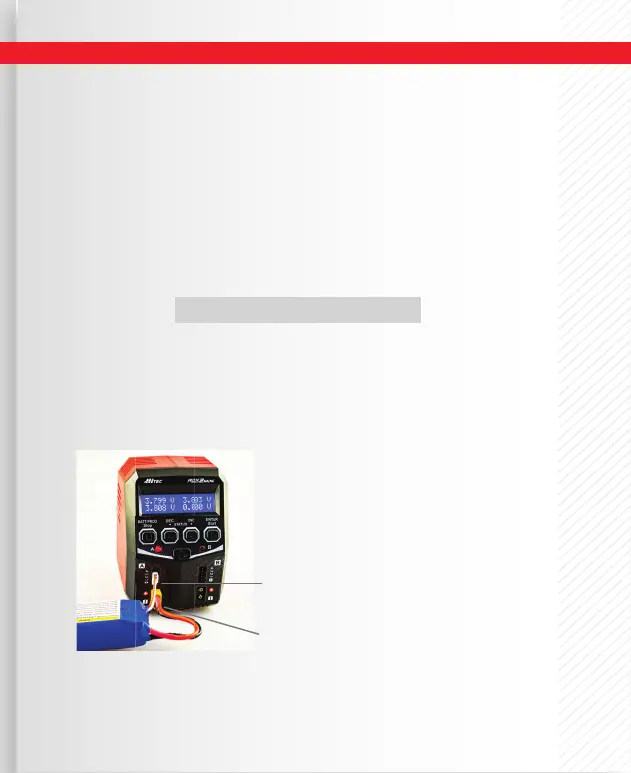
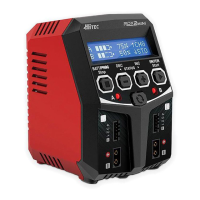
Charger Connections
1.) Connecting to Power Source:
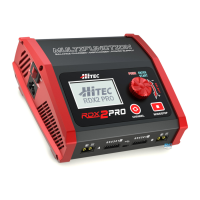
The RDX2 Mini is an AC charger only. Please insert the AC power cord to the wall socket (100-240V)
directly to power it on.
2.) Connecting the Battery:
NOTE: Before connecting any battery, it is absolutely
essential to check one last time that the parameters were set correctly. If the set-
tings are incorrect, the battery may be damaged and, in worse case scenarios, could
even burst into ames or explode.
Connect your battery's connector to the XT60 output on the charger (use adapter as needed)
3.) Balance Socket:
The balance wire attached to the battery must be connected to the charger, with the black wire
aligned with the negative marking. Take care to maintain correct polarity (See wiring diagram below).
This diagram shows the correct way to connect your battery to the Hitec RDX2 Mini when charging in
the balance charge program mode.
WARNING:
Failure to connect as shown in this diagram
will damage your charger. Note the polarity
with the black (-) wire to the downward
side of each connection.
The user can check the battery's total
voltage, the highest and lowest, as well as
each cell's voltage.
For Lithium Batteries in all modes
(-)
(-)
(Negative wire is black)