Assembly
21
Assembly instructions
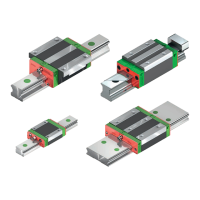
Linear Guideways
GW-04-0-EN-1910-MA
X Move the press-in piston [4] (see Fig. 5.20) of the assembly tool [2] into the upper end position by loosening the screw
[1].
X Push the assembly tool from the front side onto the rail.
Fig. 5.18 Positioning of the steel or brass bolt cap
Fig. 5.19 Position the press-in piston on the profile rail
X Place the steel or brass bolt cap centrally on the bore.
X Ensure parallelism between the top of the rail and the top of the bolt cap.
5.3.1.3 Mounting of steel and brass bolt caps
We recommend using the HIWIN assembly tool to ensure correct mounting of the steel and brass cover caps.
Information on this can be found in Section 11.2.
X Position the press-in piston [4] (see Fig. 5.20) centred over the bolt cap [3].
X Move out the press-in piston by tightening the screw [1] until the stamp makes contact with the cover cap and some
resistance can be felt when tightening the screw.
X Before actually pressing in the cover cap, check to make sure the cover cap has not tilted.
X Press in the cover cap by continuing to tighten the screw [1] until the press-in piston makes contact with the profile
rail.
[1]
[3]
[2]
 Loading...