30
Assembly
Assembly instructions
Linear Guideways
GW-04-0-EN-1910-MA
5.4 Blocks
5.4.1 Requirements
The end seals on the block have been greased. This makes assembly easier and reduces the risk of damage to the seal
during assembly.
5.4.2 Assembly
Damage to the block can be caused by removing the mounting mandrel too early.
Removing the mounting mandrel too early can cause damage to the block and result in rolling elements being lost.
X Only remove the mounting mandrel by pushing on the block!
ATTENTION!
Damage to the block can be caused if cut edges have not been deburred.
Cut edges that have not been deburred can damage the end seals on the block.
X Always check the cut edges of the profile rail for burrs!
X If necessary, remove burrs with an oil stone or a brass wire brush.
ATTENTION!
For the assembly of the following blocks, we generally recommend a bevel at the front end of the profile rail
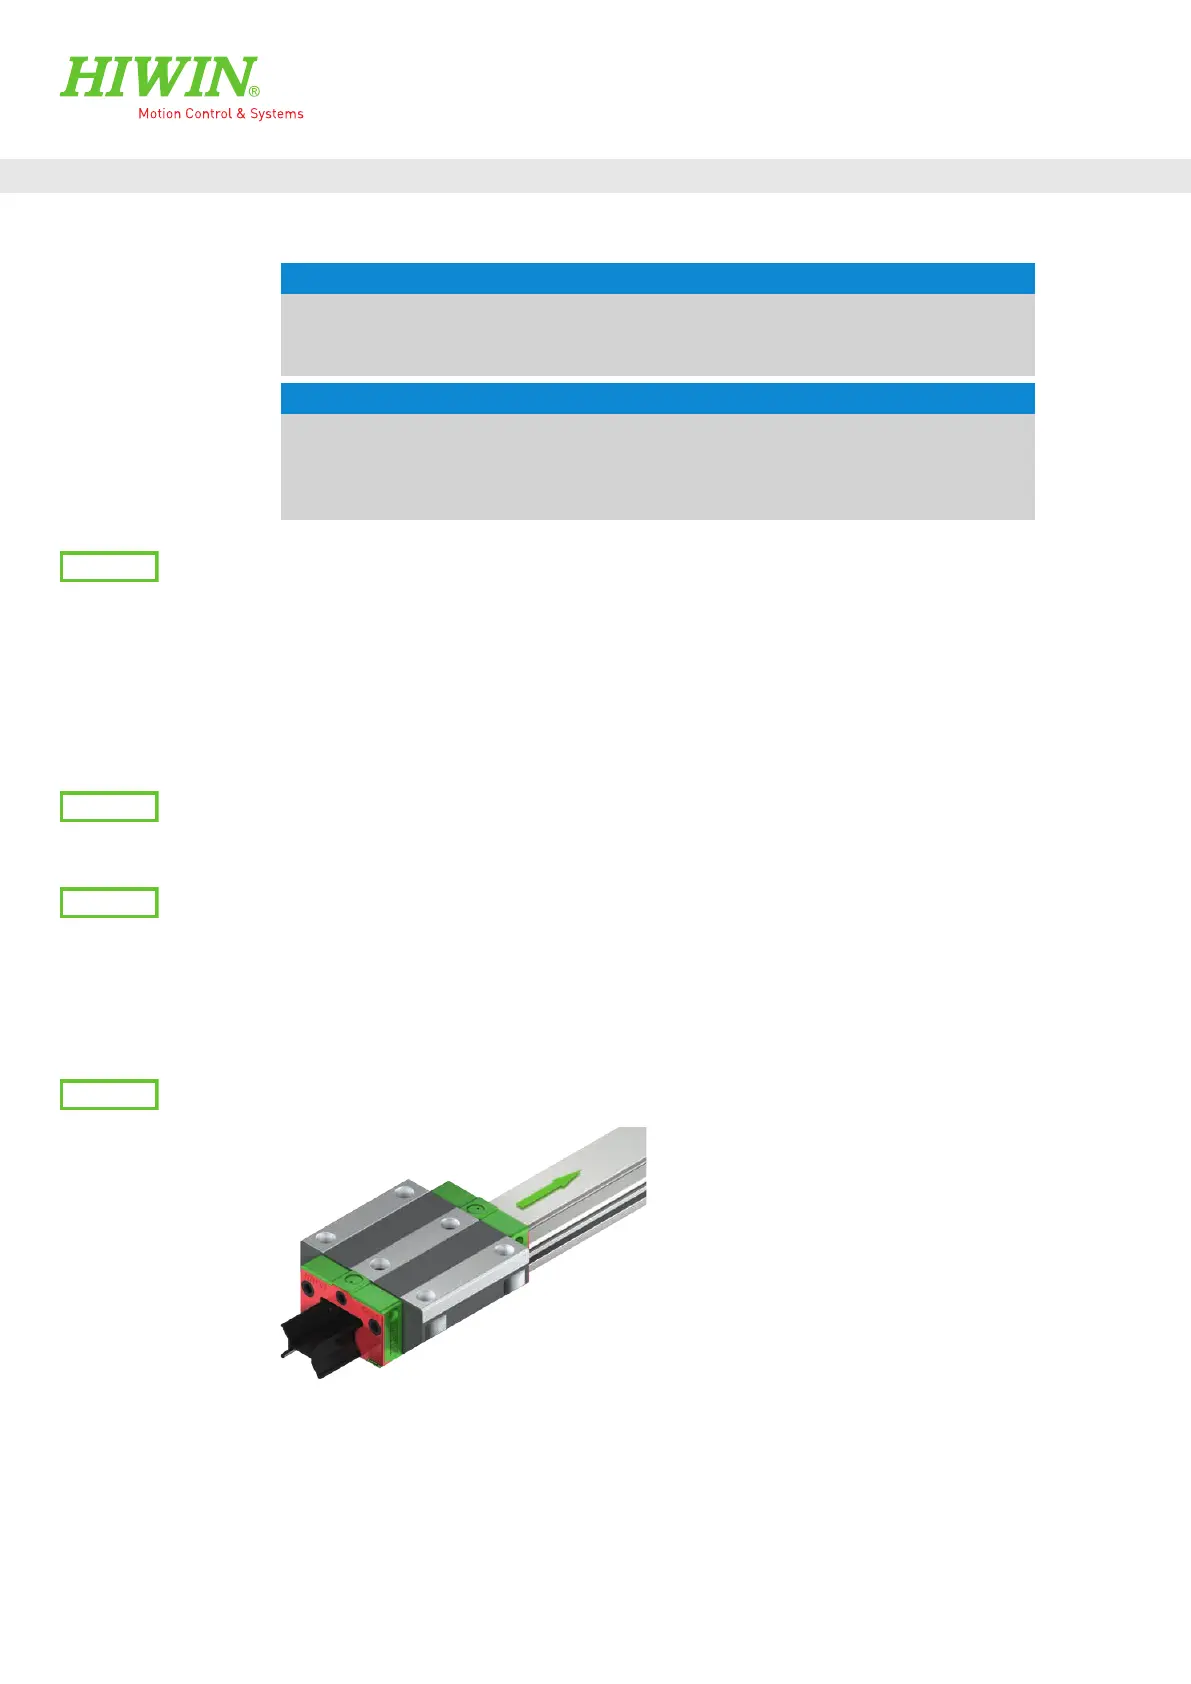
Be careful when pushing the block on to the profile rail:
Blocks with medium and high preloads require more force to push them on compared to those with low preloads.
Ideally, blocks with high preloads should be delivered already mounted.
X Attach the block to the rail in the required mounting direction on the front side, so that it is resting flush on the rail.
X Carefully push the block on to the rail.
Please bear in mind the following when working with R-rails (with bored holes for mounting from above):
Provided that the mounting holes have not yet been sealed with cover caps or a cover strip, reduce the amount
by which the block moves on the profile rail to a minimum. Otherwise, the dust protection sealing lips can
become damaged.
Fig. 5.40 Pushing the block on to the profile rail.
During this process, make sure that the block does not tilt.
The mounting mandrel is automatically pressed out in the process and the block is mounted on the profile rail.
 Loading...