Rev. 1.30 17 of 34 November 13, 2020
e-Link32/e-Link32 Pro User’s Guide
2 MDK_ARM (KEIL) Setup and Use
2 MDK_ARM (KEIL) Setup and Use
▀
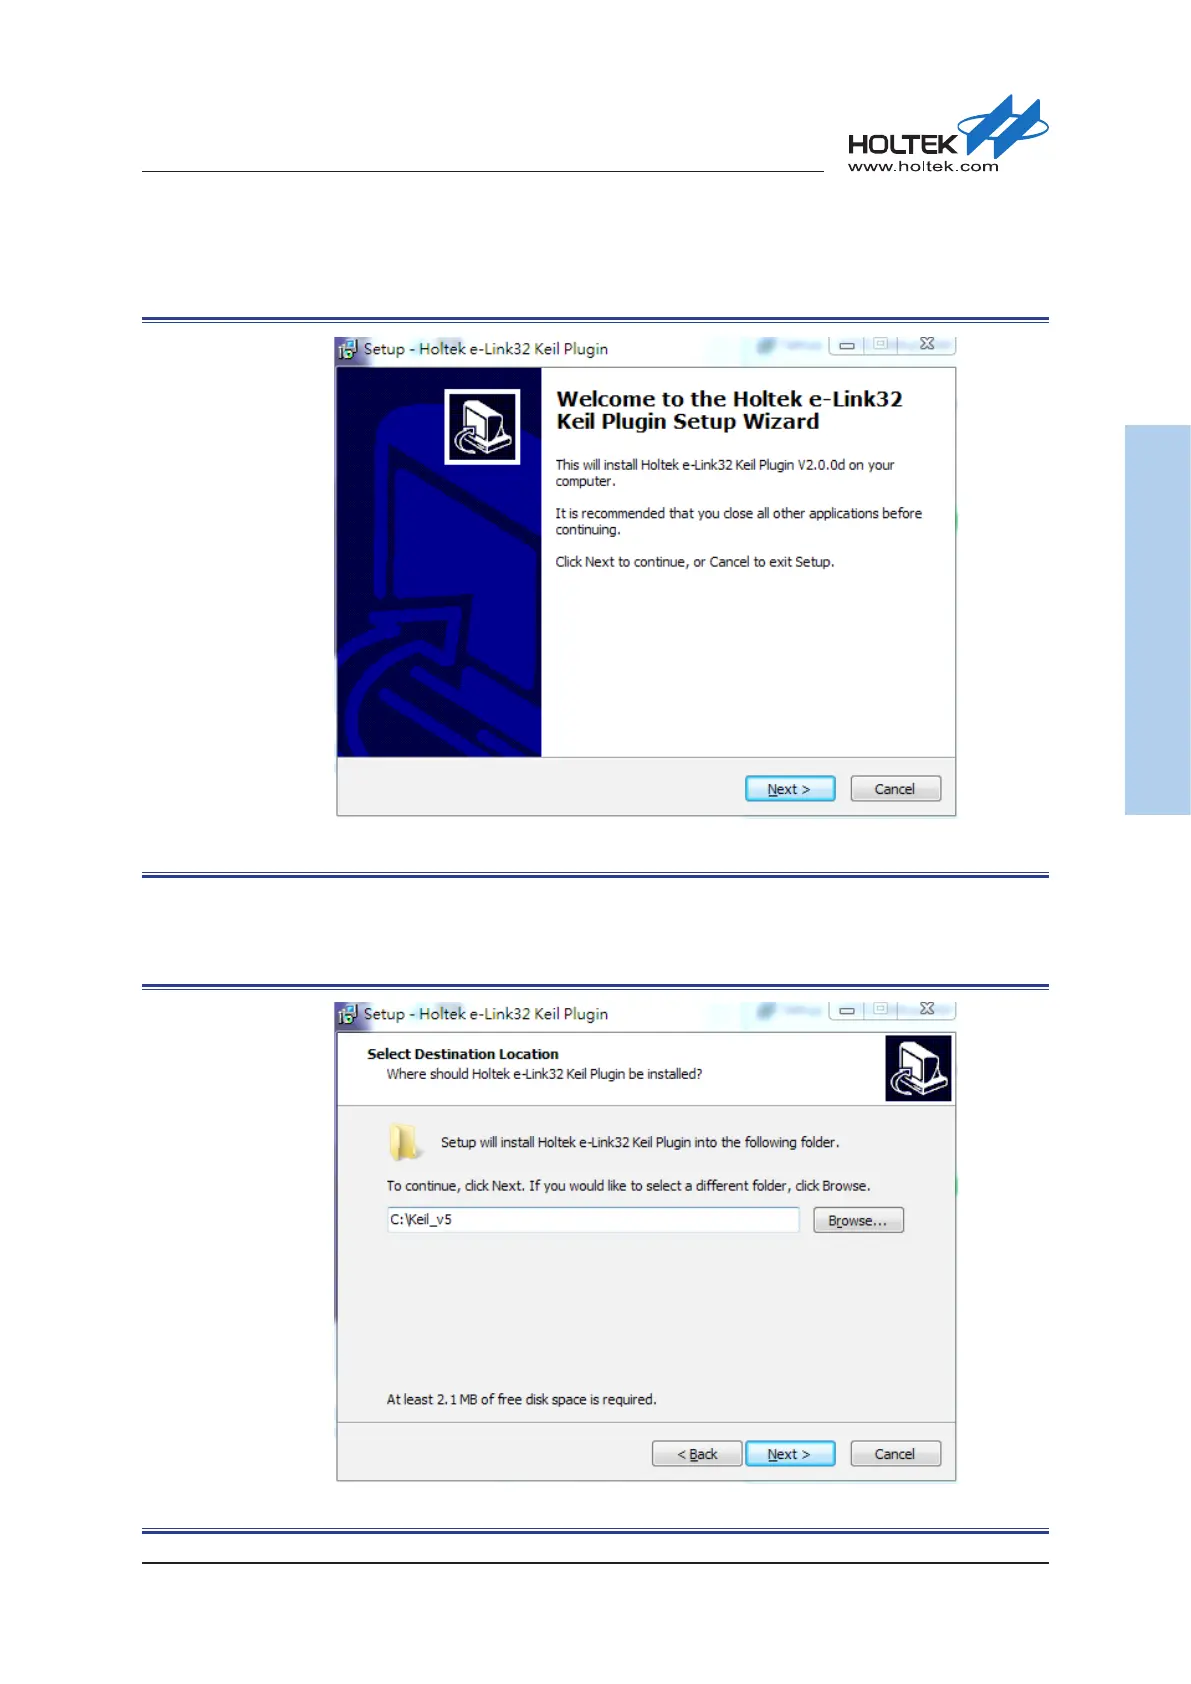
Once the uninstallation has finished in the previous step, a Holtek e-Link32 Keil Plugin
installation window will appear. Press the “Next” button to continue.
Figure 13. Holtek e-Link32 Keil Plugin Installation Introduction
▀
The Keil Plugin installation path is subject according to that of Keil4/Keil5. The default
installation path of the Keil4/Keil5 is “C:\Keil_xx”. Select the desired installation path and press
the “Next” button to install.
Figure 14. Holtek e-Link32 Keil Plugin Installation Path