Rev. 1.30 20 of 34 November 13, 2020
e-Link32/e-Link32 Pro User’s Guide
2 MDK_ARM (KEIL) Setup and Use
▀
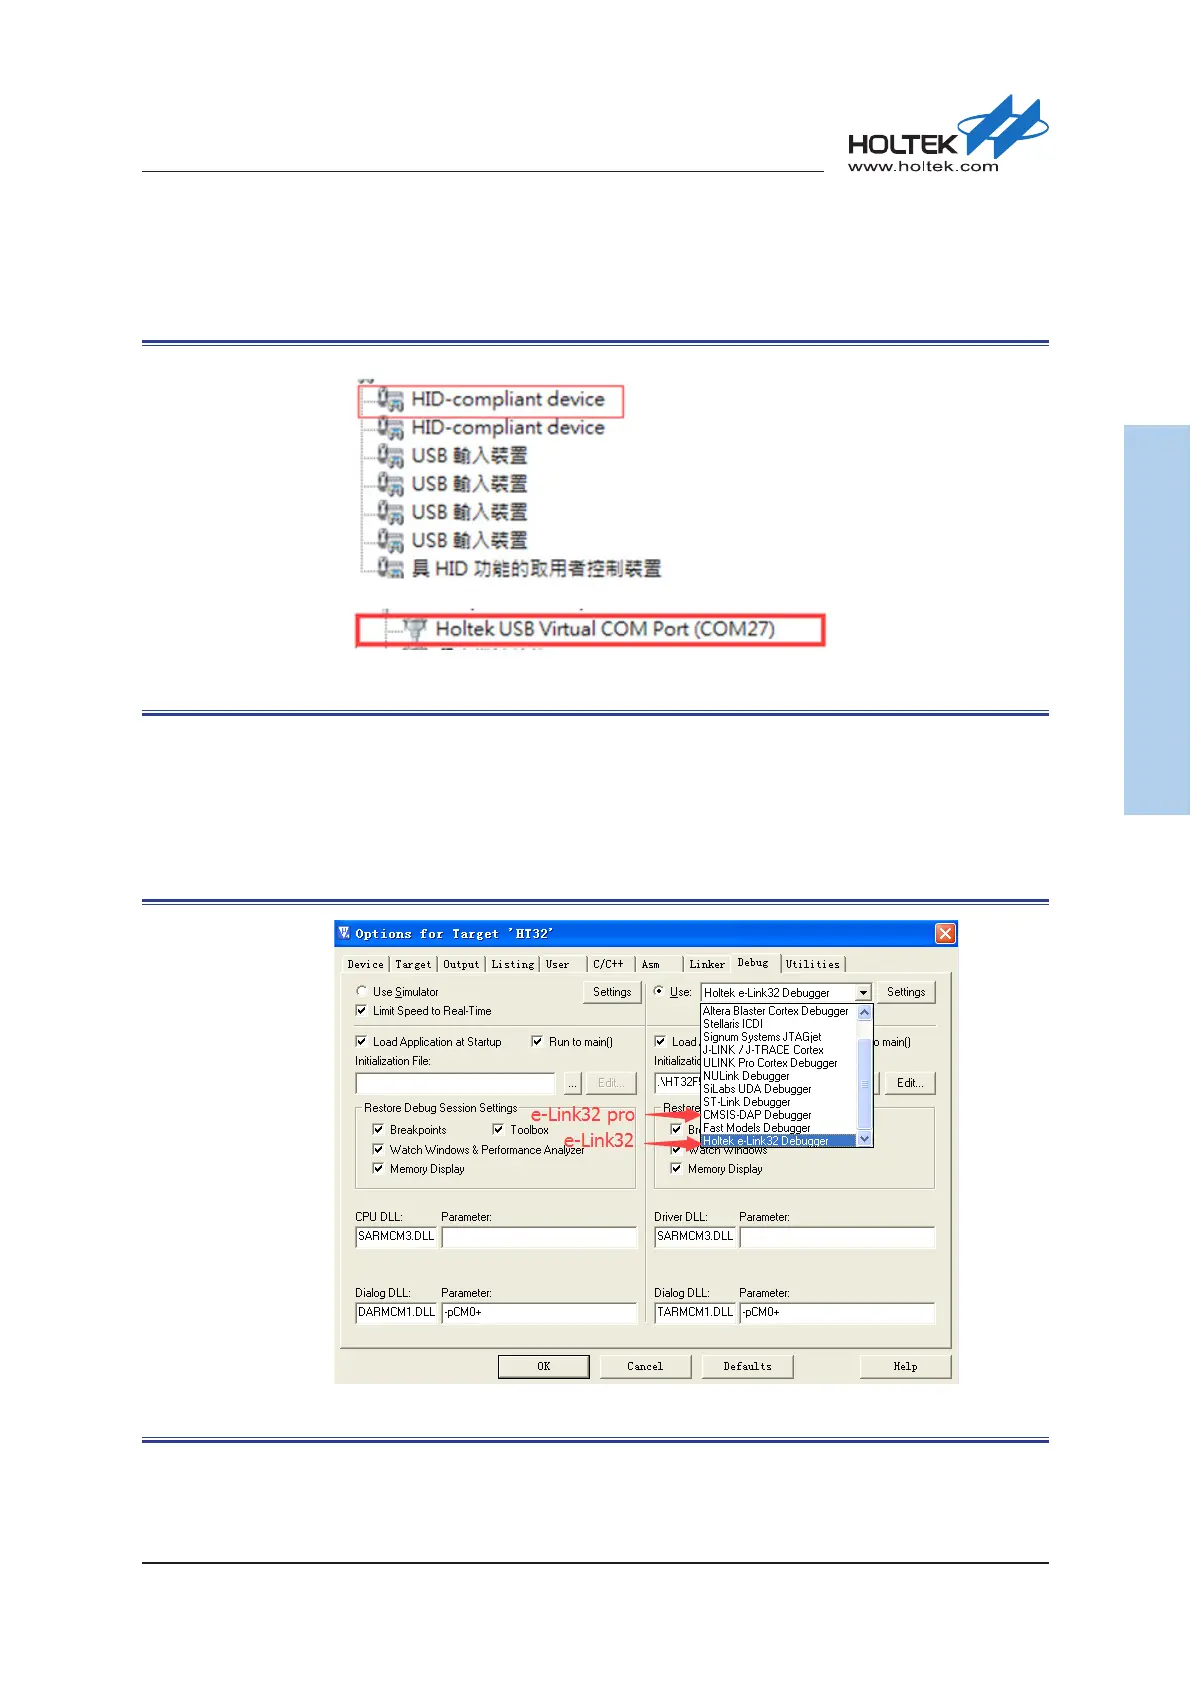
If the e-Link32 Pro is connected, a connection device named “HID-compliant device” will ap-
pear on the “Device Manager” window, and the corresponding Virtual COM Port will also be
found, conrming that the installation was successful.
Figure 19. e-Link32 Pro Device Name
e-Link32/e-Link32 Pro with Keil4 Setup and Use
▀
Open the Keil uVision4 project, click “Options for Target”, then click the “Debug” option to select
“Holtek e-Link32 Debugger” for e-Link32 or select “CMSIS-DAP Debugger” for e-Link32 Pro.
Figure 20. Keil4 Debugger Selection