CT40/CT40 XP Mobile Computer Series User Guide 91
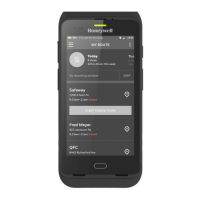
1. On the CT40, swipe up from the bottom of the Home screen to access all apps.
2. Tap Settings >Honeywell Settings > Provisioning mode.
3. Tap the toggle button to turn Provisioning mode On.
4. Tap AutoInstall Settings . Verify Autoinstall is enabled .
5. Press and hold the Power button, and then tap Power off.
6. On your workstation (e.g., laptop, desktop computer), format the microSD card
and create a \honeywell\autoinstall folder on the root of the card.
7. Save the upgrade file in the autoinstall folder.
8. Install the microSD card in the CT40/CT40 XP, and then press the Power
button.
The computer automatically runs the upgrade found in the autoinstall folder on
the card. The system update screen appears during the upgrade process. When
the upgrade is finished, the lock screen appears.
9. Once installation is complete, turn Provisioning mode Off.
About the Honeywell Upgrader
Use the Honeywell Upgrader app (HUpgrader) to check for and install OTA
updates, and view the current OTA version installed on the computer.
Install OTA Updates
To use the HUpgrader to install an OTA update file downloaded from the Technical
Support Downloads Portal:
1. Save the OTA file (*.zip) the following folder on the CT40 computer:
• Internal shared storage\Download

 Loading...
