6. Maintenance/Repair
6.5. Replacing batteries
IS Battery Pack, 50047517-501
IS Battery Pack replacement procedure
Step Action
1
WARNING
DO NOT DISASSEMBLE OR ASSEMBLE WHEN AN EXPLOSIVE ATMOSPHERE IS PRESENT
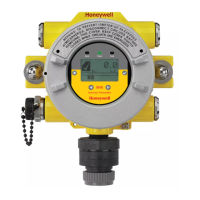
Figure 6-3: IS Battery Pack
2
Loosen the M3 locking set screw on the battery end-cap (opposite end from display). Unscrew and
remove the end cap.
3
Using thumb and forefinger, squeeze the battery connector at top and bottom to disengage the
locking mechanism, then pull to disconnect.
4
Loosen the two battery holder retaining screws (closest to the batteries). The screws are captive.
5
Pull the battery holder out of the transmitter.
6
Remove top of battery pack by using a #1 Philips or 1/8” slotted screwdriver for the screws identified
as #3 in Figure 6-3.
7
Remov
e
the spent batteries and dispose of them properly according to local regulations to the
battery manufacturer’s recommendations.
8
Install the new batteries following the polarity as noted on the lid
9
Re-install top of the battery pack and tighten screws
10
Insert the Battery pack into the transmitter. Reattach the screws as indicated in Figure 6-3, item 3,
to 0.4 to 0.6 N-M (3.5 – 5.3 Lb-in).
Reco
nnect the Battery Pack connector
Honeywell recommends lubricating the end cap thread with a silicone grease such as Dow Corning
#55 or equivalent before replacing the end cap
11
Screw the cap back on and tighten the M3 locking screw
Revision 3 OneWireless XYR 6000 ISA100.11a Compliant Pressure Transmitter User's Manual 41
March 2012
 Loading...