6. Maintenance/Repair
6.6. Replacing 24V external power module
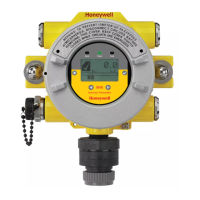
24V External power module
Figure 6-5 24V External power module
Step Action
1
Loosen the M3 locking set screw on the end-cap (opposite end from display). See Figure 6-4.
Unscrew
and remove the end cap.
2
Using thumb and forefinger squeeze the power connector at top and bottom to disengage the
locking mechanism then pull to disconnect. See Figure 6-4
3
Unpl
ug th
e 24V wiring from the module
4
Loosen the two 24V power module retaining screws. The screws are captive.
5
Pull the 24V power module out of the transmitter.
6
The replacement 24V Power Modules are supplied with the “J2” Jumper in the NON-RTD
position. For 24V Transmitters utilizing RTD sensors, move the “J2” jumper to the “RTD”
position on the power module shown in Figure 6-4.
7
Insert the repla
cement 24V power module into the transmitter. Reattach the screws and tighten
to 0,4 – 0,6 N-M (3.5 – 5.3 Lb-in).
Re-connect battery connector.
Honeywell recommends lubricating the end cap O-ring with a Silicone Grease such as Dow
Corning #55 or equivalent before replacing the end cap.
8
Screw the end cap back on and tighten the M3 locking screw.
9
Dispose of the Power Module according to local regulations
44 OneWireless XYR 6000 ISA100.11a Compliant Pressure Transmitter User's Manual Revision 3
March 2012
 Loading...