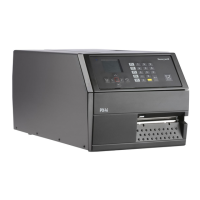
PX940 User Guide 21
1. Break/tear the ribbon before the ribbon take-up hub.
Note: Do not cut the ribbon on the ribbon take-up hub; doing so may result in damage to
the take-up hub.
2. Push and hold the ribbon release knob until it stops.
Note: Do not push the ribbon release knob in if you do not want to remove the used ribbon
as this will cause difficulty to remove ribbon when full.
3. Push the two ribbon release plates and slide the used ribbon from the ribbon
take-up hub.
Print a Test Label
The first time you turn on the printer or reset to factory defaults, the printer runs a
startup wizard to let you enter basic setup information. After the startup wizard fin-
ishes, the printer enters Ready mode where you can access the Main Menu and
print a test label.
1. Connect the printer to power and turn on the printer.
2. After the startup sequence finishes, the startup wizard begins. Enter all the
information on the wizard screens then tap No when prompted to run other
wizards.
3. From the Ready screen, press to view the Main Menu.
4. From the Main Menu, tap Tools > Test Labels.
5. Select the test label you want to print and tap it.
Your test label prints. If print quality is low, go to Wizards > Printing > Print Quality.
Note: You can use command languages, like Direct Protocol, and language simulators, like
ZSim, to create and print labels. For more information, see the command reference
manual for the language.

 Loading...