42 Xenon XP User Guide
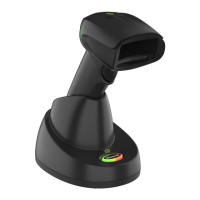
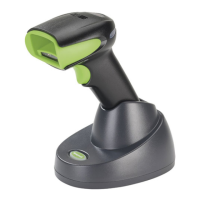
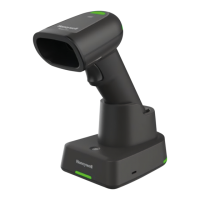
Link the Scanner to an Access Point
Note: Linking to an Access Point is only supported by Xenon XP 1952 models.
Turn on the computer (laptop/desktop). Plug the interface
cable into the Access Point first and then into the
appropriate port on the computer. The page button lights up
when the connection to the host is made.
Scan the linking barcode on the top of the Access
Point to establish a connection between the Access
Point and the scanner. The scanner emits a short
beep and flashes the green LED to confirm a
connection with the Access Point. The Access Point’s
page button remains blue.
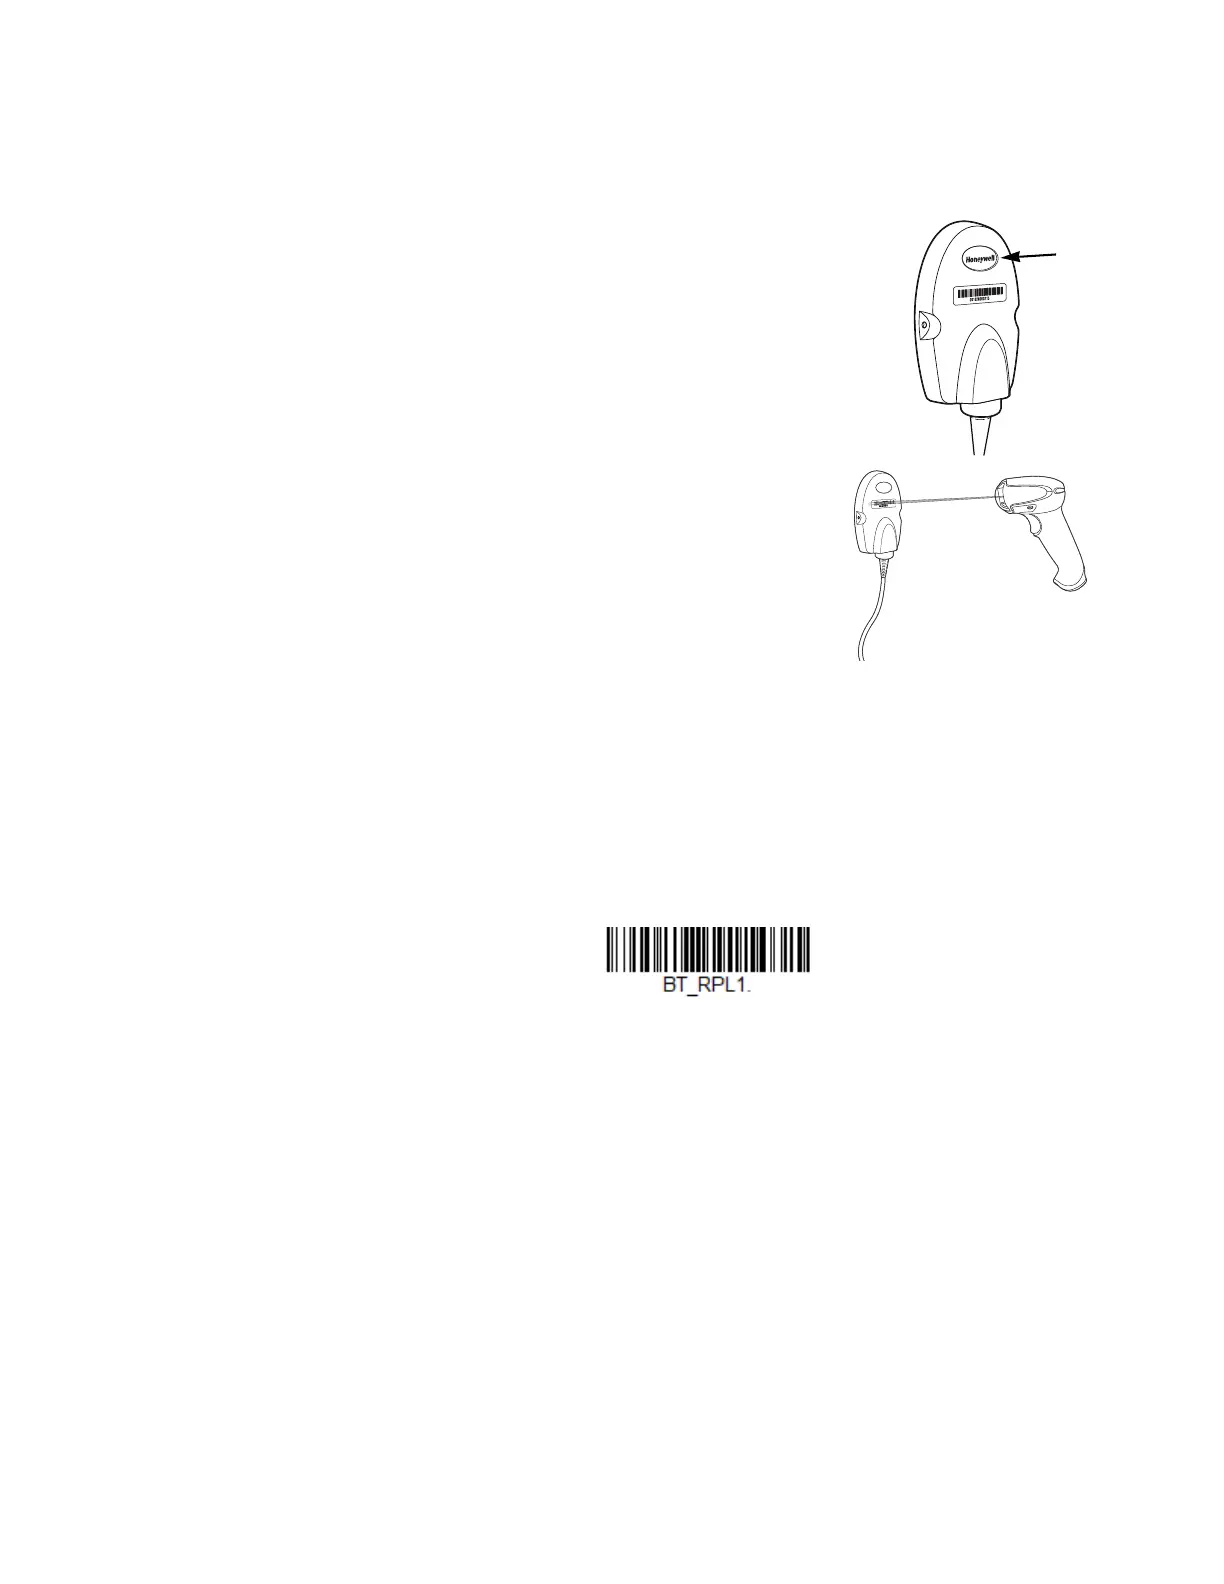
Replace a Linked Scanner
If you need to replace a broken or lost scanner that is linked to a base or an Access
Point, scan the Override Locked Scanner barcode below with a new scanner and
place that scanner in the base, or scan the Access Point linking barcode. The
locked link will be overridden, the broken or lost scanner’s link with the base or
Access Point will be removed, and the new scanner will be linked.
Communication Between the Cordless System
and the Host
The cordless scanner provides immediate feedback in the form of a “good read”
indication with a green LED on the scanner and an audible beep. The scanner also
vibrates, if programmed to do so. This indicates that the barcode has been scanned
correctly and the base or Access Point has acknowledged receiving the data. This is
possible since the cordless system provides two-way communication between the
scanner and the base or Access Point.
Override Locked Scanner
(Single Scanner)
 Loading...