Fan
The fan sits atop the heat sink and is secured with two Torx screws.
1. Prepare the computer for disassembly (Preparation for disassembly on page 13).
2. Remove the access panel (Access panel on page 14).
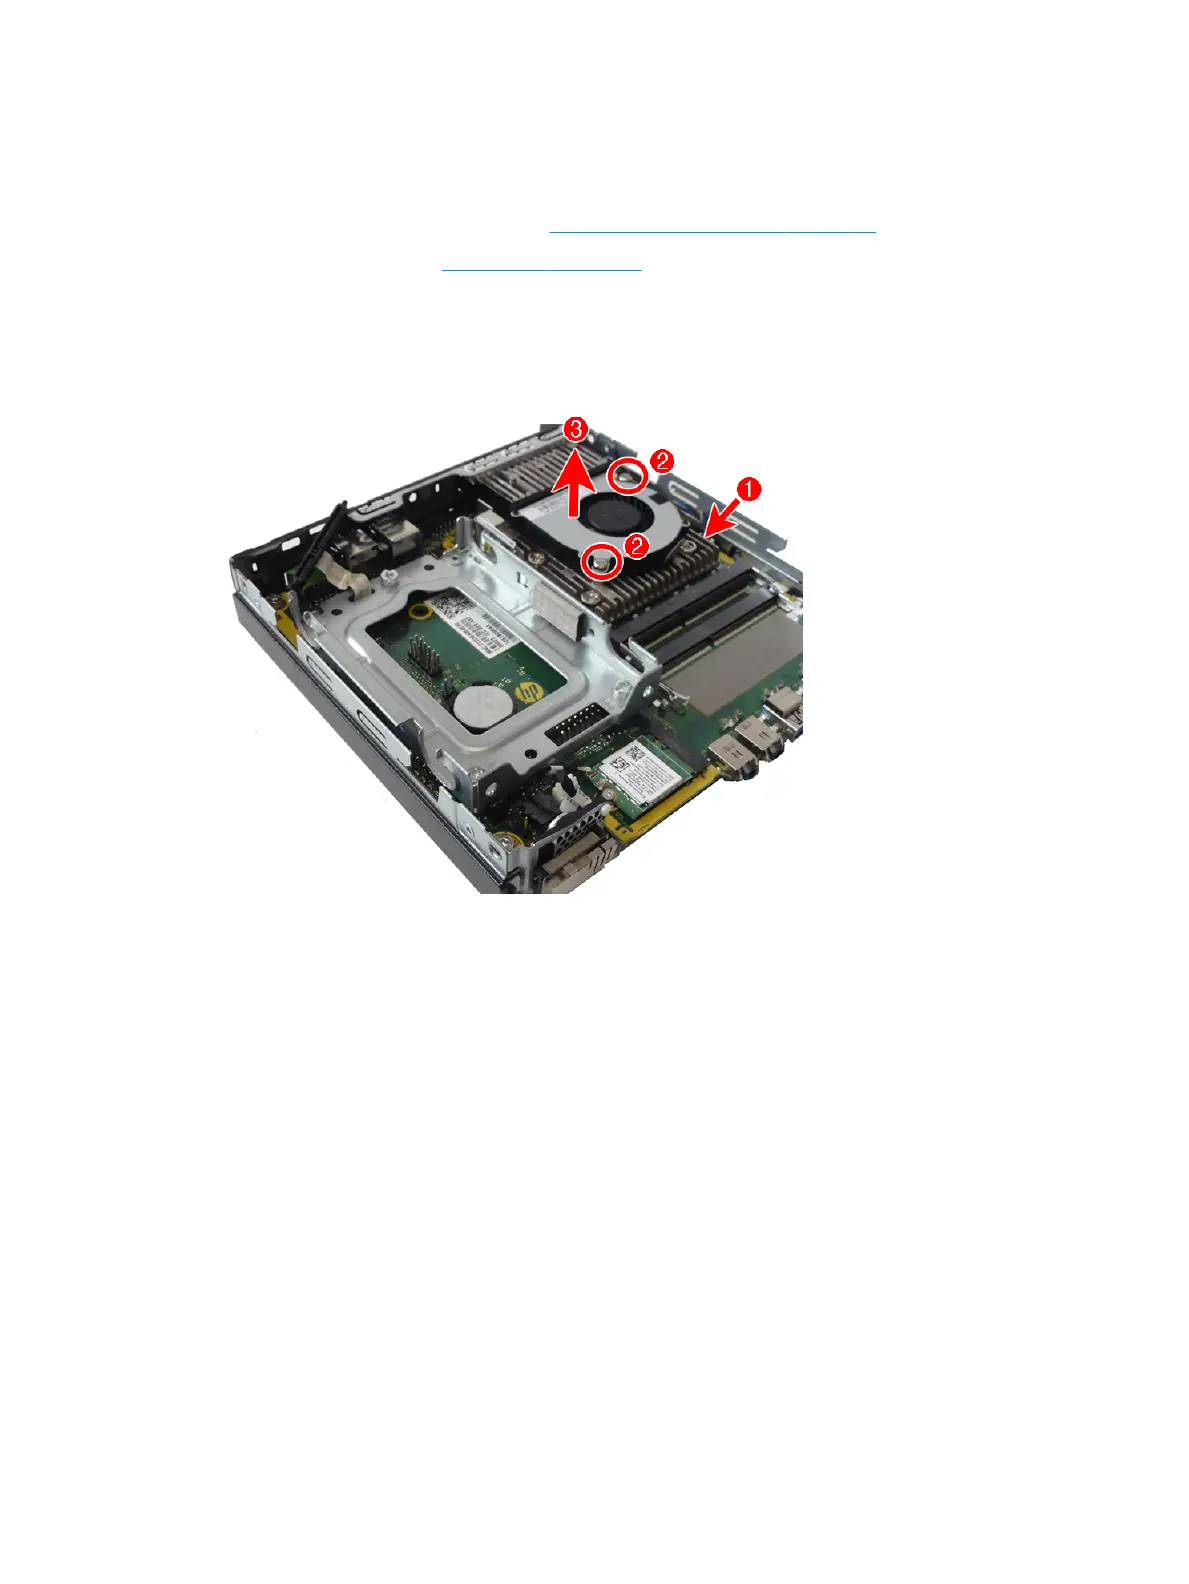
3. Disconnect the fan cable from the system board connector labeled CPUFAN (1).
4. Remove the two Torx screws that secure the fan to the heat sink (2).
5. Remove the fan from the heat sink (3).
To install the fan, reverse the removal procedure.
24 Chapter 4 Removal and replacement procedures