3. Connect the other end of the cable to the USB port at the back of the cutter. This end of the cable should
have a 4-pin USB series B connector.
4. Turn on the cutter (see Turn the cutter on and o on page 8).
Most cutting software for Mac OS X can control the cutter without the installation of a driver.
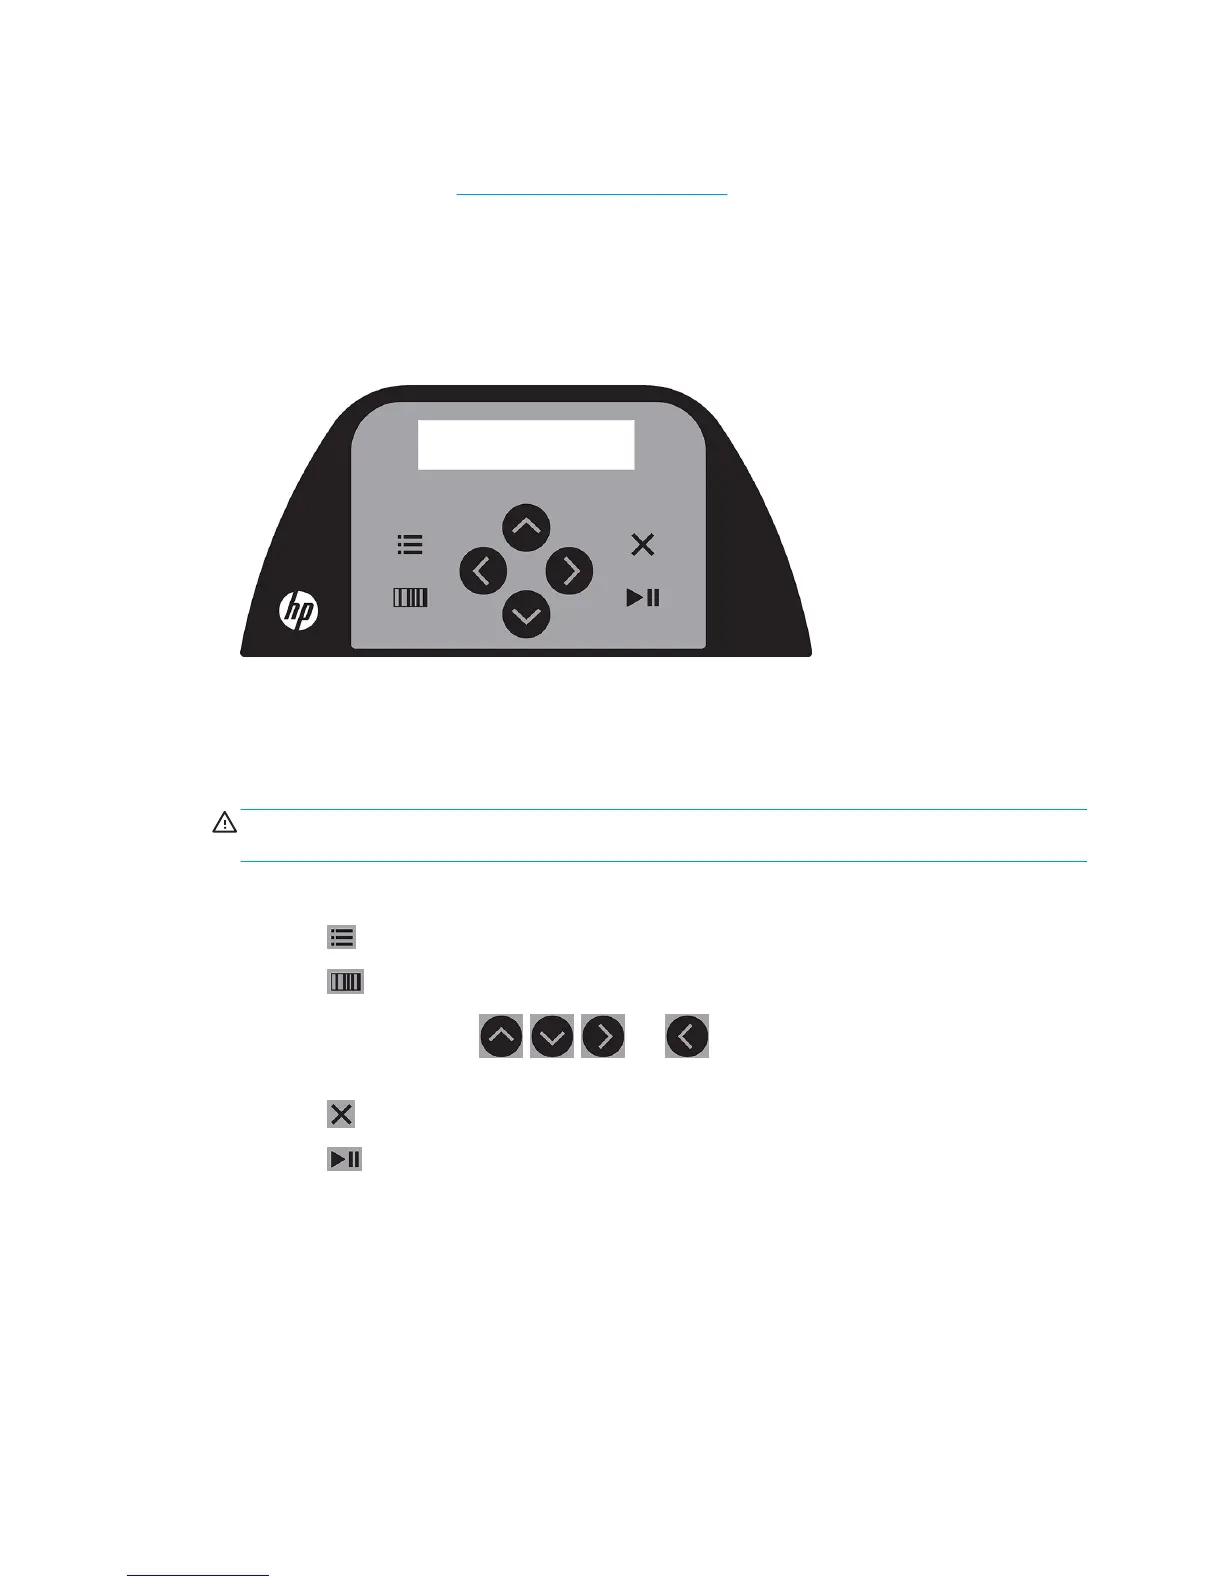
Front panel
The front panel features eight command keys and a display area capable of displaying one line of text, which is
used to display menu options and status information.
A parameter or parameter value preceded by an asterisk (*) is the currently selected parameter or parameter
value. If you see a value displayed without an asterisk, it is not the saved value.
The various menu and submenu items are always presented in a loop, which means that, when the last menu or
submenu item is displayed, pressing the appropriate key will automatically take you back to the rst item of the
same menu or submenu.
WARNING! Whenever you press a key, it may initiate an internal test or movement of the head or substrate.
Keep ngers and other body parts away from the cutting area, where there are hazardous moving parts.
Keys
●
Press to reach the most common menu items quickly.
●
Press to read the HP barcode.
●
The use of the arrow keys , , , and depends on the context and what appears on the
screen.
●
Press to cancel the current process.
●
Press to conrm a selection or a changed value, or to start or pause a job.
ENWW Front panel 9