EasyManuals Logo

HP Compaq Elite 8300 Touch All-in-One Business User Manual

HP Compaq Elite 8300 Touch All-in-One Business
208 pages
To Next Page IconTo Next Page
To Previous Page IconTo Previous Page
Page #124 background imageLoading...
Page #124 background image
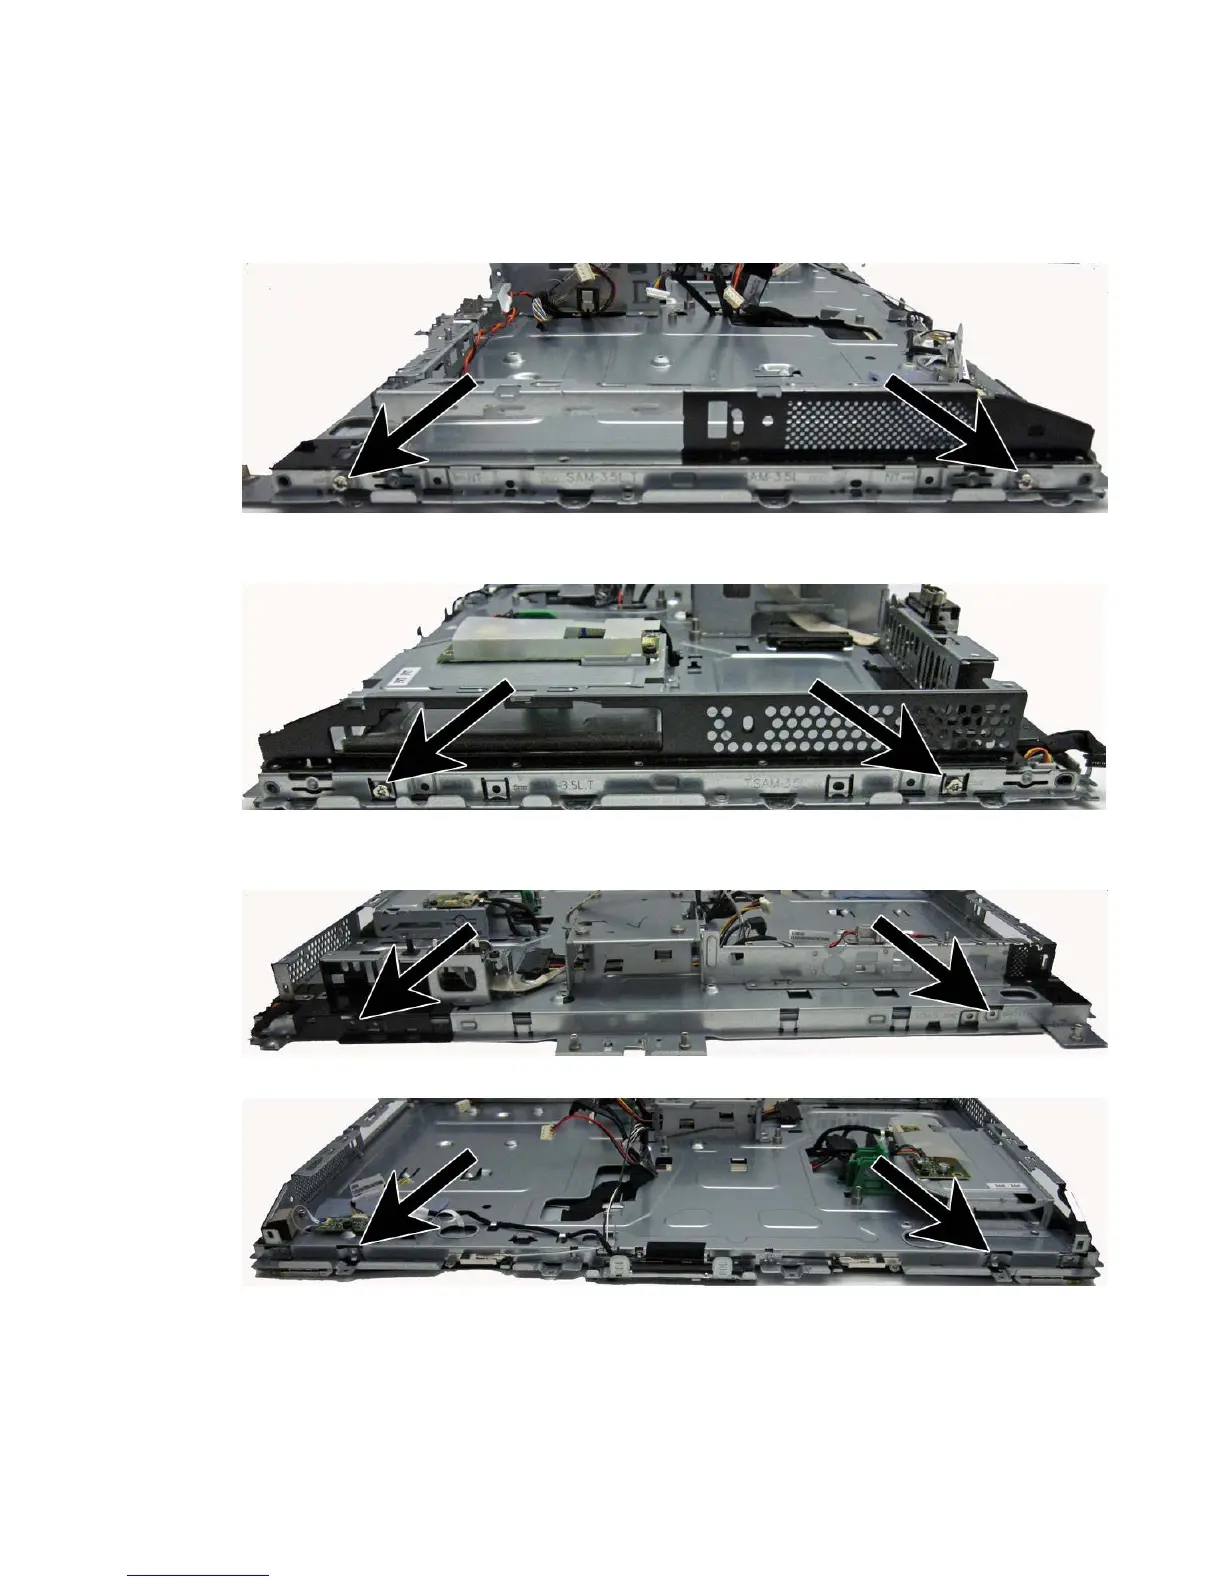
13. Model 8300: Remove the four Torx screws that secure the display panel to the frame. The screw
locations for each manufacturer are stamped into the metal.
The LG (1) and AUO (2) panels are secured with two screws on each side (left and right).
Figure 7-82 Display panel screw locations – 8300 models – Samsung or LG panel
The CMI panel is secured with two screws on top, two screws on the bottom.
Figure 7-83 Display panel screw locations – 8300 models – CMI panel
14. Lift the display panel from the frame.
114 Chapter 7 Removal and Replacement Procedures All-in One (AIO) Chassis

Table of Contents

Questions and Answers:

Question and Answer IconNeed help?

Do you have a question about the HP Compaq Elite 8300 Touch All-in-One Business and is the answer not in the manual?

HP Compaq Elite 8300 Touch All-in-One Business Specifications

General IconGeneral
BrandHP
ModelCompaq Elite 8300 Touch All-in-One Business
CategoryMonitor
LanguageEnglish

Related product manuals