• HTTPS: 443 nsstats.nimblestorage.com – For relay of per-VM statistics (used in InfoSight VMvision)
• TCP: 443 device.cloud.hpe.com – For Data Services Cloud Console
Next, see After Installation and Initial Setup on page 45.
Initial Setup Using the Array CLI
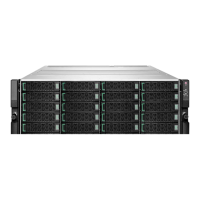
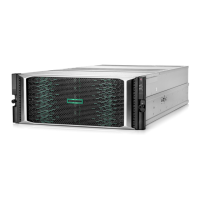
After your array has been installed in the rack and connected to your network, you must complete the initial setup of the array
by configuring some basic settings to get the array running on the network.
This section describes using the CLI to complete the initial setup. To use the CLI, you must first establish a connection to the
active controller on the array.
Note: If you have a Windows host, and you cannot establish a serial connection to the active controller on the array,
you must use the Storage Setup Manager to complete the initial setup. For more information, see Initial Setup Using
the Storage Setup Manager for Windows on page 38.
After the initial setup is complete, refer to the GUI Administration Guide or the CLI Administration Guide for group and volume
configuration, plus additional optional configuration tasks.
Set up a Serial Connection
The CLI requires a serial connection for the initial setup of the array. After setup, the CLI can also use an SSH connection over
the network.
Before you begin
Obtain these items:
• Laptop computer or workstation
• Serial console cables with a DB9 connector at one end and the appropriate connector on the other to mate with the serial
interface on the laptop computer or workstation
Procedure
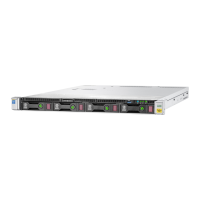
1. Connect the serial port on your laptop computer or workstation to the serial port on the controller.
1 Serial port
2. Run the serial console software with the following settings:
8Data bits:
NoneParity:
NoneFlow controller:
Install the HPE Storage Array 43
Documentation Feedback: doc-feedback-hpe-storage@hpe.com
 Loading...