Removal and replacement procedures 52
Cable routing for pluggable SATA model:
Figure 28
Cable for Pluggable SATA Model
Item Description
1-4 Mini-SAS Host Fan Out 4 SATA cable
5 SATA ODD cable
6 HDD backplane I
2
C cable
7 HDD backplane SGPIO cable
8 SD card reader cable (optional)
WARNING: Ensure that the system is powered off and all power sources have been disconnected
from the server. Voltages are present at various locations within the server whenever an AC power
source is connected. This voltage is present even when the main power switch is in the off position.
To remove the backplane:
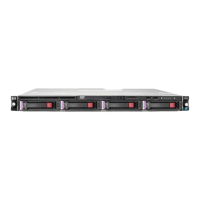
The backplanes for the servers with 4 LFF HDDs and 8 SFF HDDs share the same replacement
procedures. Here we take the SAS/SATA backplane for the server with 4 LFF HDDs as an example
for your reference.
1. Remove all drives out of the drive bays.
2. Refer to the “Optical Media Device Bay” and “Hard drives” sections in this chapter for detailed
procedures.
3. Remove the top cover.
4. Remove all cables connected to the backplane.
5. Remove the hard drive cage.
a. Loosen all screws that secure the hard drive cage to the chassis.
b. Slide the hard drive cage out and then lift it up. Remove the hard drive cage from the chassis.
 Loading...