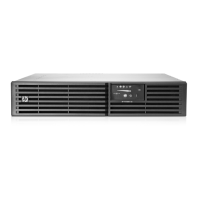
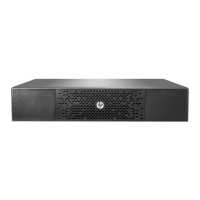
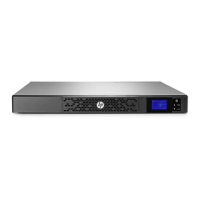
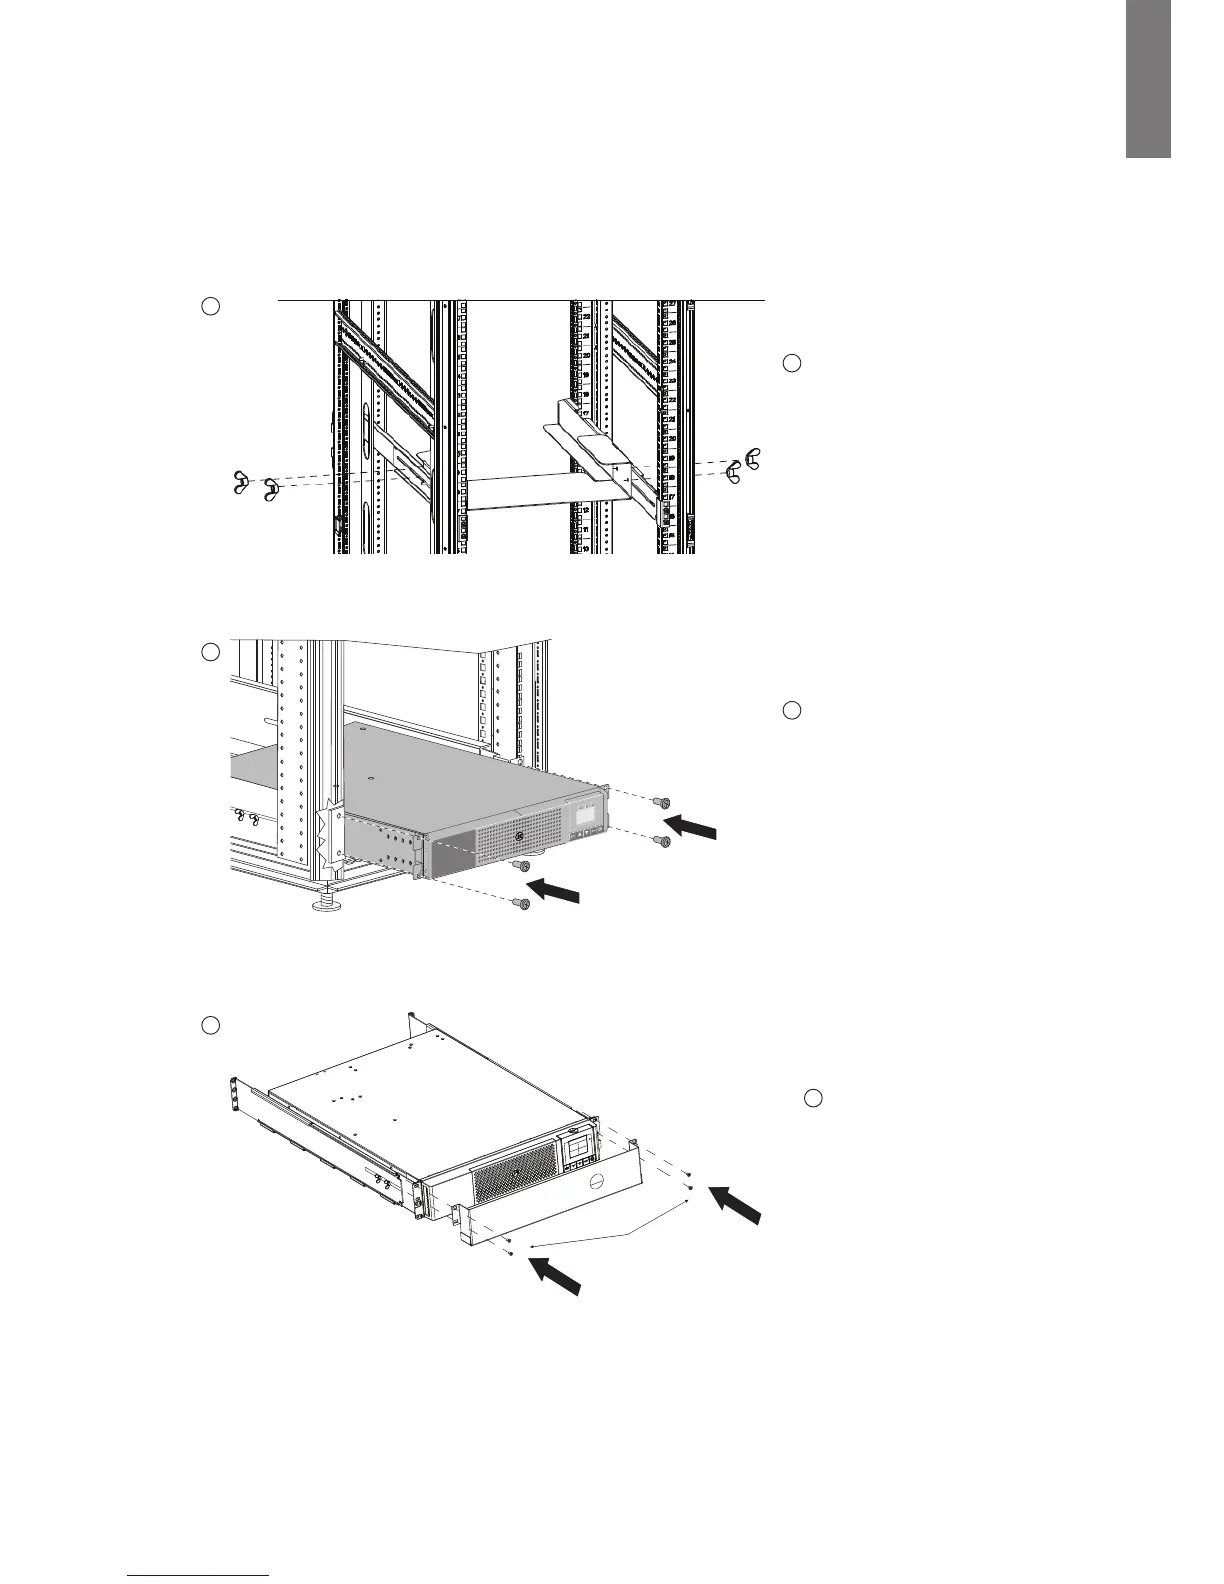
Shipping the UPS in the rack
Before shipping the UPS in the rack, you will need to add a rear rail stabilizing bracket and install a protective cover over
the bezel.
Install the rear stabilizing rail
Reinstall the UPS
M6 screws
Attach the protective cover
M6 screws
3. Installation
A
Install the rear stabilizing rail.
1. Using two wing nuts, secure
the rear rail stabilizing bracket
to screws in the rail (see dia-
gram for position). Repeat on
the other rail.
2. Wait until the unit is installed
and the brackets are adjusted
before tightening the nuts.
(See the diagram at the left for
inner and outer rail installation
views.)
B
Reinstall the UPS chassis in the
rack.
1. With one person on each side,
lift the chassis to rail level and
slide the chassis on the mount-
ing rails.
2. Attach the chassis to the rack
using the provided screws.
C
After the UPS chassis is
installed in the rack, attach the
protective cover over the bezel
using the provided screws.
A
B
C
 Loading...