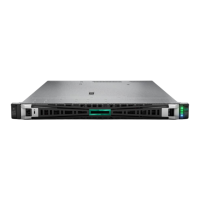
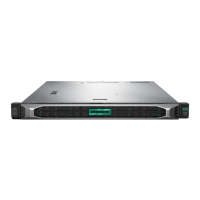
6. Place the server on a flat, level work surface.
7. Remove the access panel:
a. If necessary, unlock the access panel latch (callout 1).
b. To disengage the access panel from the chassis, press the release button and pull up the latch (callouts 2 and 3).
c. Lift the access panel (callout 4).
Remove the riser cageRemove the riser cage
About this taskAbout this task
WARNING:WARNING: To reduce the risk of personal injury from hot surfaces, allow the drives and the internal system components to
cool before touching them.
ProcedureProcedure
1. Power down the server.
2. If installed, open the cable management arm .
3. Remove all power:
a. Disconnect each power cord from the power source.
b. Disconnect each power cord from the server.
4. Disconnect all peripheral cables from the server.
5. Remove the server from the rack .
6. Place the server on a flat, level work surface.
7. Remove the access panel .
8. If an expansion card with internal cables is installed on the riser, disconnect the cables from the card.

 Loading...
