a. Place the module upside-down on a work table.
b. Insert the back of the cover at the module center.
c. Lower the cover front edge until you feel a hard stop and the cover locks in at the front of the module.
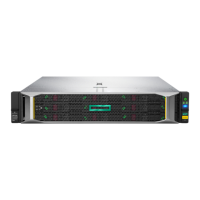
Installing the expansion modules in a rack
Skip this step if the library does not have expansion modules.
TIP: When installing multiple expansion modules, work from the base module to the top of the library
and then from the base module to the bottom of the library.
Prerequisites
• The rack shelves are installed.
• The library cover plates are on the modules that will be on the top and bottom of the library.
Procedure
1. From the front of the rack while supporting the bottom of the module in the areas supported by the rack
shelves, set the back of the expansion module on the front of the rack shelves. Push the module into the
rack until the front of the module contacts the rack posts.
2. Verify that this module has been installed directly above or below its adjacent module and is contained with
the correct 3U volume.
The gap between modules must be less than 4mm.
3. Use a #2 Phillips screwdriver to tighten the captive fasteners on each side of the expansion module until
they are finger tight. Do not over tighten.
4. Repeat for any other expansion modules.
5. Verify that the top cover plate is at the top of the library and that the bottom cover plate is at the bottom of
the library.
24 Installing the library

 Loading...