23
The Control Head
SD Card or microSD Card Slot
Your control head may be compatible with an SD or microSD card (separate purchase required). Use it to update software, add
detailed charts to your control head, import/export navigation data, and save sonar recordings and screen snapshots. Use the
instructions in this section to install the card.
Add Maps: see Chart Overview.
Import/Export Navigation data: See Manage your Navigation Data.
Sonar Recordings and Screen Snapshots: See Manage Screen Snapshots and Recordings.
Software Updates: For details, see Update Software.
CAUTION! Before the control head software is updated or restored to system defaults, export your navigation
data (see
Update
Software
).
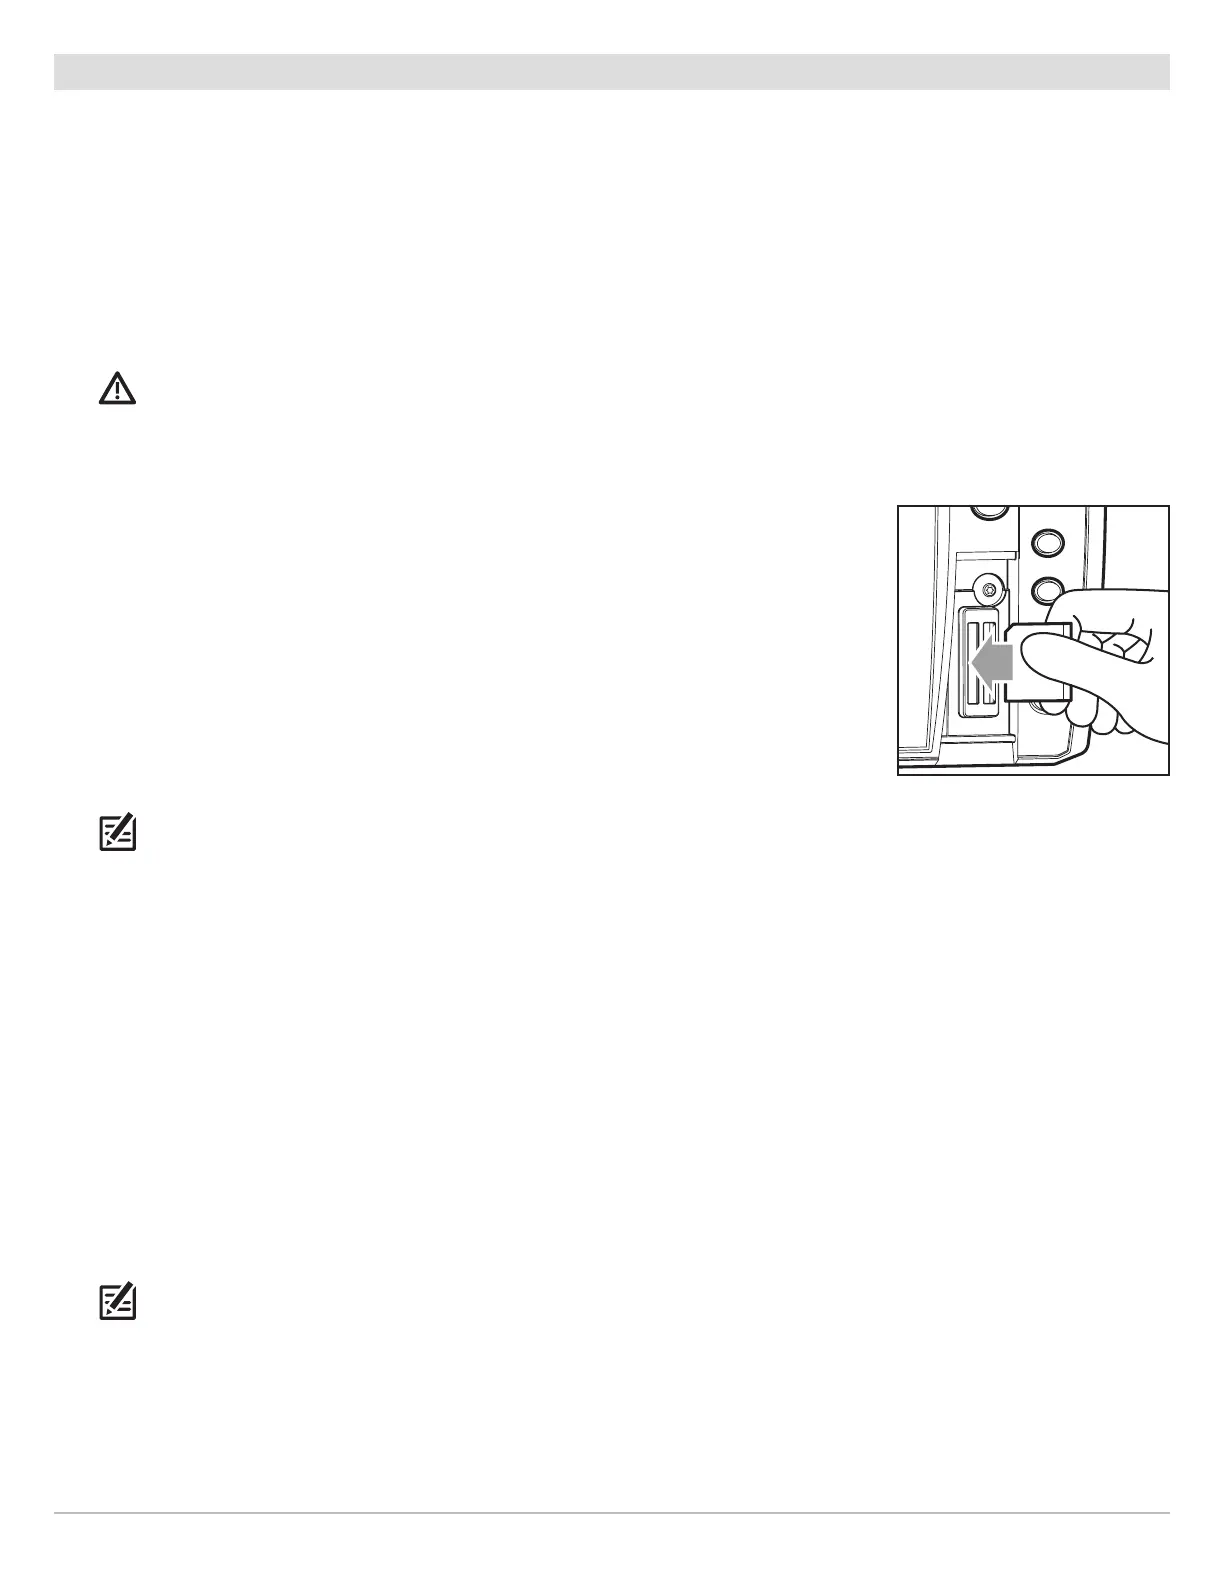
Insert an SD Card
Follow these steps if your control head is compatible with SD cards.
1. Remove the SD card slot cover.
2. Position the SD card so that the label faces to the left.
3. Insert the card into the slot until it clicks into place.
4. Replace the slot cover so it is secure.
5. Remove: Press the card into the slot and then release it. The card will eject. Pull the card
carefully from the slot.
NOTE: Do not leave the SD card slot cover open. The slot cover should always be closed to
prevent water damage to the unit.
Insert a microSD Card
Follow these steps if your control head is compatible with microSD cards.
1. Remove the microSD card slot cover.
2. Side Card Slot: Position the microSD card so that the label faces the front of the control head and the card notches face
down.
Front Card Slot: Position the microSD card so that the label faces to the left and the card notches face up.
3. Insert the card into the slot until it clicks into place.
4. Replace the slot cover so it is secure.
5. To Remove: Press the card into the slot and then release it. The card will eject. Pull the card carefully from the slot.
NOTE: Do not leave the card slot cover open. The slot cover should always be closed to prevent water damage to the unit.
Insert the SD card with the
label facing to the left
 Loading...