English – 15
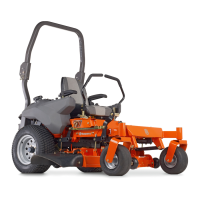
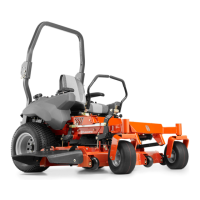
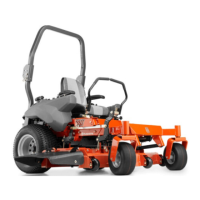
Chassis
4. Note how the link stay grease nipples are turned
for retting.
5. Turn the steering wheel to full right lock to prepare
the space for dismantling the link stay (1).
6. Loosen the front end of the connecting rod (2).
1
2
8095-270
1. Link stay 2. Connecting rod
7. Dismantle the rear link stay fastening. Remove
the lock nut (4), washer (5), screw (3) and
sleeve (2).
1
4
2
5
3
1. Link stay
2. Sleeve
3. Screw
4. Lock nut
5. Washer
IMPORTANT!
The rear carriage and transmission weighs
more than 90 kg.
8. Raise the back edge of the rear carriage with a
jack assembly to relieve the load on the link stay.
9. Use a screwdriver or a breaker bar to lift the link
stay off the steering block. NB! Heavy unstable
parts!
10. Dismantle the front link stay fastening. Remove
the screw (4).
11. Lift the upper bearing journal (1) so the link stay
can be swung out.
12. If the link stay is to be changed, the lower
bearing journal (3) must be removed and
reused.
13. Assemble in the reverse order. The front link
stay grease nipple must point to the right.
14. Torque tighten as below.
1. Upper bearing journal
2. Link stay
3. Lower bearing journal
4. Screw
The rear screw for the link stay is screwed into the
goods. In addition, there is a lock nut for securing the
screw. If the lock nut is tightened too much, the
torque on the screw will be released and the union
will come loose. See also information on bolt
fasteners in the introduction.
Tighten the screw (2) until it bottoms first.
Then tighten the screw to the torque specified in the
table.
Finally, screw on the lock nut (3) and tighten to the
torque specified in the table.
8095-358
3
2
1
1. Screw
2. Screw
3. Lock nut
Location Screw Nut
Front
link stay (1).
52 ft/lb (65 Nm) -
Rear
link stay (2).
52 ft/lb (47 Nm) 52 ft/lb (24 Nm)
15. Lubricate the link stay through the grease nipples.
 Loading...