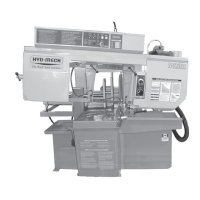
2.6
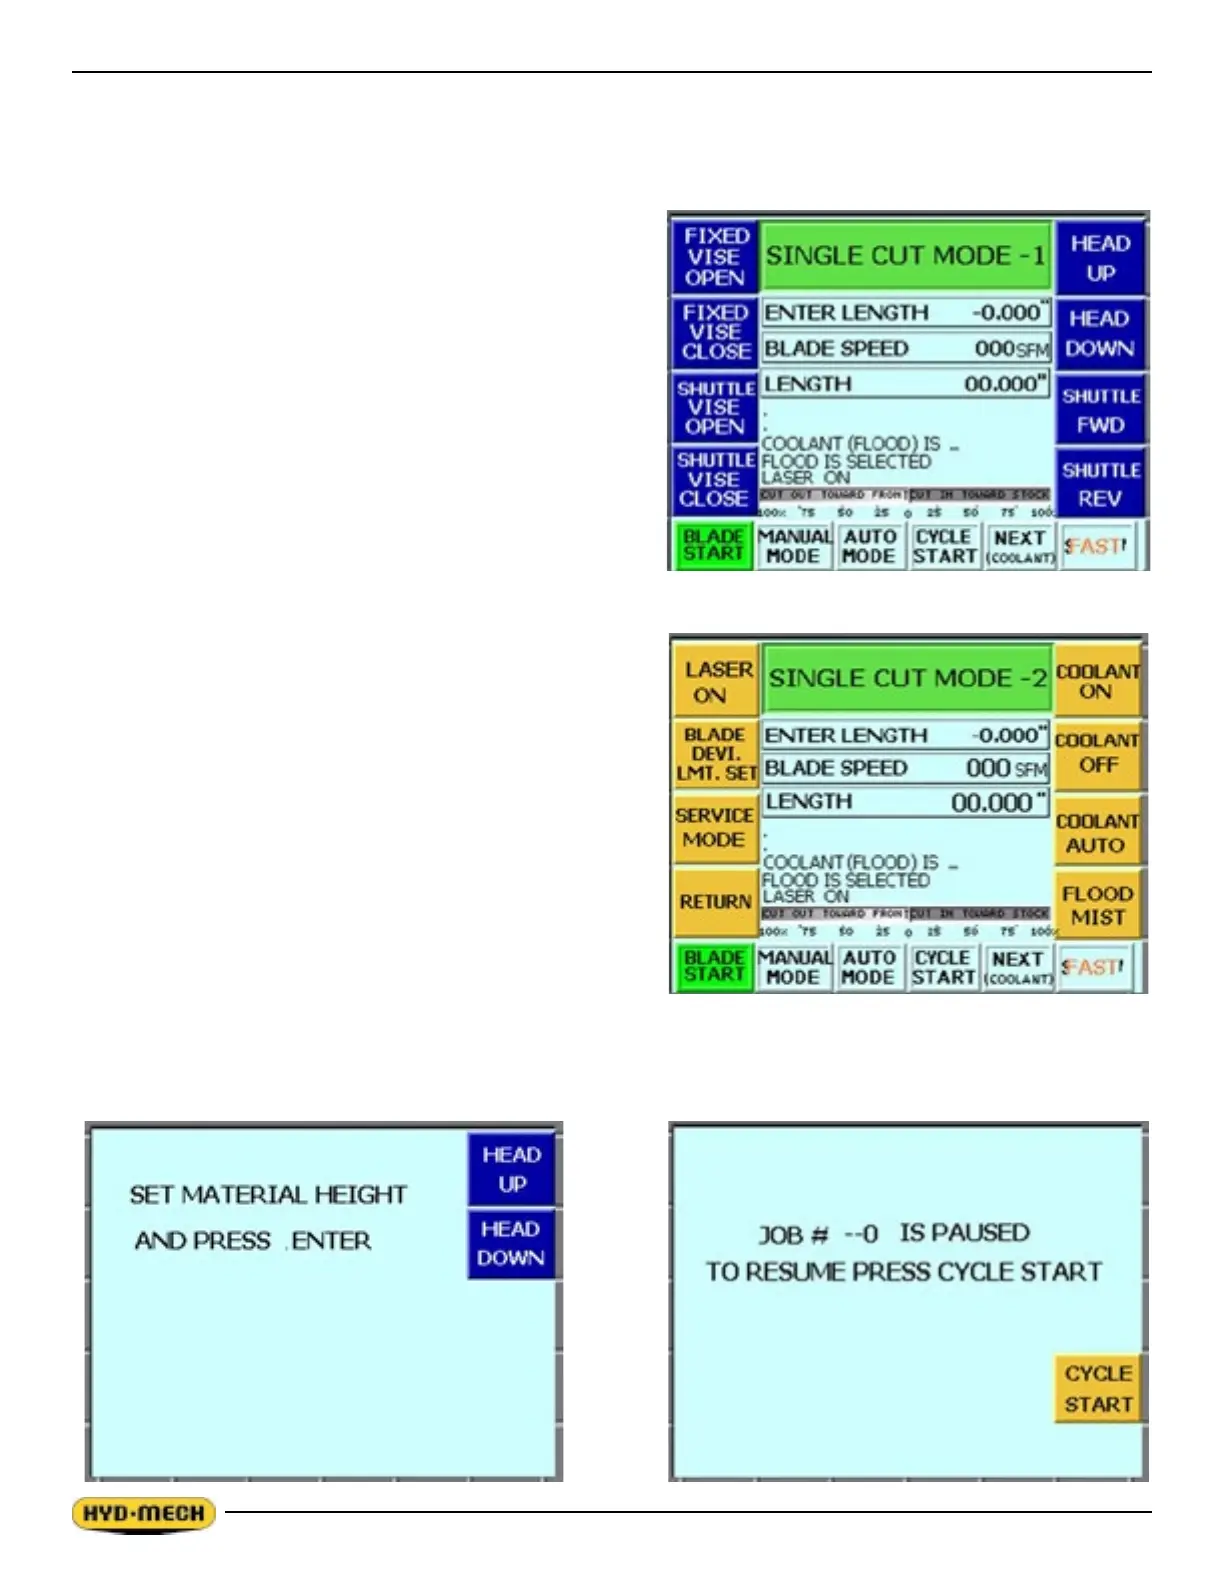
SINGLE CUT MODE OPERATION
In MANUAL mode, the PLC allows the operator to initiate a SINGLE CUT MODE to cut one piece at a desired length.
Closing the front vise automatically initiates Single Cut Mode. Follow the procedure below.
1. A trim cut should be made before initiating the SINGLE
CUT MODE operation
2. Make sure the front vise is in the closed position.
3. Make sure the head is set so that the blade is above the
material.
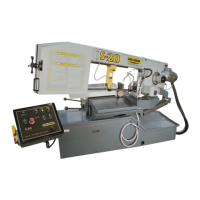
4. ENTER LENGTH will be ashing. Key in the desired
length up to 214” (5436 mm) using the numeric keypad
and press enter.
5. Cycle start will be ashing in the display window.
6. Press the cycle start pushbutton. The pushbutton lights
and the Material Height Prompt Screen appears.
7. Set the material height using the Head Up & Head Down
push buttons and then press enter. Position the blade
about 3/8” above material.
8. If the blade is not running, you will be prompted by
the words BLADE START. Start the blade and adjust the blade speed as required.
9. When the cut is completed, the head will rise to the
set material height, the blade will stop and the display
window will reset for the next cut.
10. To cut another piece, repeat steps 2 through 6.
NOTES:
1. To pause the SINGLE CUT CYCLE, press the CYCLE
PAUSE button. The CYCLE START button will be
displayed and the screen will indicate a paused condition.
All movements will immediately cease, except blade will
continue to run. To continue the cycle, press CYCLE
START.
2. To cut multiple pieces, switch to AUTO MODE and follow
the automatic procedures.
3. Whenever a new job or new material is being loaded for
production, the head up limit should be properly set to
clear the material positioned for a trim cut and the front vise should be closed (in MANUAL MODE).