2-3: Installation Information
Use caution when drilling any holes through the van oor. Many vans have critical
components mounted directly below the vehicle oor that could be damaged by
a misplaced drill bit.
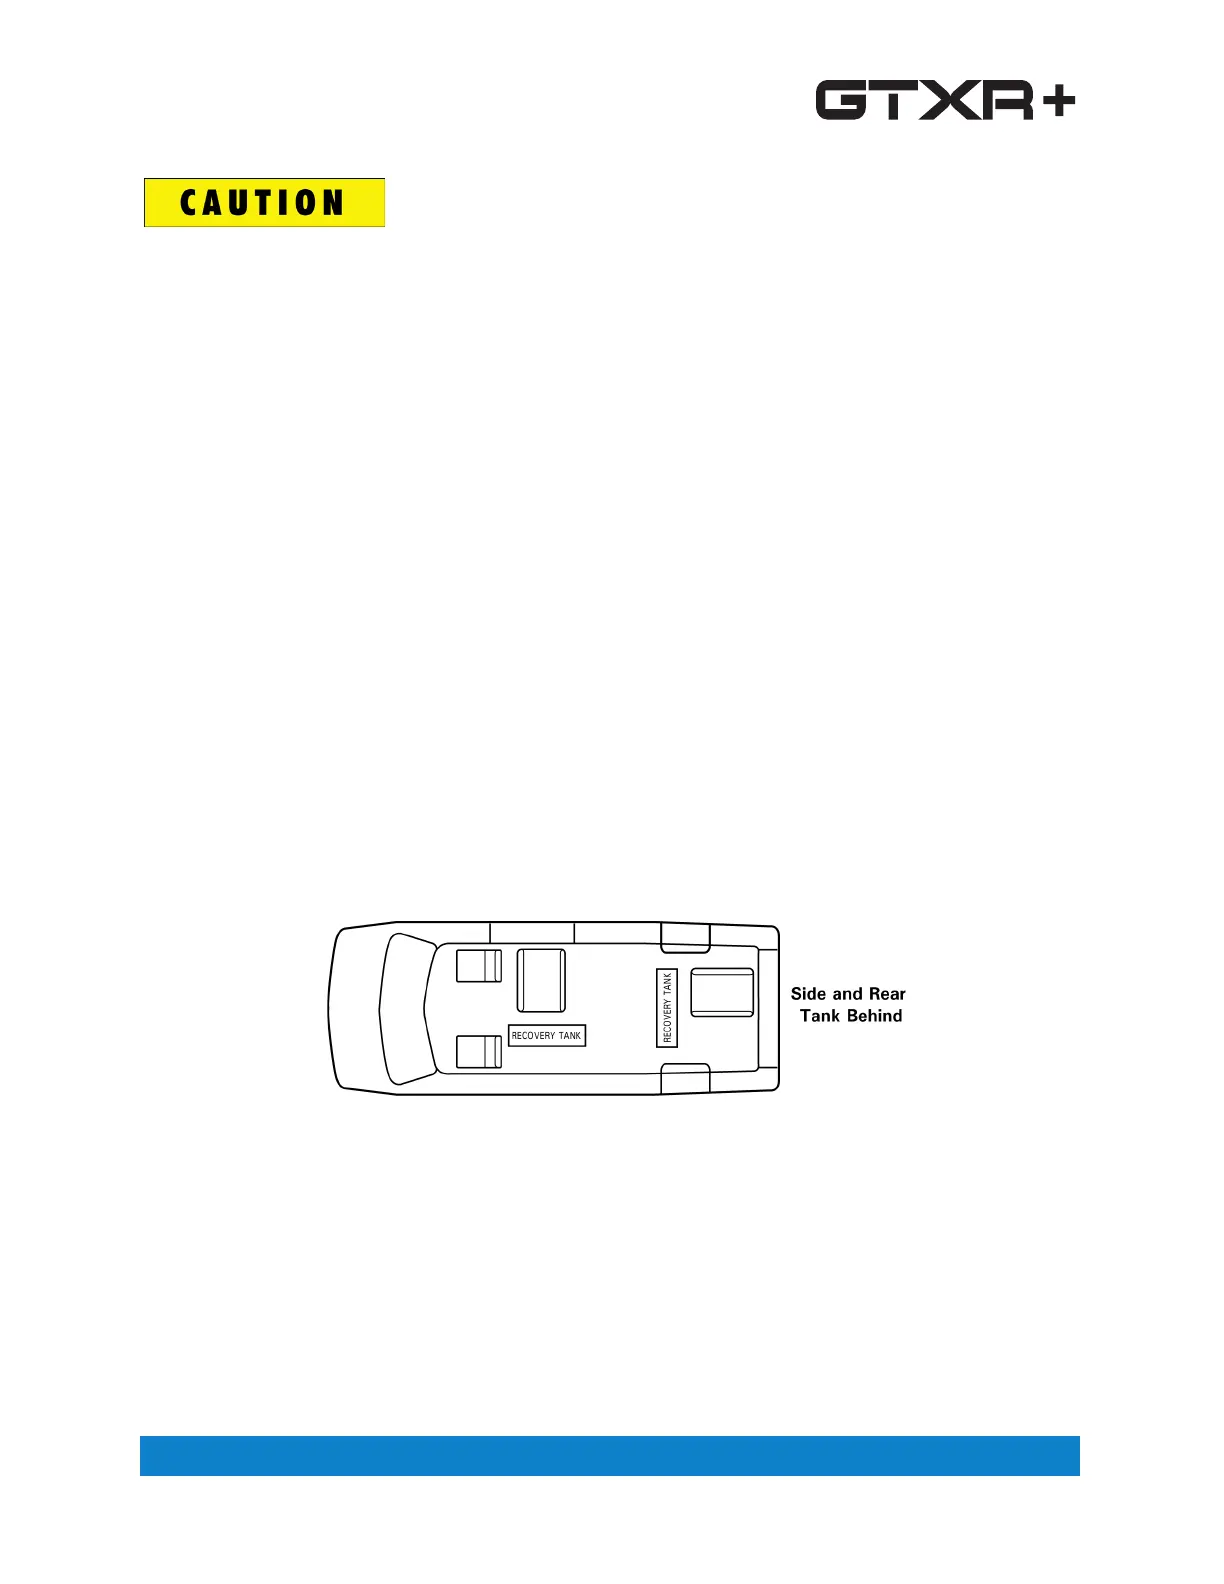
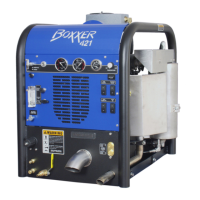
LOCATING THE GTXR + IN VEHICLE
There are two recommended entry points on the vehicle for the GTXR + installation: the
side door or the rear doors.
Most installations are through the side door. This provides rear access for accessories
and hoses as well as unobstructed access to the component/working side of the machine,
thus making it a bit easier to perform maintenance and/or repair without removing the unit
from the truck.
Rear mounting requires the unit to be slid to the right side as far as possible Although
installing the GTXR + through the rear door partly limits working access, it does direct the
noise away from the cleaning site.
In addition, rear mounting not only provides adequate working space on the component
side of the unit but also improves weight distribution inside the van (engine and component
weight line up over drive shaft). Some cleaners in colder geographical areas prefer this
placement for better traction in ice and snow. Also, it is physically easier to load the unit
into the rear door due to the height of the vehicle bed.
Secure Installation
No matter how the unit is installed, check to see if the GTXR + is properly secured to
the oor of the van with the hardware provided. This safety measure will ensure that the
machine will not slide inside the van. See Figure 2-2 for the correct installation.
Figure 8-2. Recommended Location of GTXR + in Van