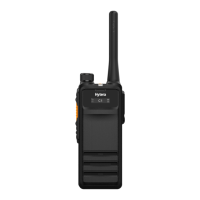
How do I fix a Hytera HP68X Portable Radio LCD that isn't displaying anything?
T
Tiffany LopezSep 4, 2025
If the LCD on your Hytera Portable Radio isn't displaying any information, the LCD may have temporarily failed. Try restarting the radio.
T
thomas14Sep 18, 2025
What to do if the BT device cannot be paired with Hytera Portable Radio?
B
banksnicoleSep 18, 2025
If your BT device cannot be paired with your Hytera Portable Radio, first, recharge the BT device, as its battery power may be low. If that doesn't work, move the BT device closer to the radio, because the BT device may be too far away from the radio.
C
Chad FowlerSep 16, 2025
What to do if the GPS cannot locate your position on Hytera Portable Radio?
M
Mrs. Beth SnyderSep 16, 2025
If your Hytera Portable Radio's GPS cannot locate your position, move to an open and flat area and try again. The radio may be in an unfavorable position, preventing GPS signal reception.
L
lwyattSep 14, 2025
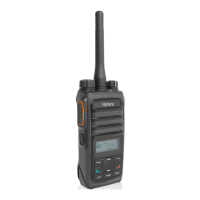
What to do if the keys do not work on Hytera Portable Radio?
E
Eric LyonsSep 14, 2025
If the keys on your Hytera Portable Radio aren't working, try restarting the radio. The keys may have failed to function temporarily.
M
Michael BaldwinSep 13, 2025
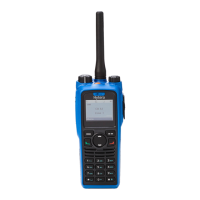
What to do if the LCD doesn't display any information on Hytera Portable Radio?
P
Patrick SheaSep 13, 2025
If the LCD on your Hytera Portable Radio isn't displaying any information, try restarting the radio. The LCD may have failed to function temporarily.
M
Michael MedinaSep 12, 2025
Why are there unknown voices or sounds on the channel of my Hytera Portable Radio?
F
fryewilliamSep 12, 2025
If you are hearing unknown voices or sounds on the channel of your Hytera Portable Radio, change the frequency or adjust the squelch level, as you may be interrupted by radios using the same frequency. Also, set signaling for all member radios to avoid interference at the same frequency, because the radio may be set with no signaling.
T
Toni FlemingSep 9, 2025
What to do if communications with group members are unavailable on Hytera Portable Radio?
M
Monica IrwinSep 9, 2025
If you can't communicate with group members on your Hytera Portable Radio, it might be due to inconsistent settings. Ensure your TX/RX frequency and signaling match those of the other members. Also, verify that all members are using the same channel type (digital or analog). Finally, you may be too far away, so try moving closer to the other members.
E
Erin YoungSep 7, 2025
What to do if the voice is weak during receiving on Hytera Portable Radio?
P
Pam TuckerSep 7, 2025
If you're experiencing weak, discontinuous, or no voice during receiving on your Hytera Portable Radio, try these steps: Recharge or replace the battery as the voltage may be low. Increase the volume. Ensure the antenna is properly attached by turning the radio off and reattaching it. Lastly, check the speaker for blockages or damage and clean it.
T
Tiffany ScottSep 6, 2025
What to do if keys do not work on Hytera HP68X?
B
Brittney HawkinsSep 6, 2025
If the keys on your Hytera Portable Radio do not work, they may have temporarily failed. Try restarting the radio.
A
Amy ScottAug 21, 2025
How to fix a Hytera HP68X that won't turn on?
M
Mark ThomasAug 21, 2025
If your Hytera Portable Radio won't turn on, there are a few potential causes. First, the battery might be installed improperly; try removing and reattaching it. Second, the battery power may be depleted, so recharge or replace the battery. Finally, the battery contacts might be dirty or damaged; clean the battery contacts to ensure a good connection.