Before you begin
1. This procedure should be performed only by trained service technicians.
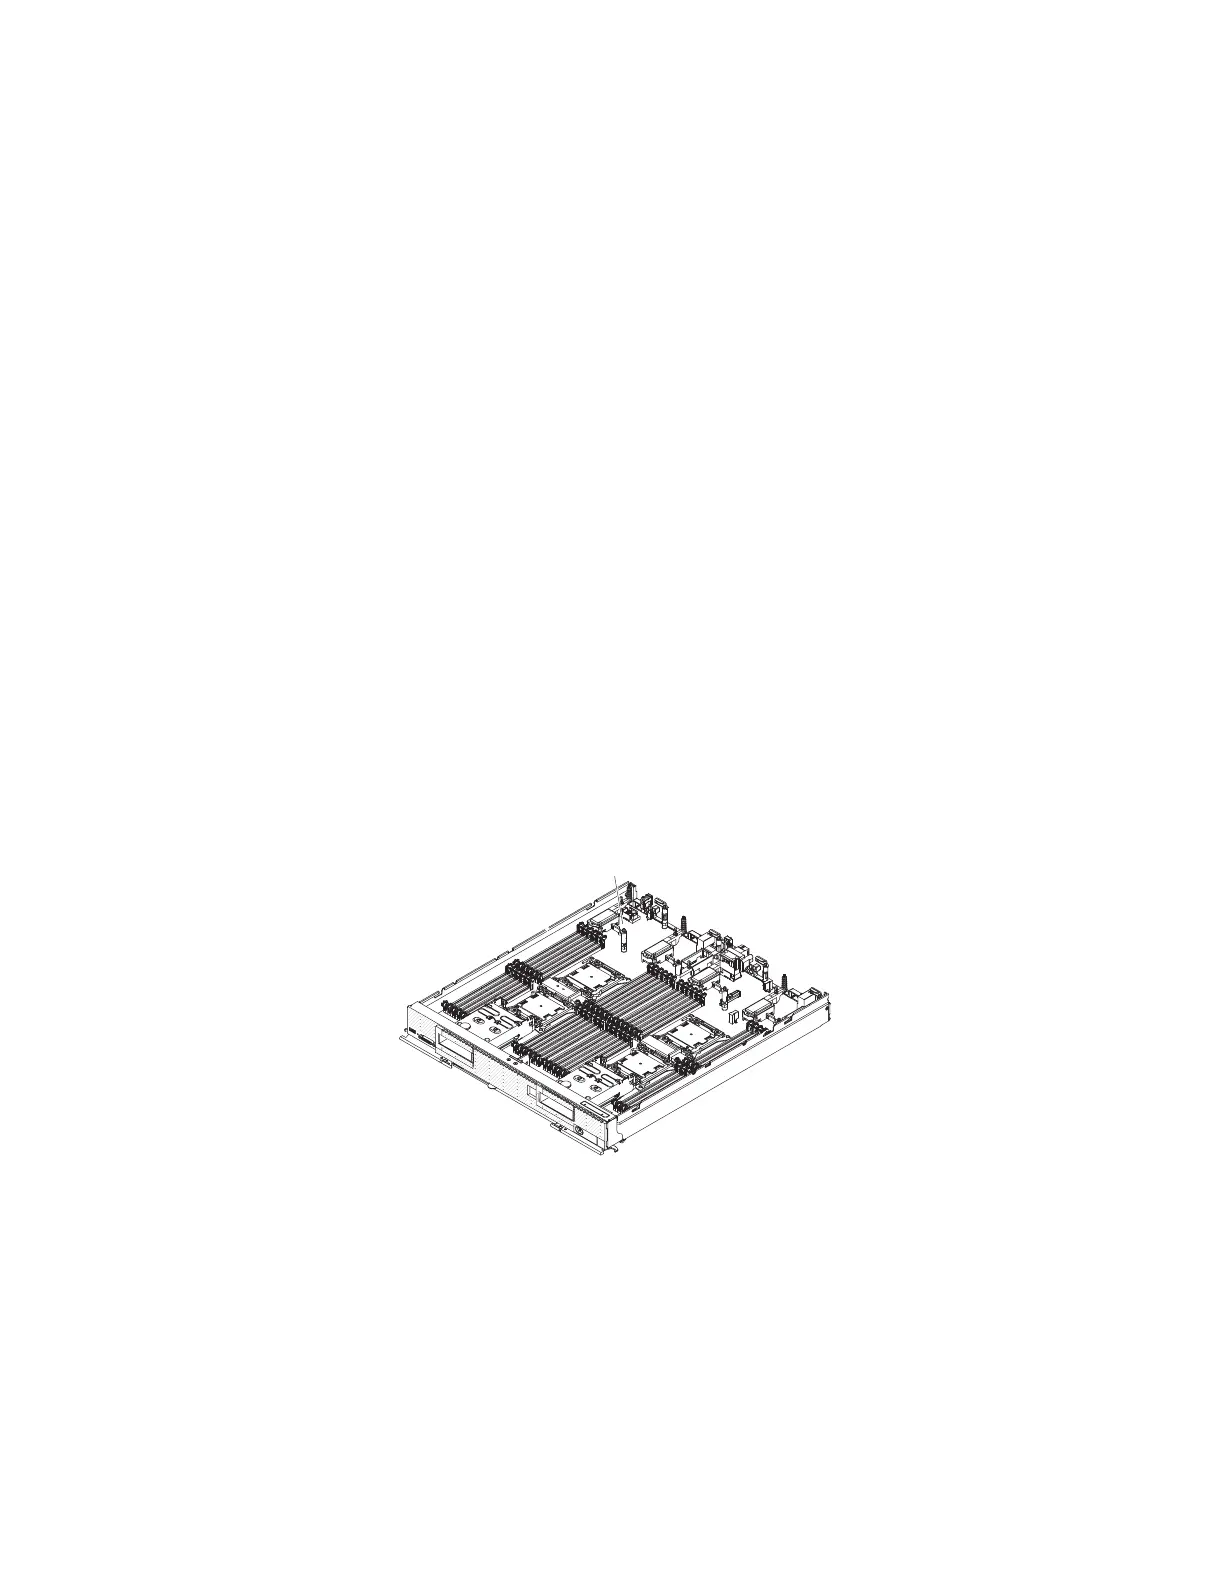
2. The base assembly includes the chassis and system board.
Before you install the base assembly, complete the following steps:
1. Read “Safety” on page v and “Installation guidelines” on page 487.
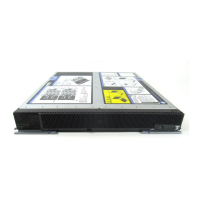
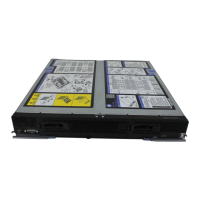
2. If the compute node is installed in an IBM Flex System chassis, remove it (see
“Removing a compute node from a chassis” on page 489 for instructions).
3. Carefully lay the compute node on a flat, static-protective surface, orienting the
compute node with the bezel pointing toward you.
4. Obtain the following items for use during the replacement procedure (see
Chapter 5, “Parts listing, Types 7917 and 2584,” on page 51):
v Alcohol wipes
v Bezel
v Thermal grease
About this task
Important: When you replace the base assembly, you must update the compute
node with the latest firmware or restore the preexisting firmware. Make sure that
you have the latest firmware or a copy of the preexisting firmware before you
proceed. See “Updating firmware and device drivers” on page 23 for more
information.
Procedure
To install the components on the system board of the new base assembly, complete
the following steps.
Earrings
System-board
assembly
1. Install all of the components in the following list that you removed from the
old system board onto the new system board.
v DIMMs and air baffles (see “Installing a DIMM” on page 502).
v I/O expansion adapters (see “Installing an I/O expansion adapter” on page
525).
v Hard disk drives and hard disk drive fillers (see “Installing a hot-swap hard
disk drive” on page 523).
v Microprocessors, heat sinks, and microprocessor heat sink fillers. Use the
microprocessor installation tool that comes with the CRU kit to remove each
microprocessor from the system board and install each one immediately in
the new system board (see “Removing a microprocessor and heat sink” on
page 539 and “Installing a microprocessor and heat sink” on page 542).
532 IBM Flex System x440 Compute Node Types 7917 and 2584: Installation and Service Guide