v Hard disk drives and hard disk drive bay fillers (see “Removing a hot-swap
hard disk drive” on page 522).
v Microprocessors, heat sinks, and microprocessor heat sink fillers. Use the
microprocessor installation tool that comes with the CRU kit to remove each
microprocessor from the system-board assembly and install each one
immediately in the new system-board assembly (see “Removing a
microprocessor and heat sink” on page 539 and “Installing a microprocessor
and heat sink” on page 542).
v Hard disk drive backplane (see “Removing the hard disk drive backplane”
on page 519).
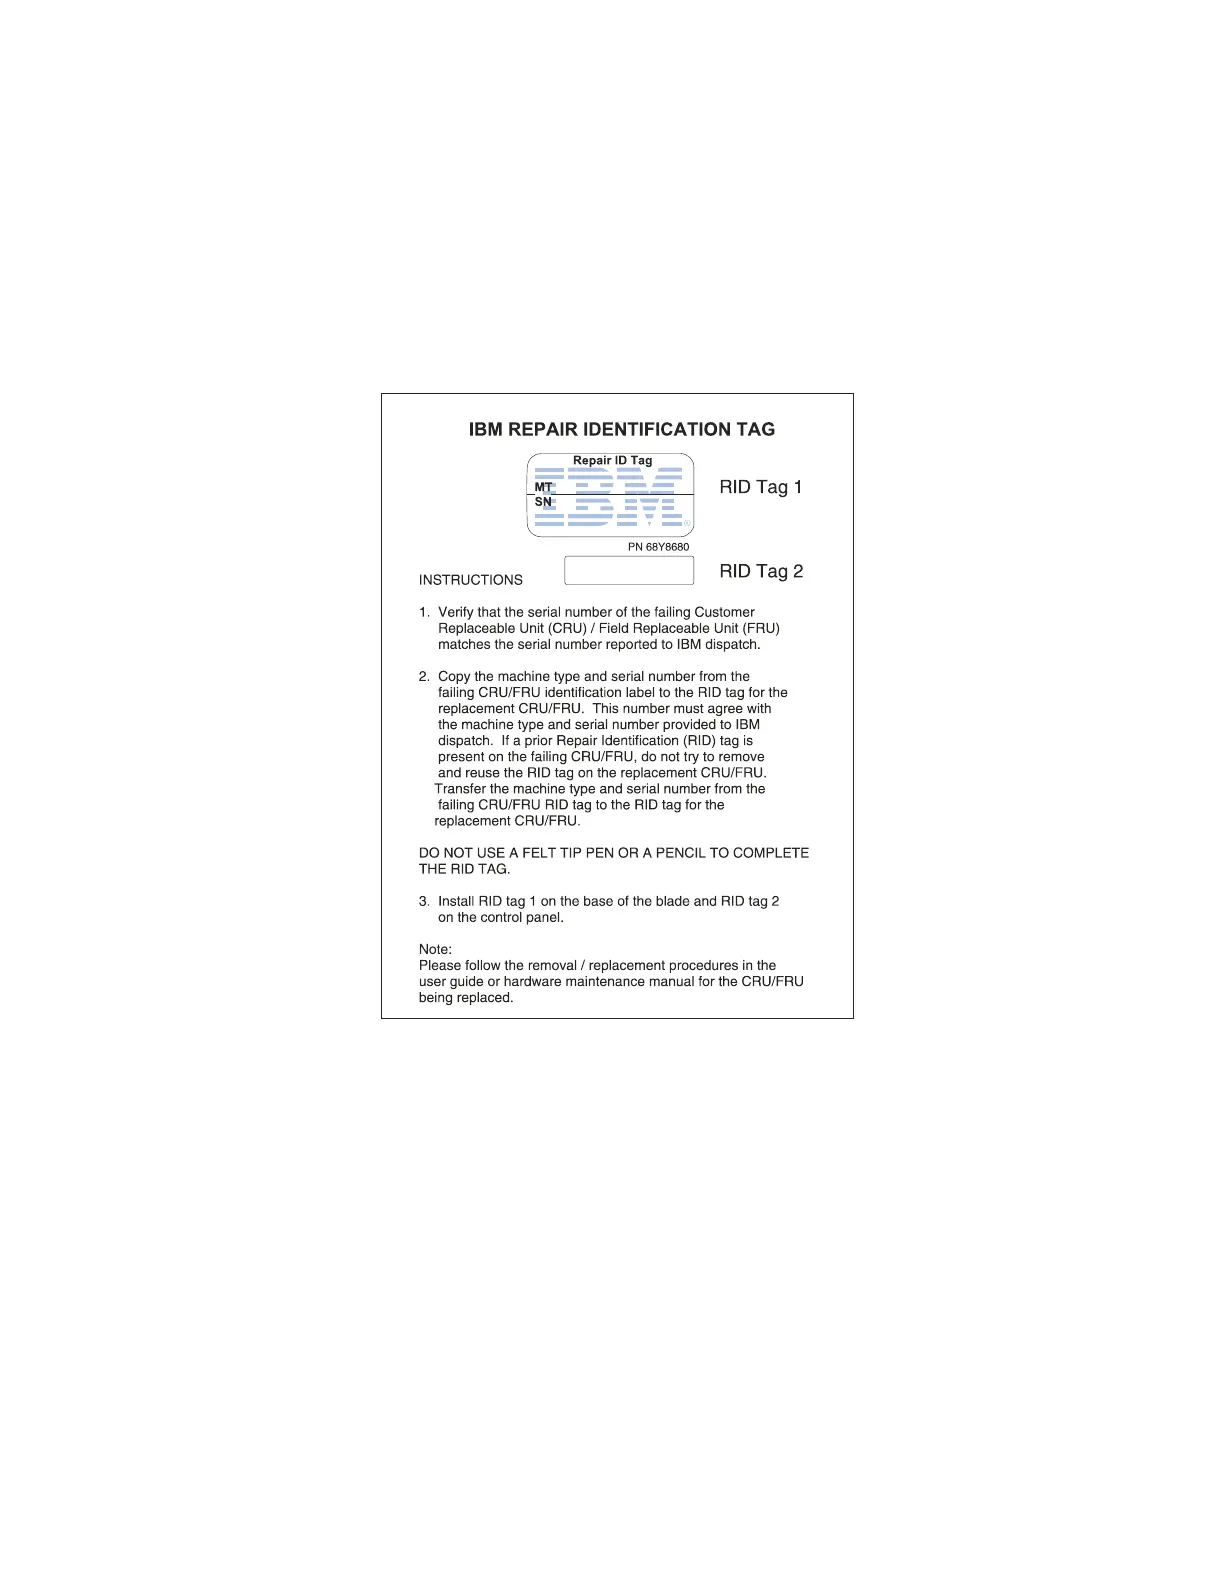
3. The new base assembly comes with an IBM Repair Identification (RID) tag on
the system board. Using a ball point pen, transfer the machine type and serial
number from the old system board to the two labels on the IBM Repair
Identification (RID) tag that comes with the new system board; then, place label
1 (larger label) on the base of the system board and label 2 (smaller label) on
the bottom side of the control panel.
What to do next
If you are instructed to return the base assembly, follow all packaging instructions,
and use any packaging materials for shipping that are supplied to you.
Installing the base assembly
Use this information to install the base assembly.
Chapter 7. Installing, removing, and replacing compute node components 531