4. Touch the static-protective package containing the RIMM to any unpainted
metal surface on the computer. Then remove the new RIMM from the
package.
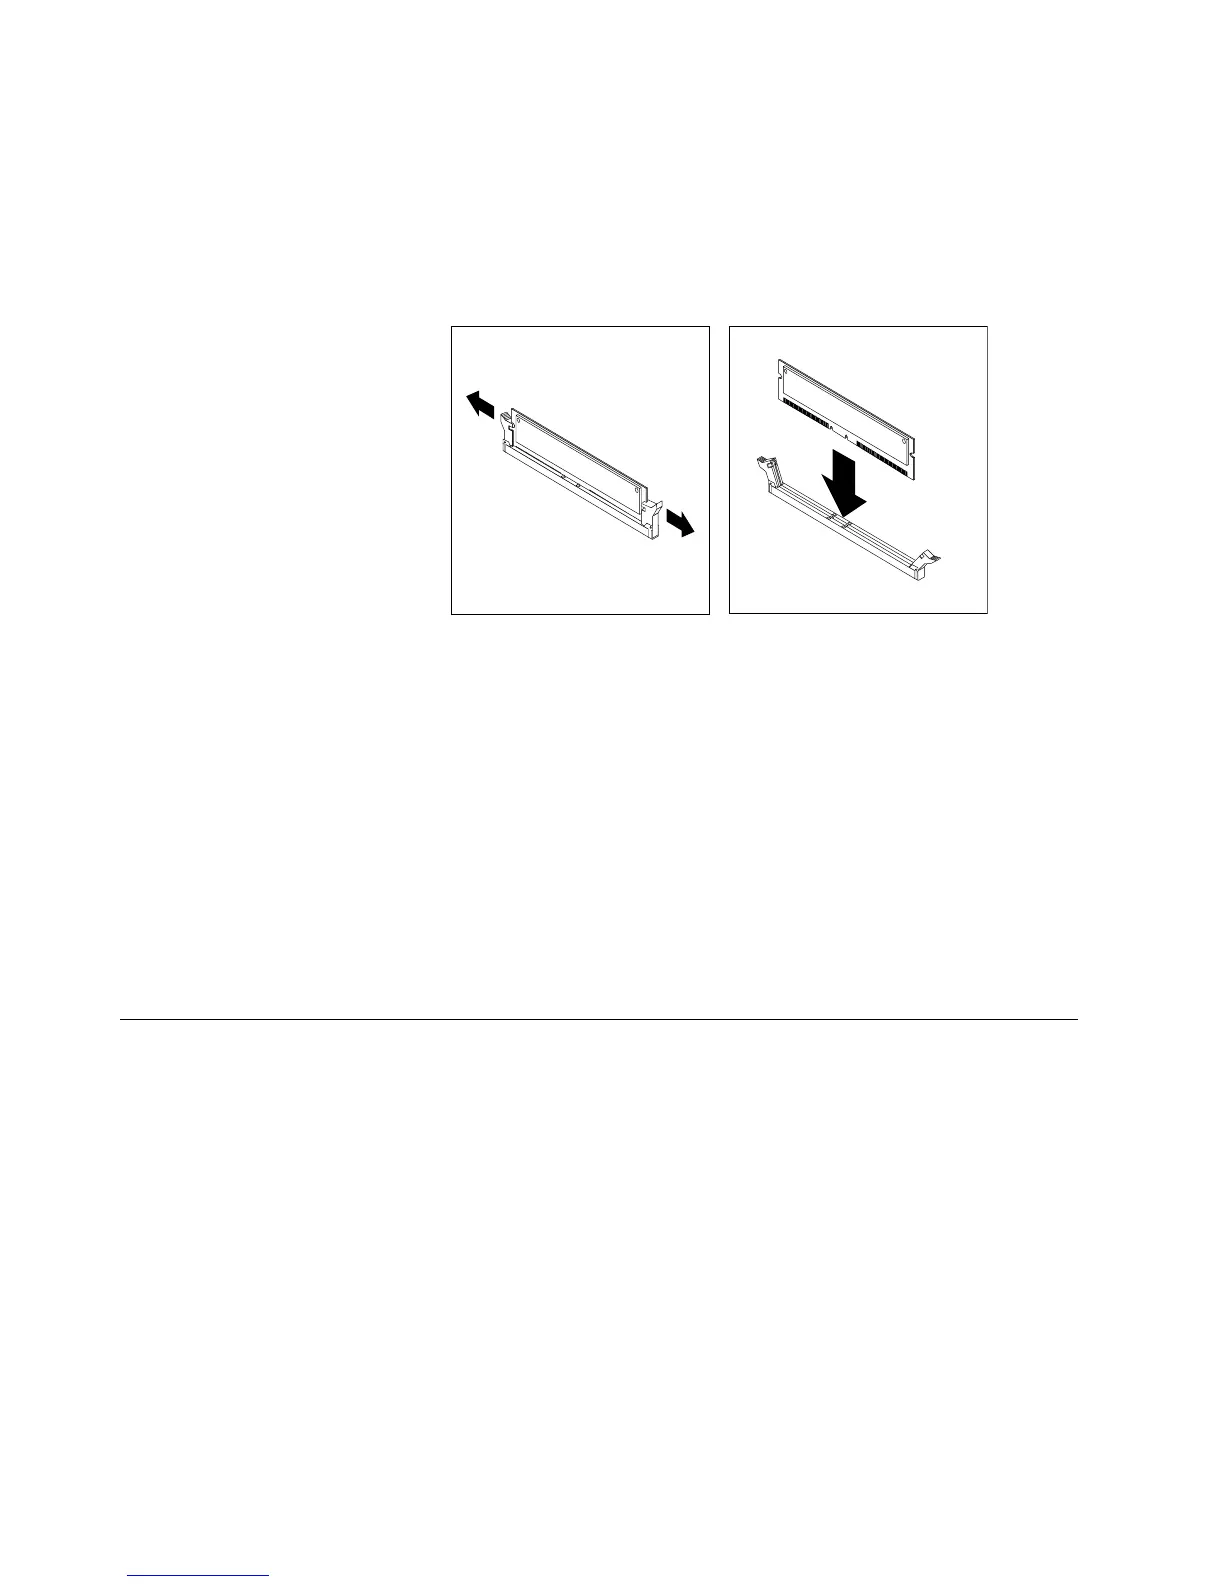
5. Open the retaining clips and, if necessary, remove any existing RIMM or
C-RIMM:
6. Gently open the retaining clip on each end of the RIMM slot. Turn the RIMM
so that the pins align correctly with the connector.
7. Insert the RIMM into the connector by aligning the RIMM edges with the slots
at each end of the RIMM connector. Firmly press the RIMM straight down
into the connector by applying pressure on both ends of the RIMM
simultaneously. The retaining clips snap into the locked position when the
RIMM is firmly seated in the connector.
8. If a gap exists between the RIMM and the retaining clips, the RIMM has not
been correctly installed. Open the retaining clips, remove the RIMM, then
reinsert it.
9. If you have other options to install or remove, go to the appropriate section.
Otherwise, finish the installation with the steps below.
10. Replace the support bracket.
11. Replace the side cover, see “Replacing the cover” on page 43.
12. Reconnect the external cables and power cords. Turn on the attached devices,
then the computer.
Installing a security U-bolt
To help prevent theft, you can add a security U-bolt and cable to your computer.
This section discusses how to install a security U-bolt.
Note: Your computer might look different slightly different than the one shown.
42 IntelliStation M Pro: User Guide
 Loading...