To replace a power supply in the switch, you need a new power supply that has
the same part number as the power supply being replaced.
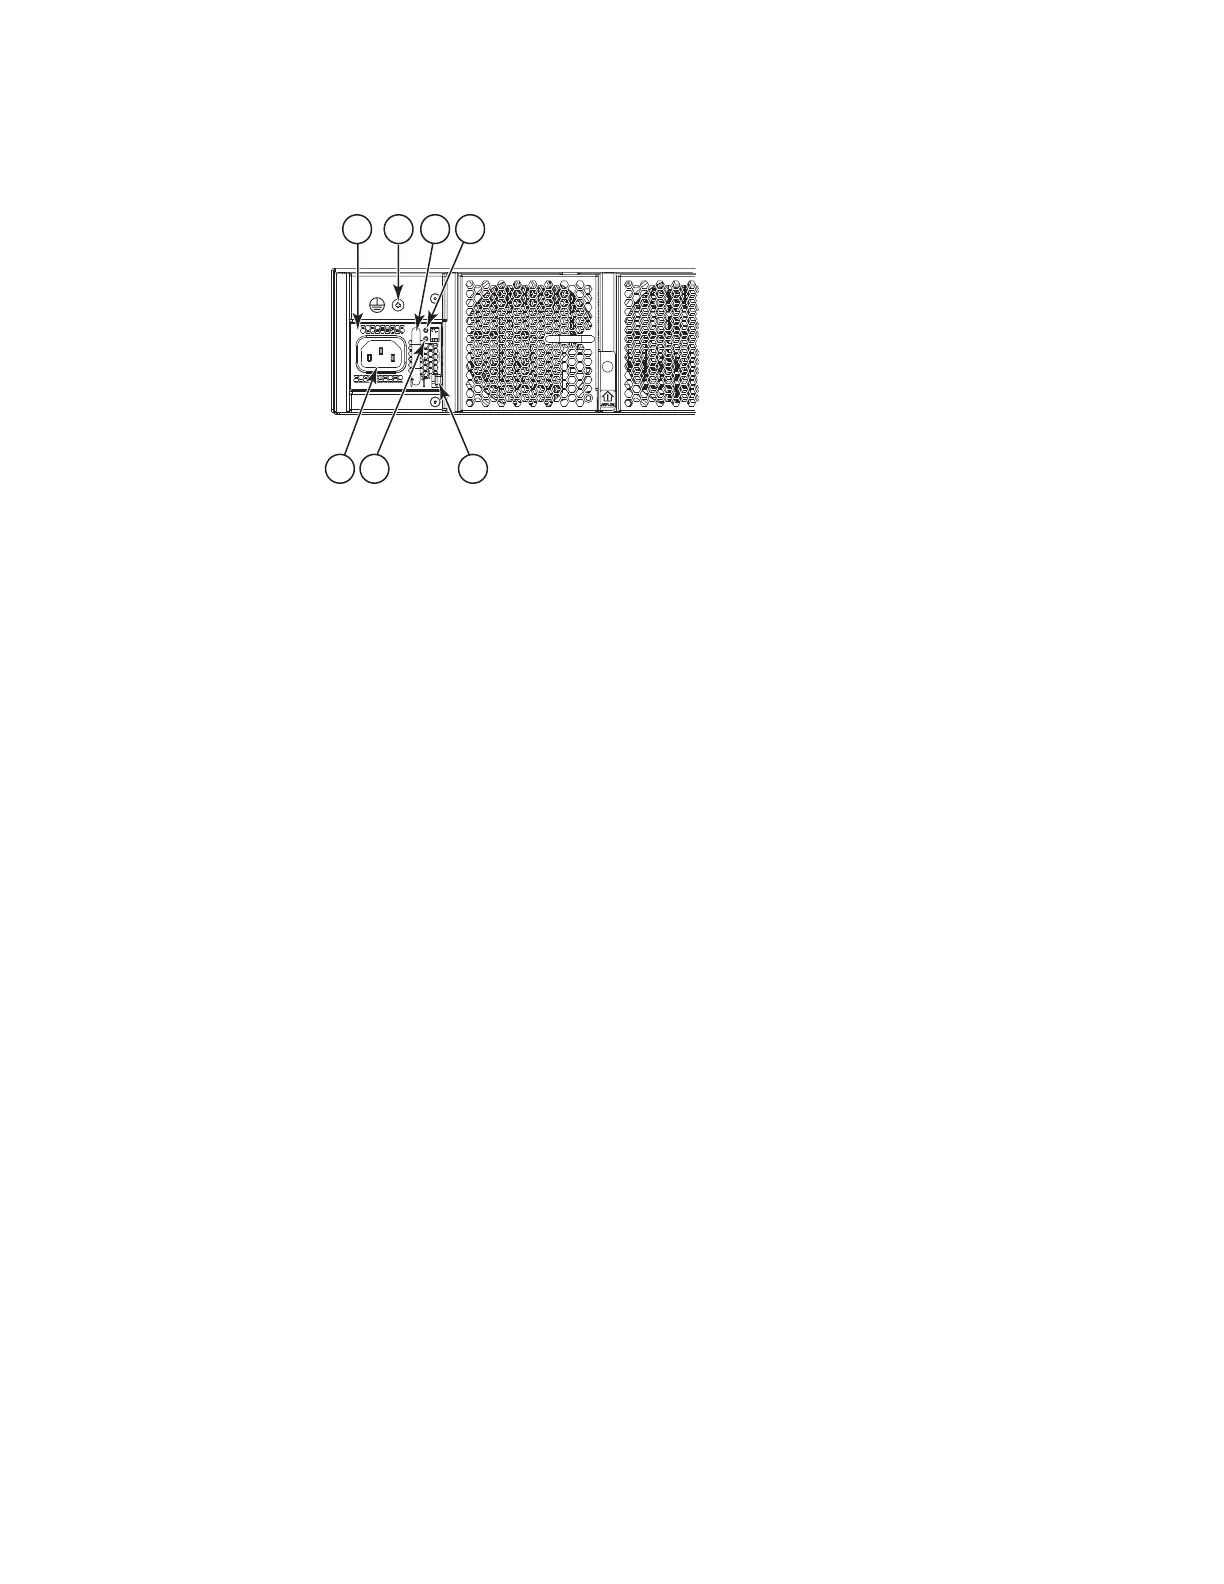
1 - Power supply #2
2 - Grounding screw
3 - Handle
4 - AC input status LED
5 - Locking tab
6 - DC output status LED
7 - Power cord receptacle
Replacing a power supply
Complete the following steps to replace a power supply in the switch. Refer to
Figure 21 and Figure 22 on page 41 for this procedure.
1. To leave the switch in service while replacing a power supply, verify that the
other power supply (the one not being replaced) has been powered on for at
least four seconds and has a steady green status LED.
2. Unplug the power cord from the power cord receptacle (7 in Figure 21) of the
power supply that is being replaced.
3. Push the locking tab (5) to the left and hold it there while using the handle
(3) on the power supply to pull it straight out and away from the chassis.
Pull the power supply out slowly to avoid catching a finger on the locking tab.
3 4
21
5
67
b42r019
Figure 21. Switch power supply components
40 SAN42B-R Installation, Service, and User Guide

 Loading...


