11. Repeat step “2” on page 24 through step “10” on page 26 to secure the opposite rail to the rack
cabinet.
12. Repeat the procedure to install rails for each additional control enclosure.
Installing enclosures
Following your enclosure location plan, install the control enclosure (and optionally, one or more
expansion enclosures).
About this task
Note: For NEBS-compliant installations, more requirements are placed on the rack into which the support
rails and enclosures are to be installed. Before you proceed, ensure that the rack meets the requirements
that are listed in “NEBS-compliant earth connection” on page 23.
CAUTION:
• To lift and install the enclosure into the rack requires at least two people.
• To lift a control enclosure with drives installed requires at least three people.
• Load the rack from the bottom up to ensure rack stability. Empty the rack from the top down.
Procedure
To install an enclosure, complete the following steps.
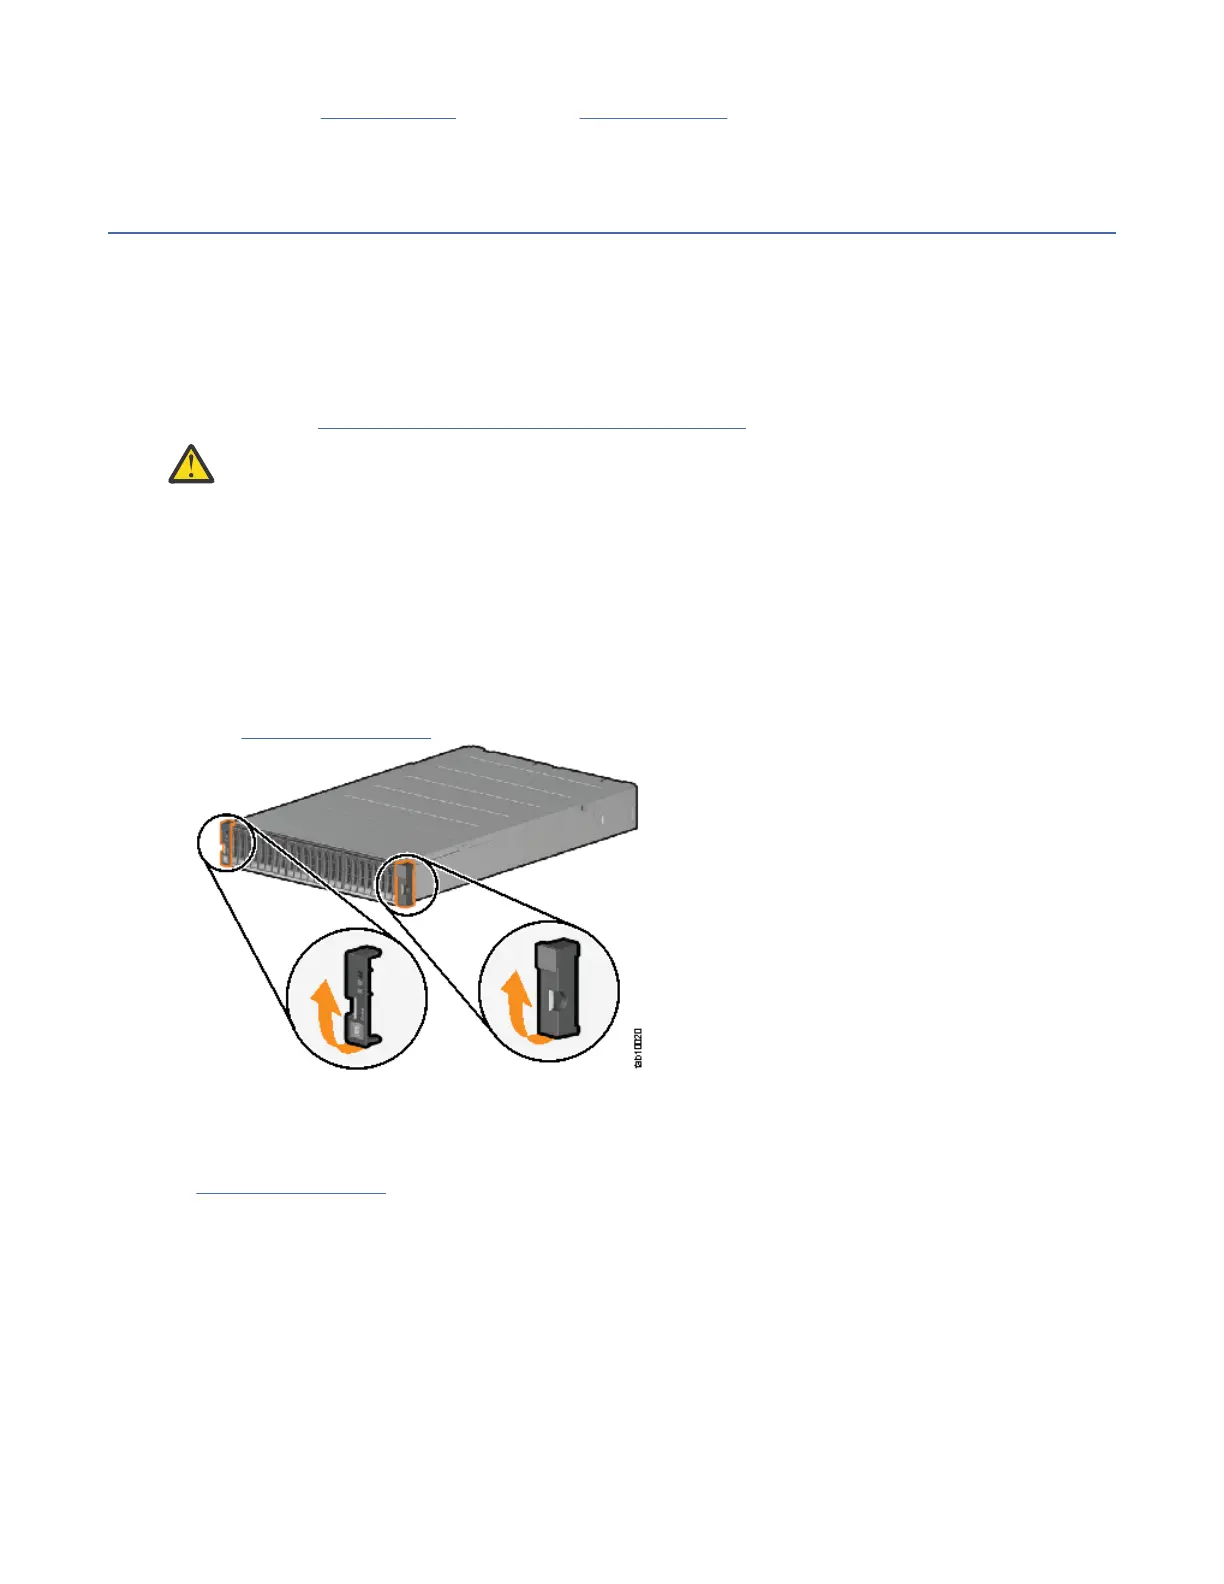
1. On either side of the drive assemblies, remove the enclosure end caps by grasping the handle and
pulling the bottom of the end cap free, then clearing the tab on the top of the enclosure.
(See Figure 14 on page 27.)
Figure 14. Removing enclosure end caps
2. Align the enclosure with the front of the rack cabinet.
3. Carefully slide the enclosure into the rack along the rails until the enclosure is fully inserted (see
Figure 15 on page 28).
Note: The rails are not designed to hold an enclosure that is partially inserted. The enclosure must
always be in a fully inserted position.
Chapter 4. Installing the system hardware
27