10.2-1
10.2 Connecting to a ICE Torus Printer
Using the null-modem cable, connect your PC COM1 port to the CLARiTY™ controller.
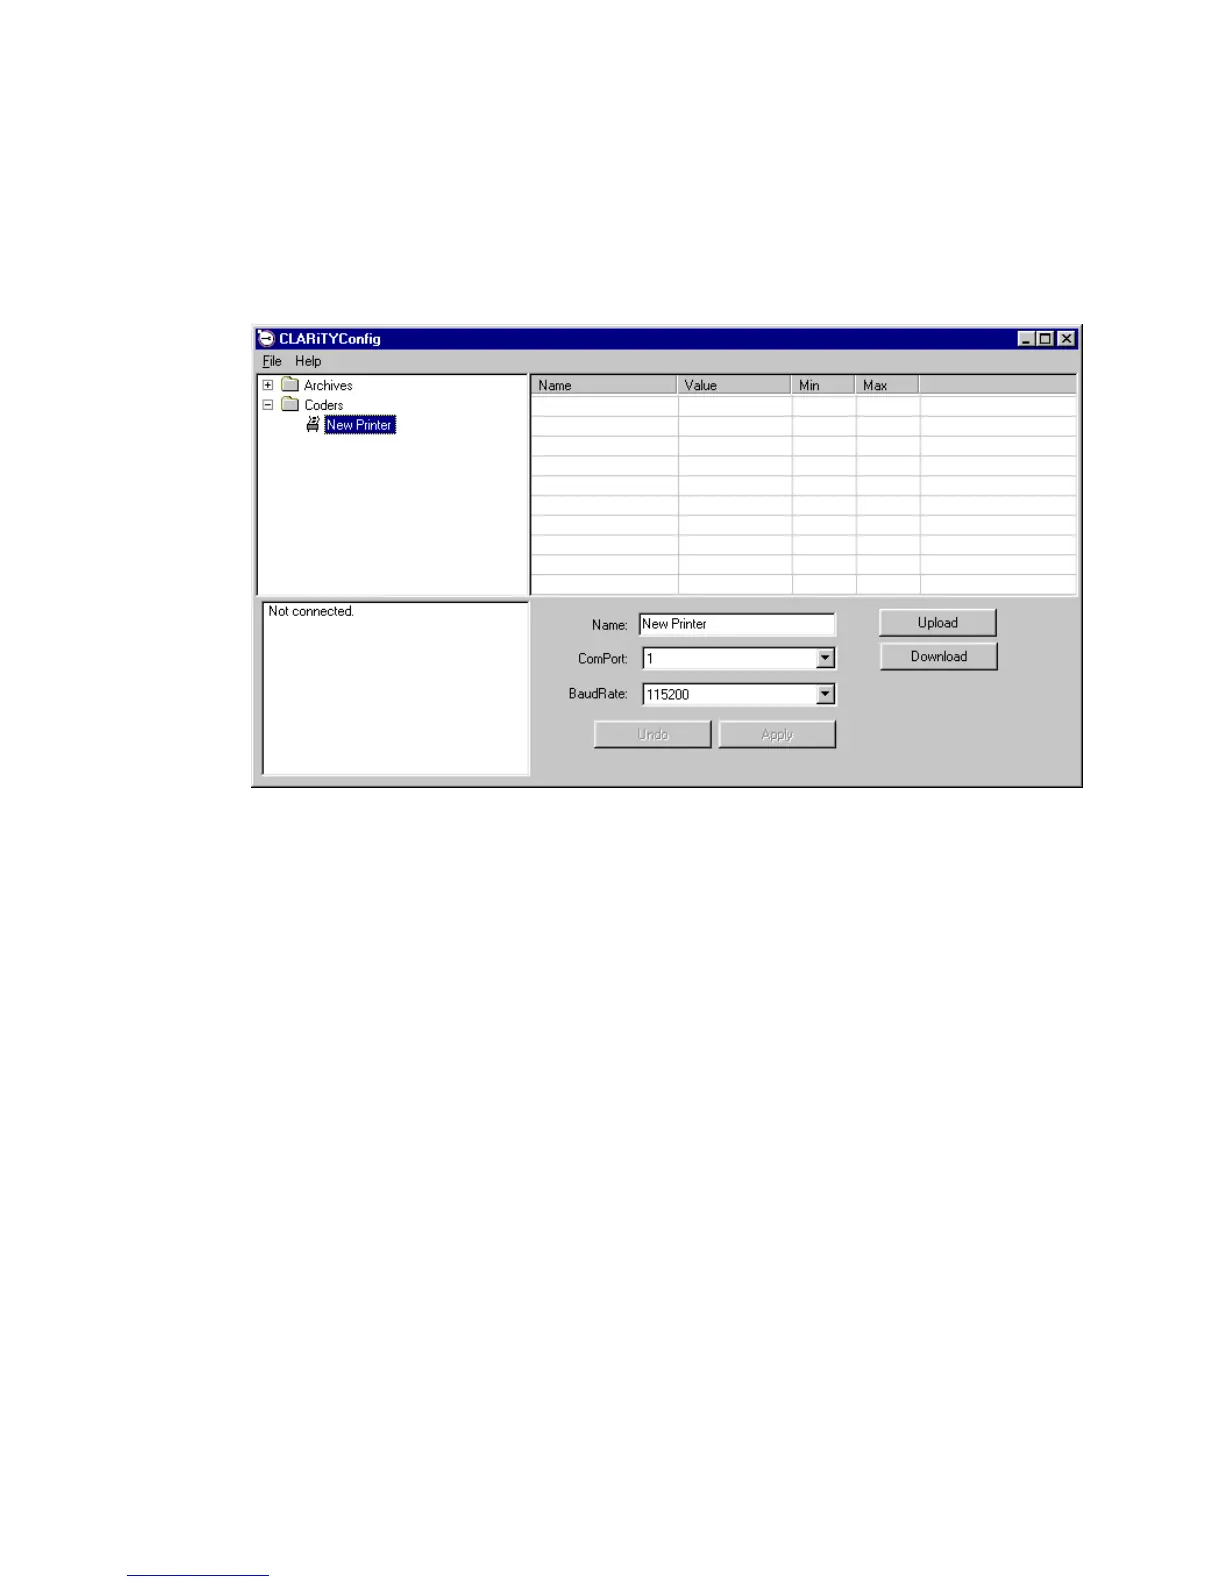
Run the CLARiTY™ Configuration Manager on the PC.
Figure 10.2-1
Wait for the printer status pane (at the bottom left of the window) to report “Connection
Active”. If the status just displays “Not connected” (as in the picture above), then disable or
shut down any other applications running on the PC that are using the COM port.
Press the UPLOAD button; the progress of the operation will be displayed in the status pane.
The list of folders containing the configuration parameters will appear in the parameter listing
(in the right hand frame of the Configuration Manager).
By opening the required folders, and editing the individual parameters, e.g. Registration, Print
direction etc. changes can be made to the operation of the printer.
Please Note: Technical Guide contains descriptions for all CLARiTY Configuration Manager
parameters.
 Loading...