2
1
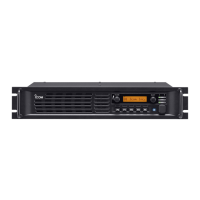
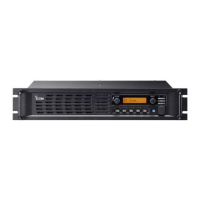
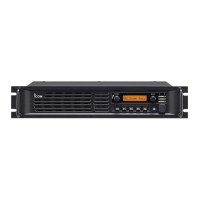
USING THE UTILITY FOR ID-RP3
Installing the utility
When installing the utility, conrm Windows has
completed its startup, and then log in as the
administrator.
1. Confirm no other applications are running.
2. Double-click “setup.exe.”
L If “User Account Control” is displayed, click <Yes> to
continue.
3. “Choose Setup Language” is displayed. Select
“English” (or “Japanese”) and then click <Next>>.
4. “Welcome to the InstallShield Wizard for Utility for
ID-RP3” is displayed. Click <Next >>.
5. “Choose Destination Location” is displayed.
Click <Next >>.
L If desired, click <Browse...> to select another
destination folder before clicking <Next >>.
6. After the installation has completed, “InstallShield
Wizard Complete” is displayed. Click <Finish>.
7. An “ID-RP3” folder is created in the Windows
Start menu, and a shortcut icon is created on the
desktop.
L You can uninstall the utility using the “Apps &
features” in the “Apps” menu.
To get started, click on Start > Settings > Apps >
Apps & features.
TIP:
• See the Help le of the utility for assistance with
the functions or settings. To open the Help le,
click “Help” on the top menu of the programming
software and select “Contents,” or simply push the
[F1] key of the PC’s keyboard.
• The utility may be updated to add or improve
functions. Ask your dealer for details of repeater’s
rmware and utility compatibility if necessary.
( The latest repeater rmware may not be
compatible with an older version of the utility.)
 Loading...