IMPORTANT. ENSURE THE MODULE/S ASSEMBLY IS LEVEL IN BOTH DIRECTIONS TO ENSURE
SATISFACTORY ASSEMBLY.
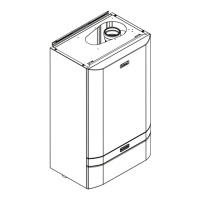
5. Fit the bottom side panels to the frame using the front and rear magnets pre tted to the frame.
6. Ret the plastic front cover/s in reverse order.
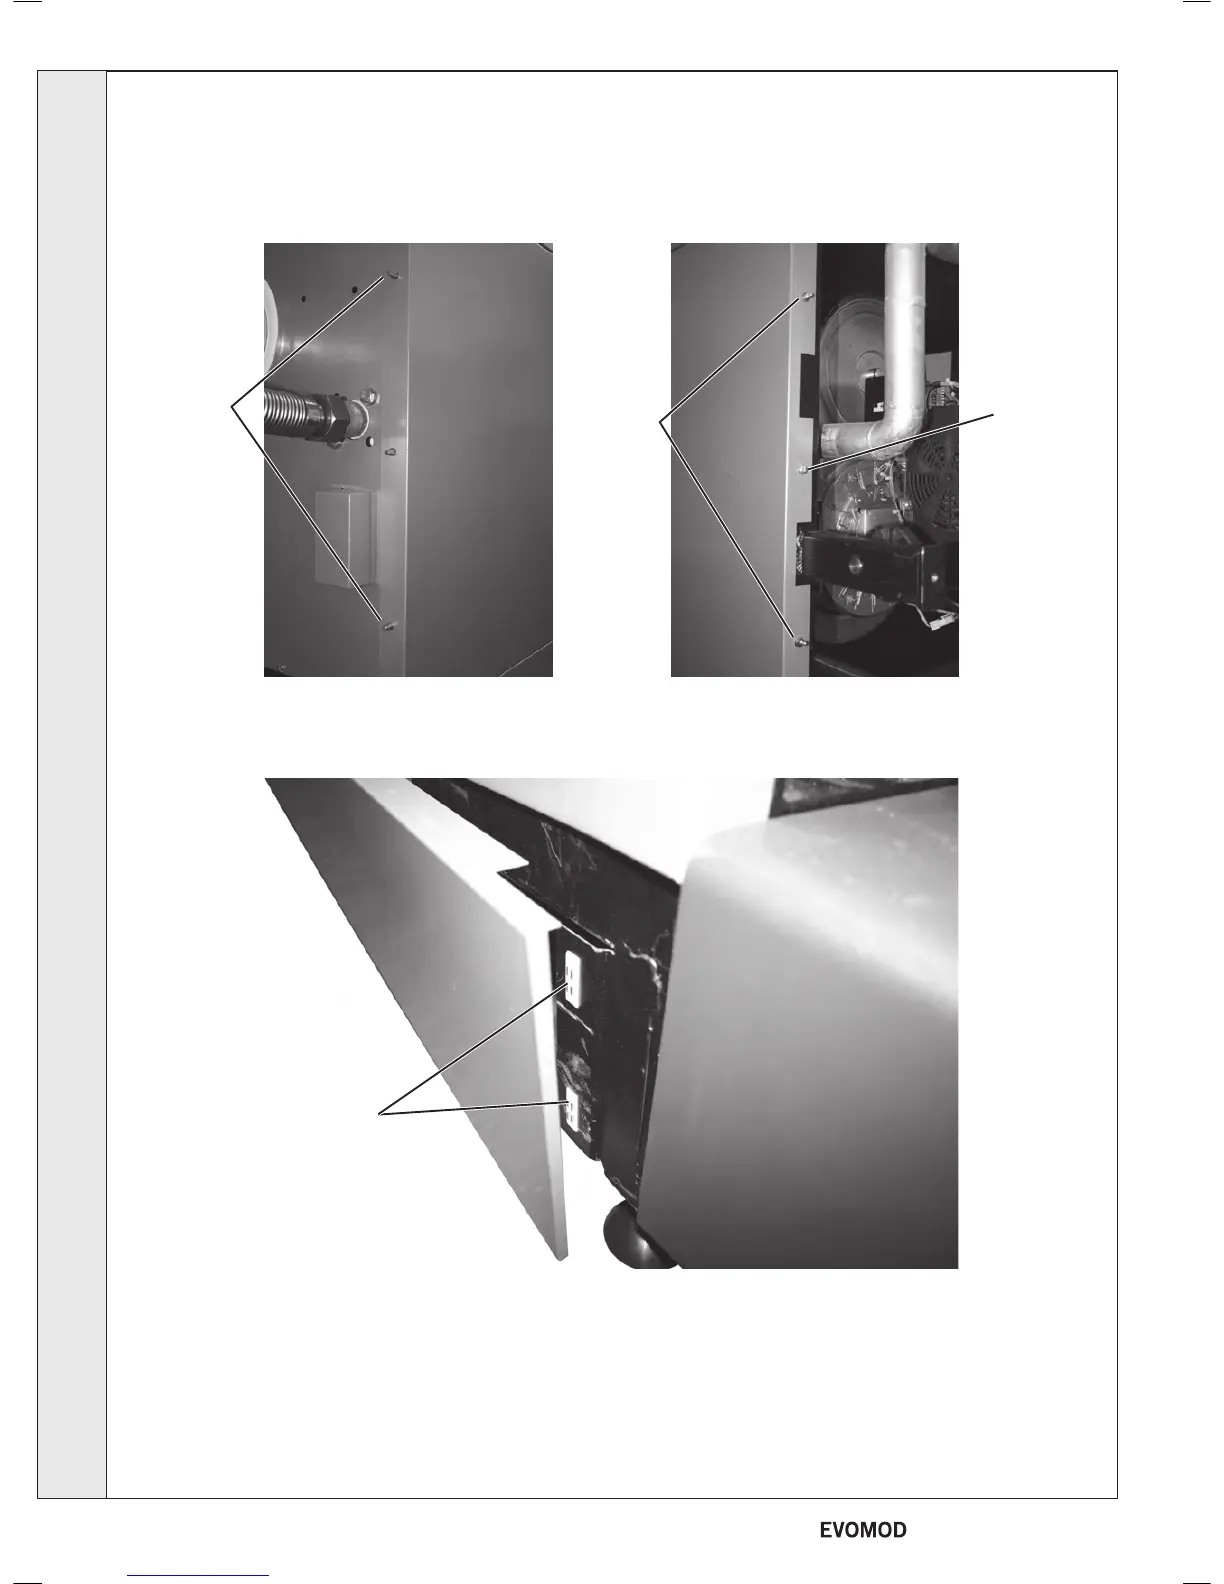
3. Remove the ‘push on’ connectors & M5 screws from the front of the frame.
4. Hang the side panels over the 2 retaining pins on the back of the frame then secure at the front using 2 ‘push on’ connectors &
an M5 screw per panel.
Retaining
Pins
'Push on'
connectors
M5 x 10
pozi screw
Front magnets
15
ASSEMBLING THE BOILERS .... CONTINUED
INSTALLATION
18
- Installation & Servicing
 Loading...