56
PRESSURE SWITCH REPLACEMENT
1. Refer to Frame 40.
2. Remove the module front cover (refer to Frame 44).
3. Remove the right hand side panel (refer to Frame 15).
4. Isolate the water circuit and drain boiler.
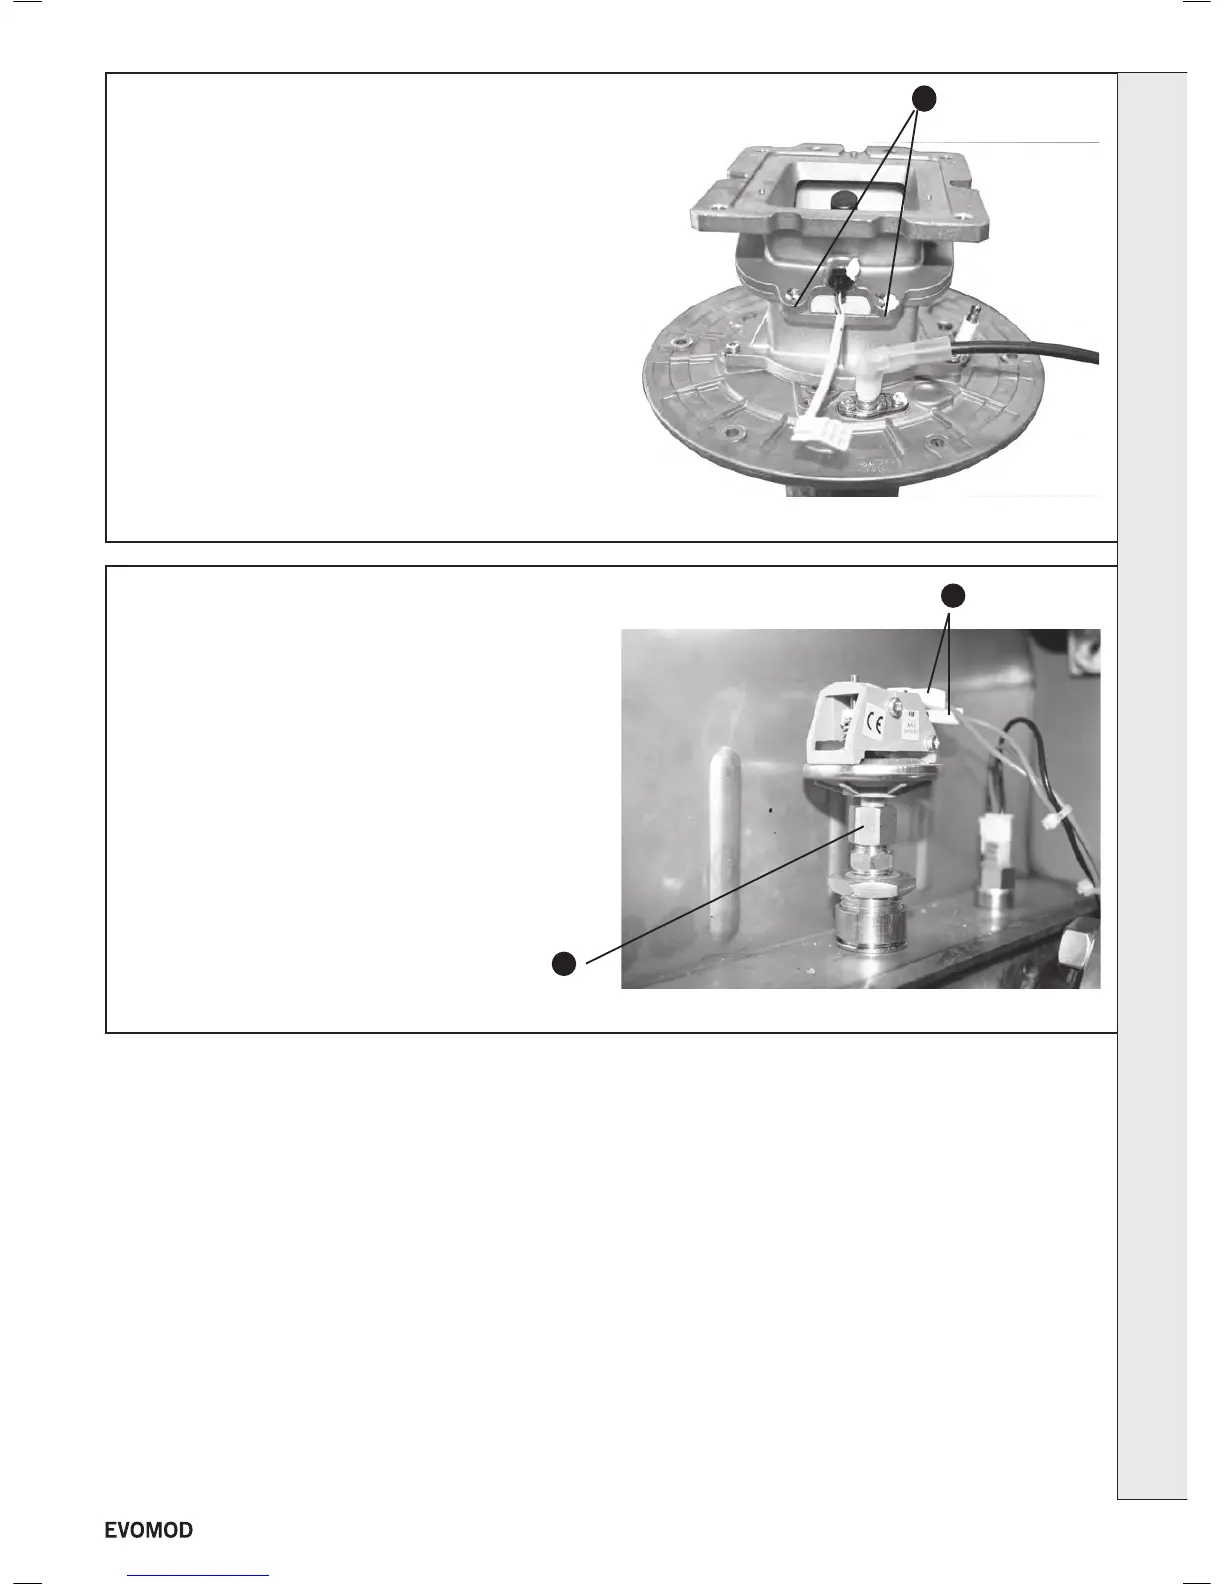
5. Pull off the two electrical connections.
6. Unscrew the pressure switch.
7. Fit the new pressure switch. NOTE. Do not overtighten.
8. Re-assemble in reverse order.
9. Re-ll the system ensuring all the air in the boiler is vented.
10. Refer to Frame 39 for nal safety checks.
5
6
55
FLAPPER VALVE REPLACEMENT
1. Refer to Frame 40.
2. Remove the module front cover (refer to Frame 44).
3. Remove the fan/venturi assemby (refer to Frame 45).
4. Remove the apper valve by removing the 6 xing screws.
5. Fit the new apper vavle and reassemble in reverse order.
6. Refer to Frame 39 for nal checks.
4
SERVICING
43
- Installation & Servicing
 Loading...