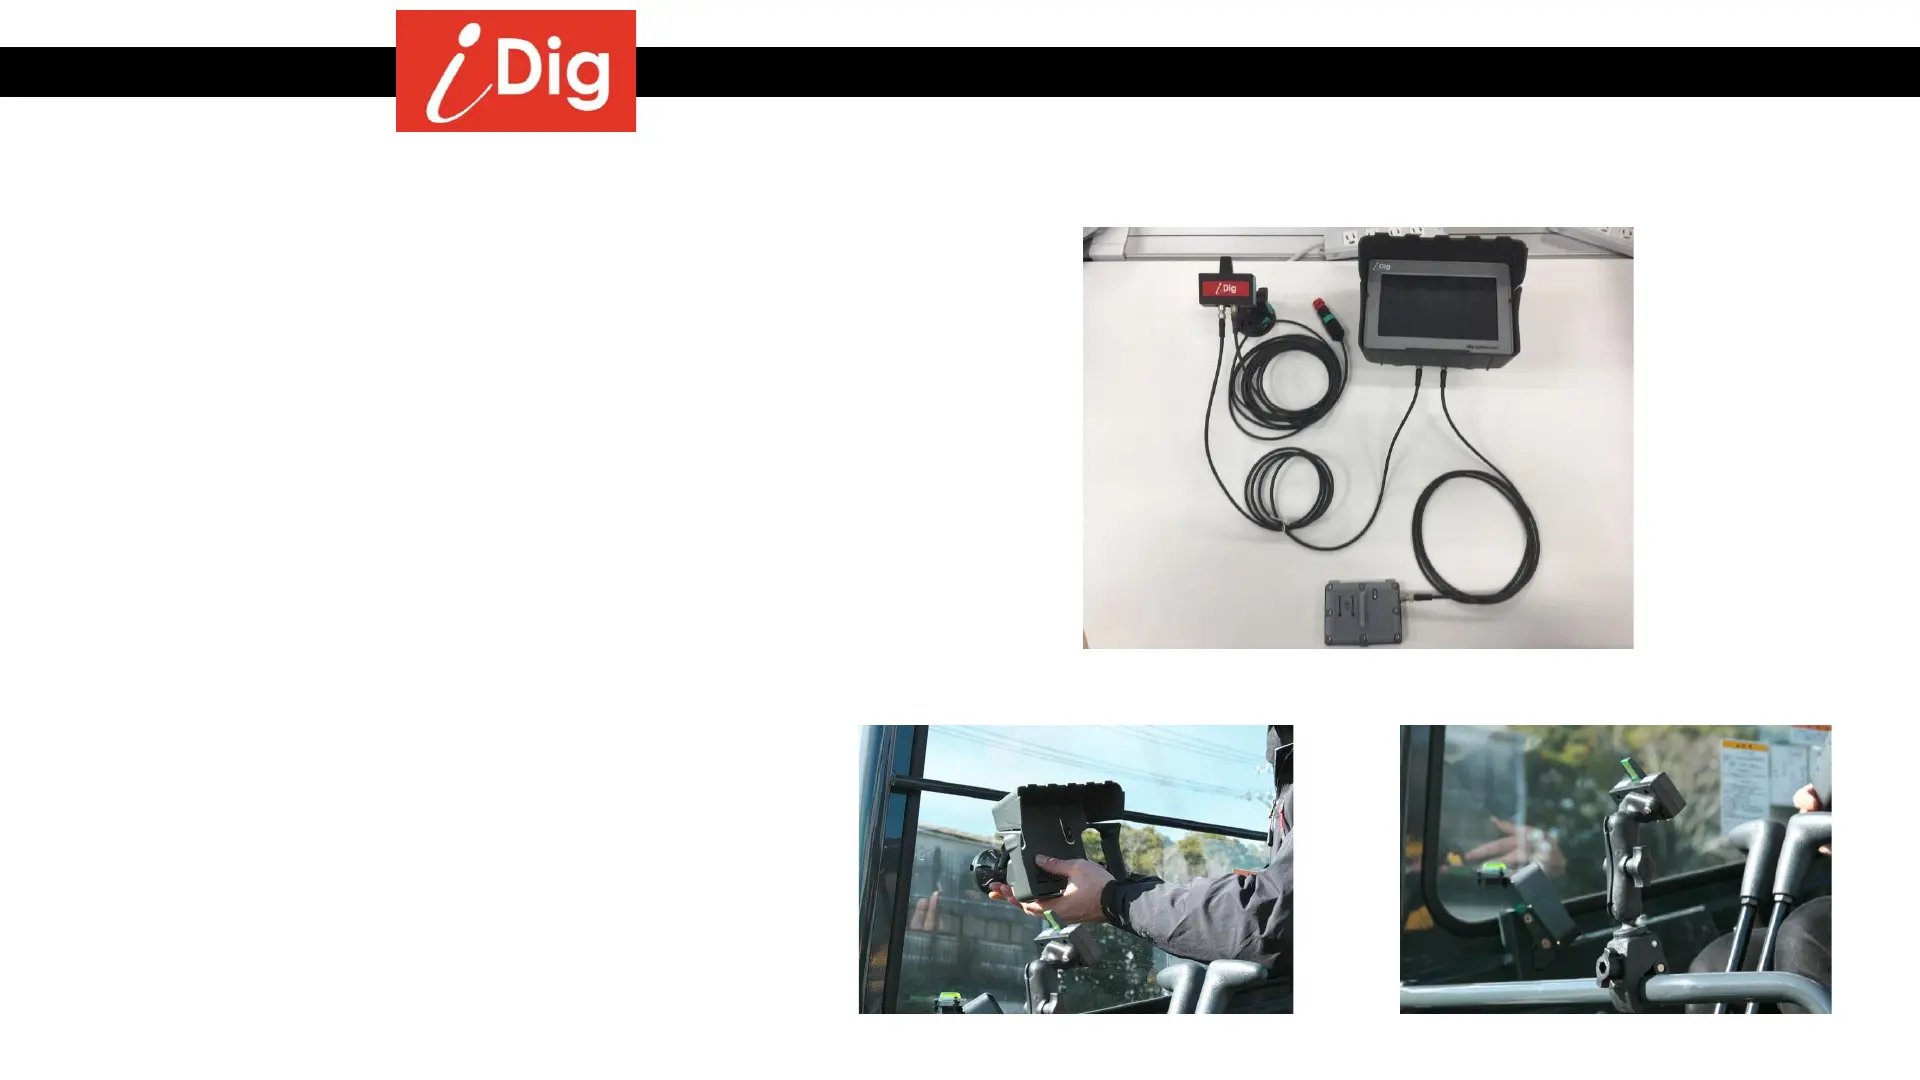
Hardware Installation
Step 1 – Installation of LED Display and Control Box
Machine needs to be powered OFF
• Before plugging in the cables, find suitable
locations to mount the LED Cradle and Control
Box Cradle
• The LED Display should be put on the front
window so that is in your field of vision of the
working area outside.
• If there is no window, you’ll need to use the
optional C Clamp to mount on the bar.
• The Control Box is usually mounted onto the
right hand side window and at a distance that
is comfortably reached by hand.
• Allow clearance for the front window to be
opened or slid up into the roof.
• Use window cleaner to clean both the glass
and the suction cup mounts to achieve good
adhesion.
• Attach cables to the LED and Control Box
Cradles. Secure the cables with conduit, cable
ties, etc.
• DO NOT PLUG IN POWER until AFTER the 2D
Sensor is installed.
Complete Cabling setup
Control Box Setup
Optional C Clamp
6