17
2.4 Finishing work
- Straighten the stroke drive.
- Once the bracing bubble is relieved, remove the cutter drive with hose and push rod
from the pipe
- Check pressure monitoring (the light must not flash for approx. 40 seconds)
- Insert the cutter drive into the auxiliary tube
- Allow the air motor with the cutter tool to run for another approx. 20 seconds in order to
blow out the residual water from the cutter motor
- Switch off the air motor and spray a small amount of biodegradable oil
(Ballistol – www.ballistol-shop.de) into the exhaust openings of the air motor, then
switch the air motor back on for just a moment (approx. 5 seconds)
- For longer periods of rest, remove the cutter motor and store it in a dry place
- Switch the compressor OFF (prior to switching the air motor OFF) so that the cutter is
completely depressurized
- Once the cutter motor has come to a stop, switch the air motor OFF (do not forget this
step, as otherwise there is a risk of injury during the next start-up)
- Clean cutter drive with camera, hose packet and push rod.
- Unscrew the push rod.
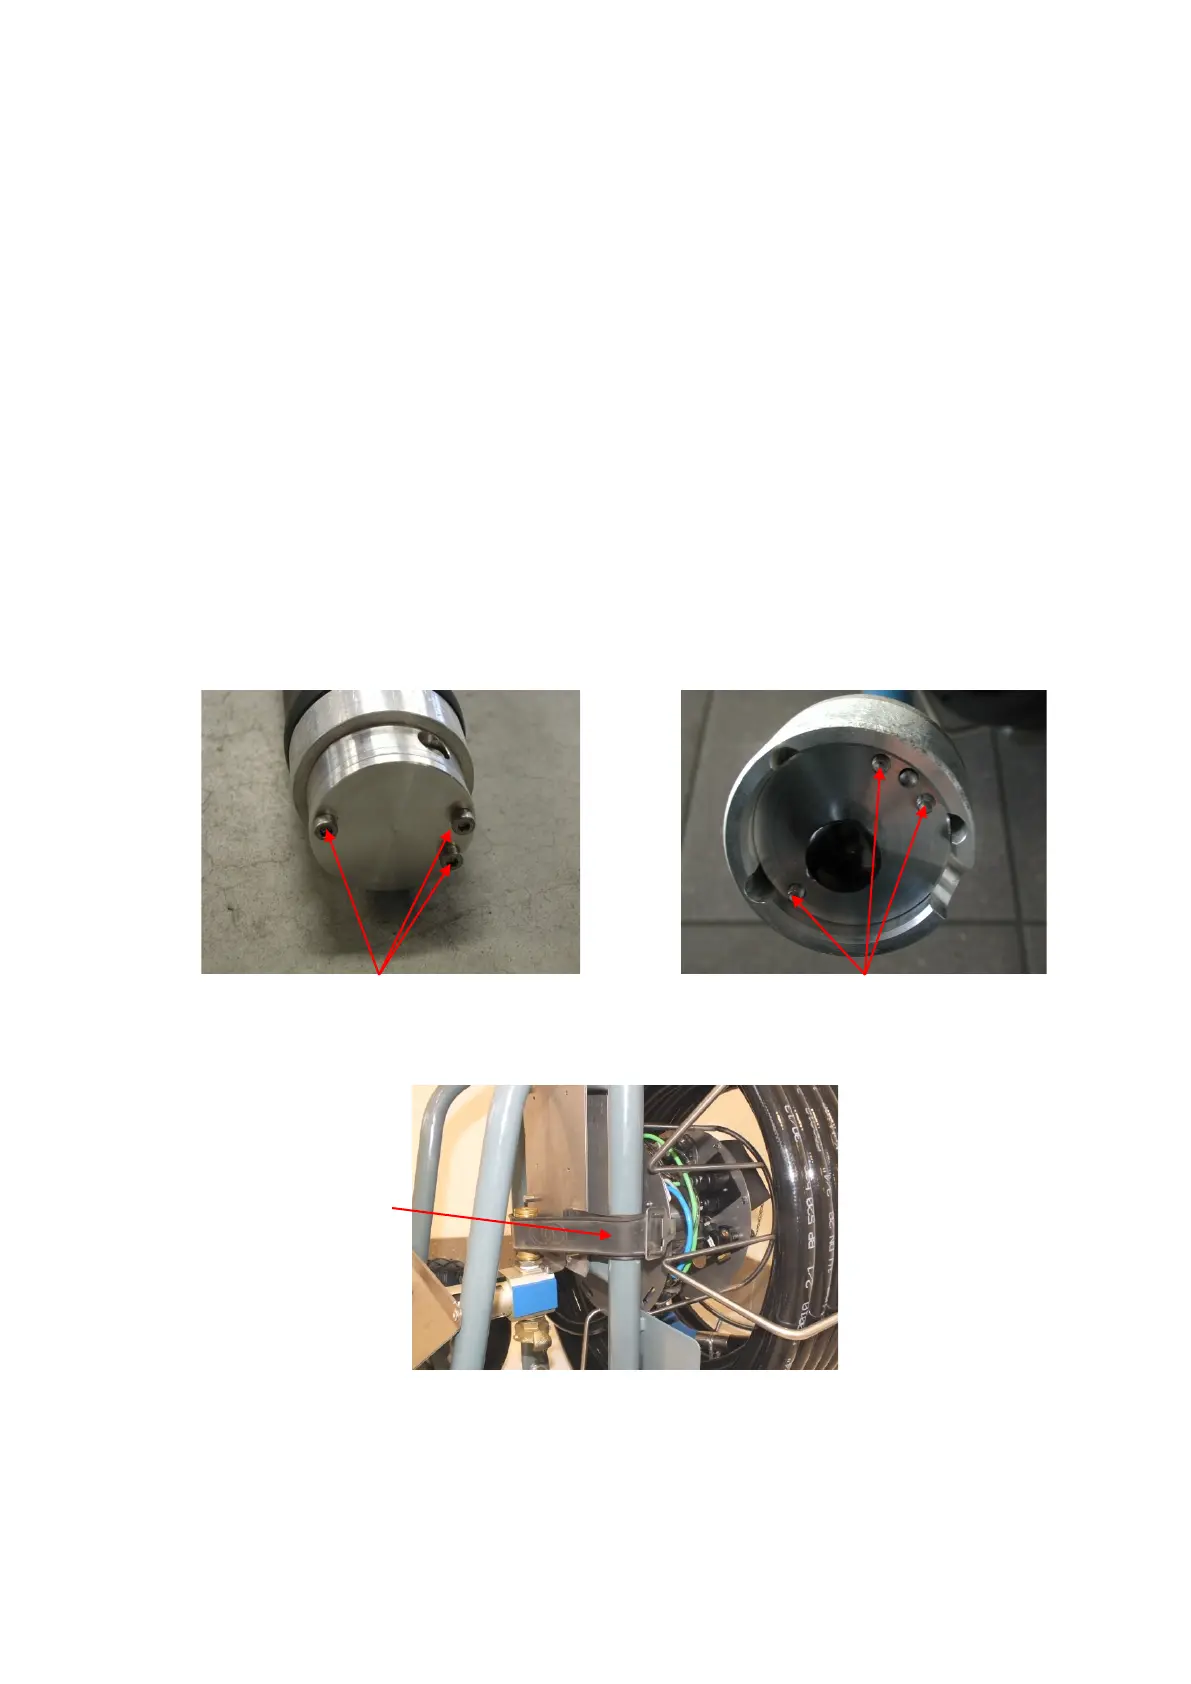
- Unscrew the cutter drive from the hose package (3 screws M5x45) and the couplings
from the cutter drive, secure the hose package with covering plates.
- Reel up the hose package and secure it with a rubber band against slipping, use
another rubber band to secure the reel against turning.
- Store rack and cutter drive well protected in the vehicle; do not buckle the bracing and
stroke bubble of the cutter drive
- Pack the control unit, power supply unit and accessories in the accessories case
- Protect the complete rack against being damage during transport