4-10 HLD5000 Settings (Menu Structure)
kina40e 04.fm technical handbook(1007)
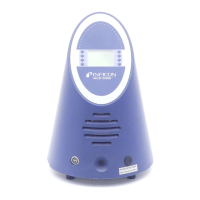
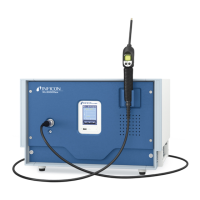
4.5.1 Checking the Calibration
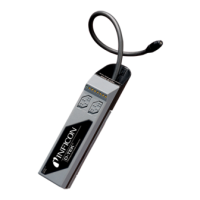
A calibration can be checked by inserting the probe tip into the calibration port
without depressing the button on the probe. A message will be displayed indicating
whether or not the calibration is still OK (refer also to Chapter 4.1.4, manual
calibration).
On the leak rate display, two LEDs to the left and right of the 100% mark will flash. If
the measured value is outside this mark, a recalibration will be required. The
currently measured value is indicated by two moving LEDs just like during the
calibration process. Moreover, the calibration status is indicated on the display.
A recalibration can be started immediately by pressing the button, and the probe tip
does not have to be removed from the calibration port.
If a recalibration is required, this is indicated on the display and by an audible tone.
During the check, the probe must be held still and straight.
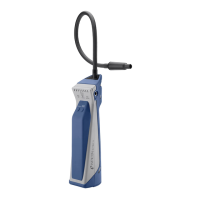
4.5.2 Calibrating the HLD5000
with the COOL-Check
To calibrate the HLD5000, press the button on the probe and insert the sniffer tip into
the calibration port at the front of the main unit. The HLD5000 will then start the
calibration process automatically. During the calibration process it is not necessary
to keep the button on the probe pressed. The individual phases of the calibration
process are indicated on the display which also informs the user about a successful
calibration.
Notice During the calibration process, the probe must be held still and straight,
otherwise no calibration will be possible.
Notice During the calibration, the opening for the calibrated leak should not be
exposed to strong air flows (from air-conditioning units, for example).
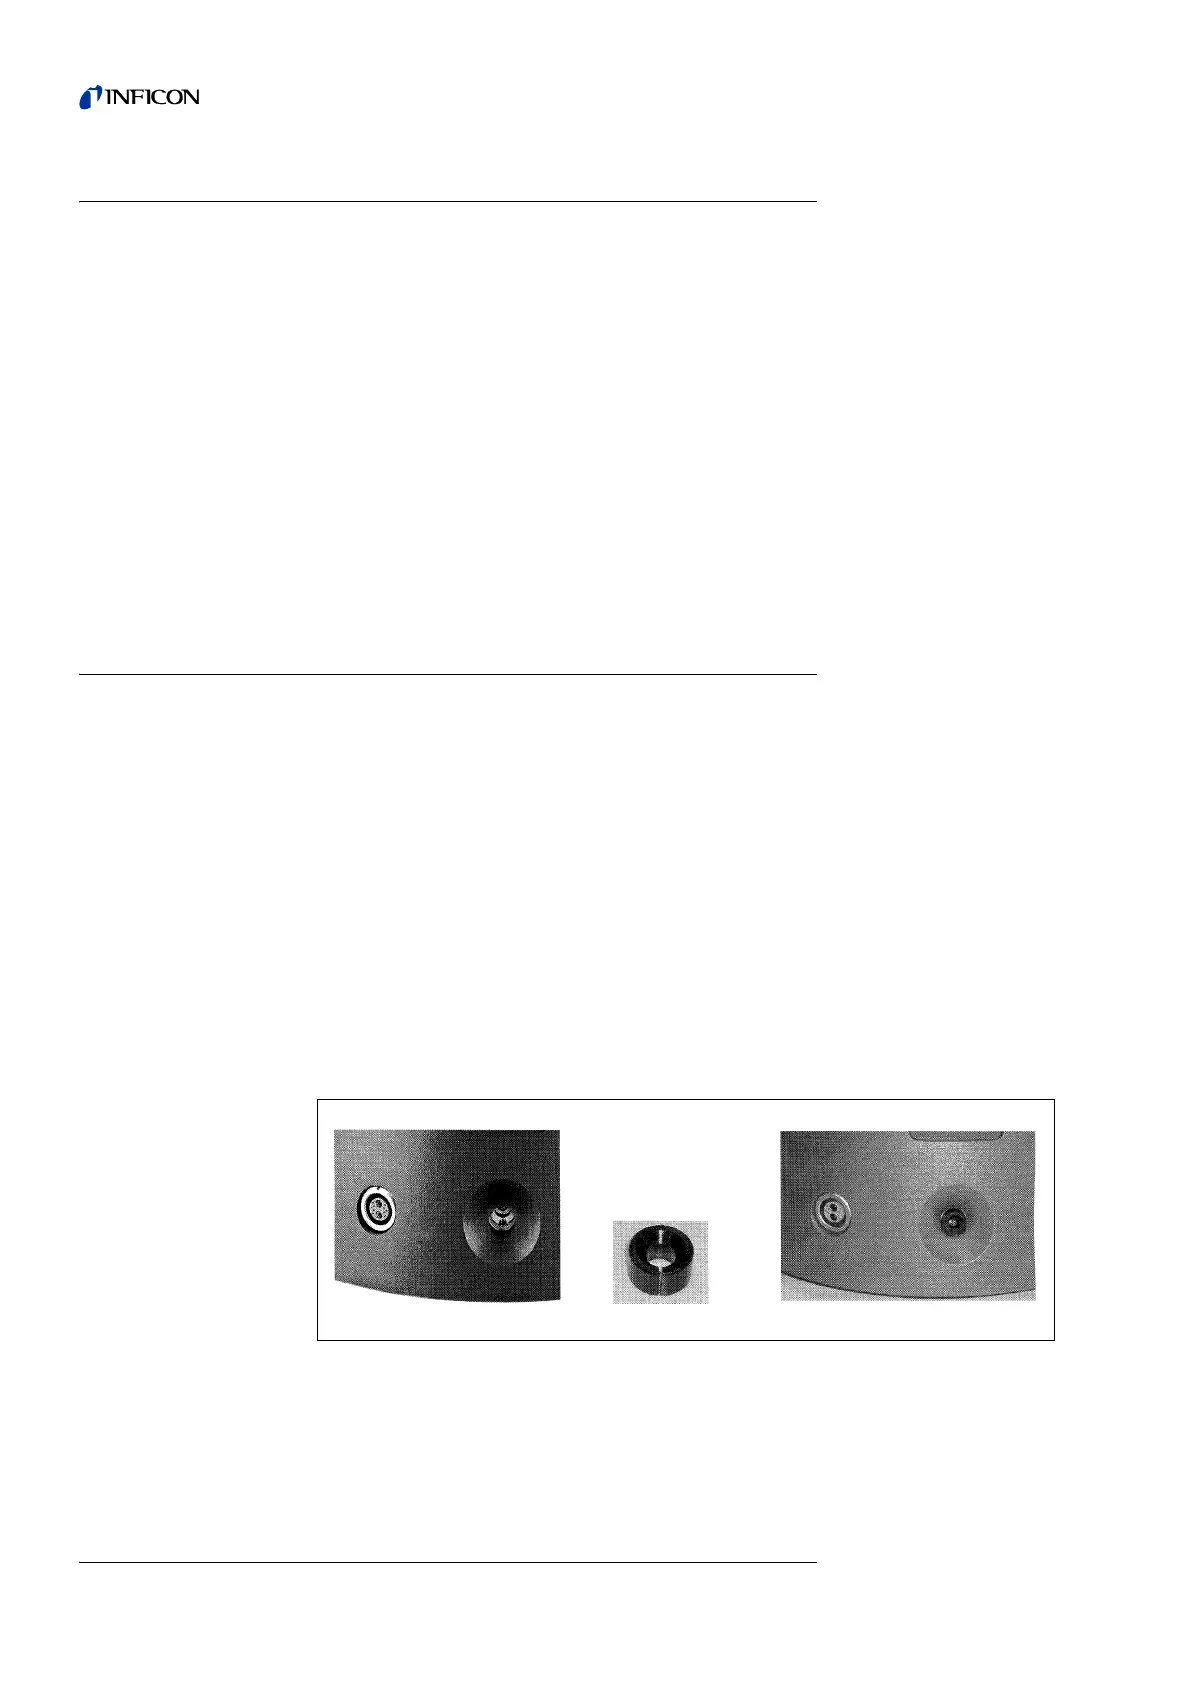
Notice When performing the calibration using the extension tip Cat. No. 511-020
the insert should be used in the opening of the calibrated leak so as to
ensure that the tip is properly centered in the opening.
Fig. 4-2 Opening at the calibration port