Operating the HLD5000 3-1
kina40e 03.fm technical handbook(1007)
3 Operating the HLD5000
3.1 Start-up
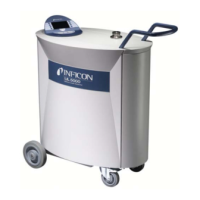
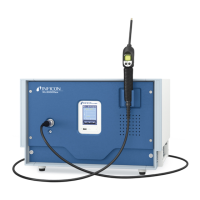
Put the HLD5000 in place (see also chapter wall installation), connect the sniffer line
and the mains cord.
Notice In the default setting the serial numbers of the main unit and the probe has
to match.
Press the mains switch (Fig. 3-2/6) to switch on the HLD5000. The HLD5000 will take
about 30 seconds to warm up as indicated by the display.
In the default setting, the HLD5000 uses English menu text. To switch to another
language press the keys
PROGRAMM, OPTIONS AND LANGUAGE. Press the button for
the chosen language and confirm with “OK”.
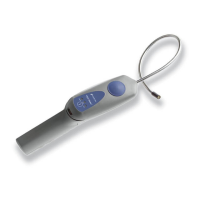
After the warm-up phase of the HLD5000, an audible signal is produced and the leak
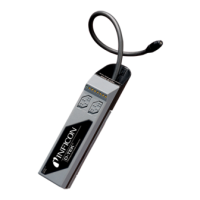
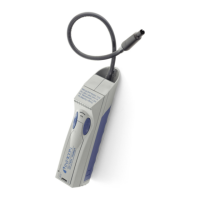
detector will be ready to make measurements. The green LED (Fig. 3-3/2) in the
probe indicates that the HLD5000 is ready to make measurements. The type of gas
to which the HLD5000 has been programmed as well as the unit of measurement for
the leak rate (factory default: g/a) is indicated on the display (Fig. 3-2/4). Moreover,
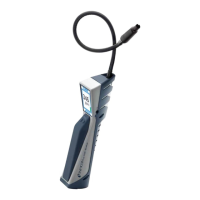
the type of probe (detectable gas) to which the HLD5000 has been set up is indicated
on the sticker on the probe.
The main unit is usable for all refrigerants, the detectable refrigerant is determined
by the probe.
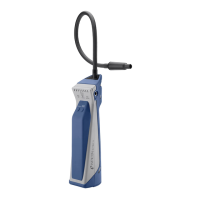
The HLD5000 will only operate after having connected the sniffer line first.
Do not place the HLD5000 on hot surfaces.
During warm-up the sniffer tip must not be inserted in the test leak opening.
Otherwise, the internal calibration will be disabled and an error message will be
displayed.