6. Check the test chart and find out the best aligned group for each printhead; enter the value into the numeric
up and down boxes in the Original to End Alignment dialogue.
Note: The value to enter to the dialog field should always be added to the value that is already in the field.
For instance if the Value that is already in the M = 2, if the reading from the printed pattern gives –1 as the
best value then M = 2 –1
which gives M = 1.
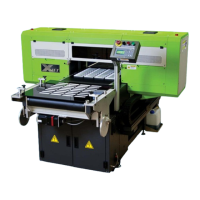
7. Click the button Next in the bottom of the dialogue; the Bi-direction dialogue shows up:
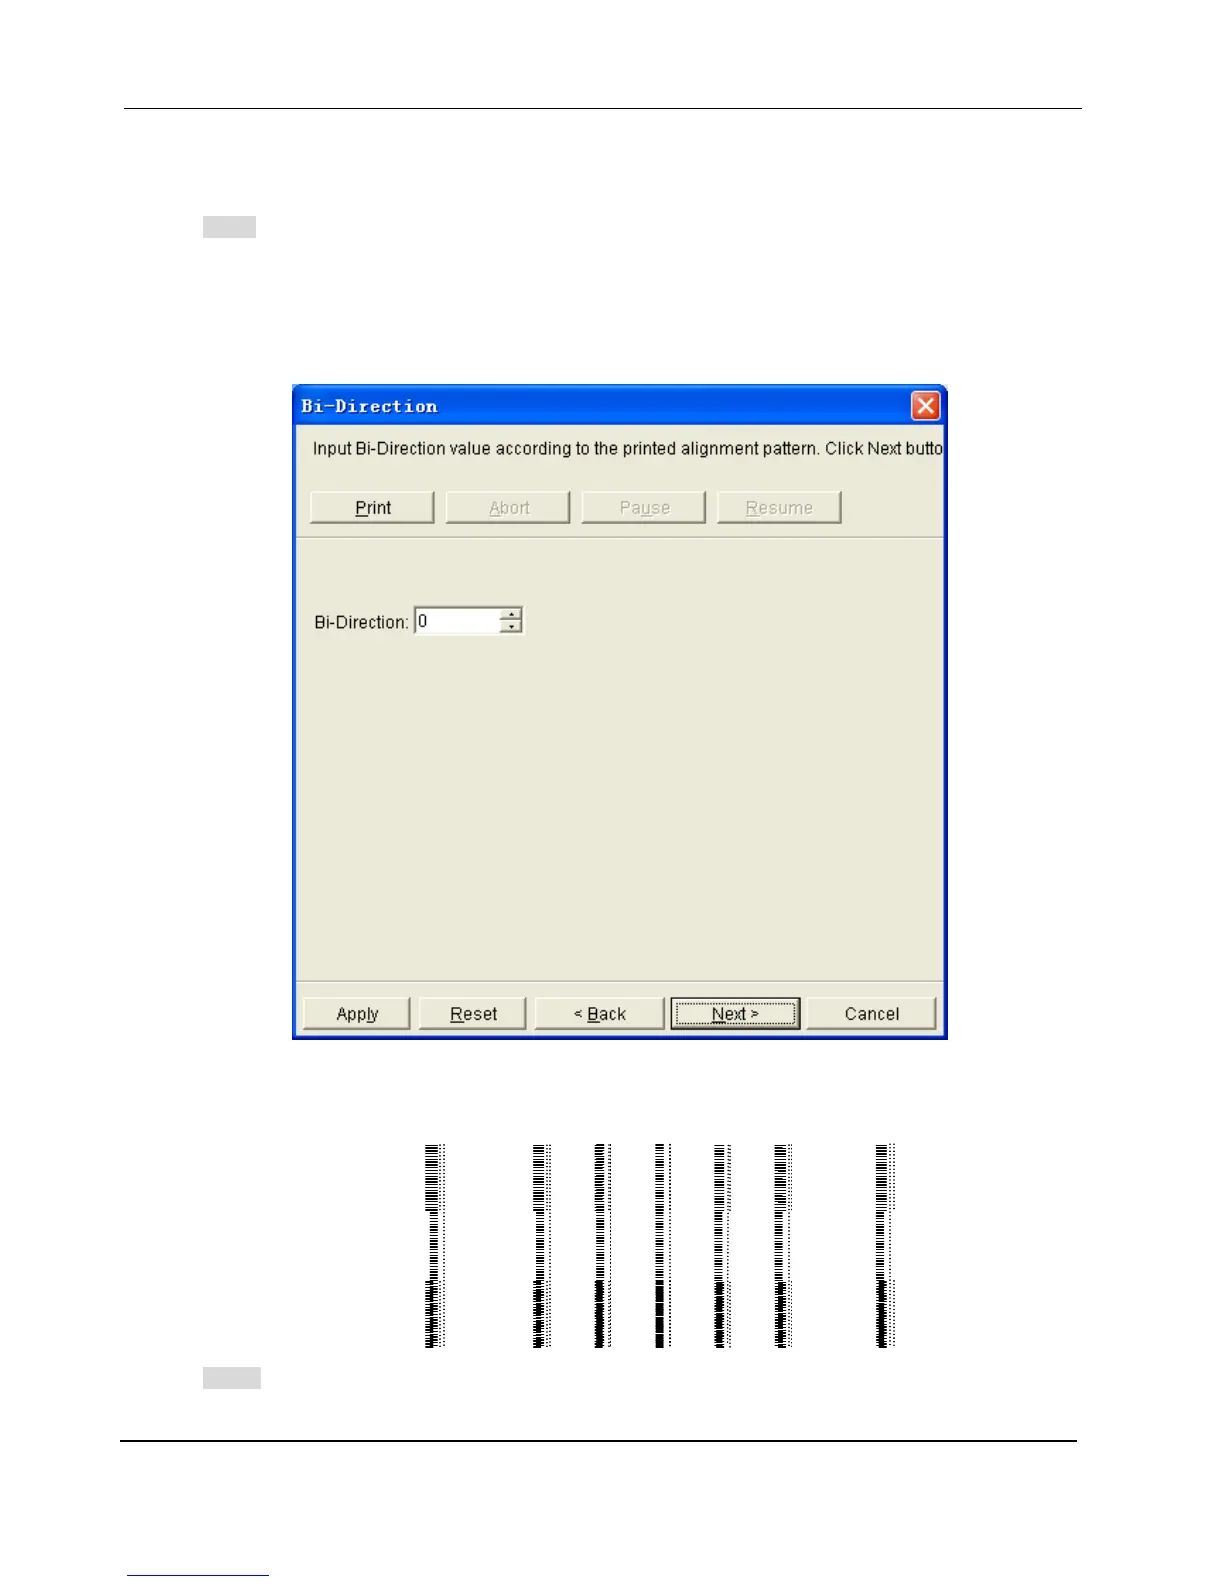
8. Click the Print button, the test chart for Bi-direction Alignment will be printed, the following image is part of
it:
Note:
G1C1D0
20 … 2 1 0 -1 -2 … -20