16
Version 2.02 December-2002
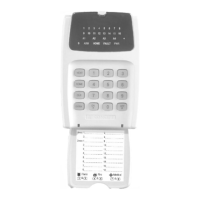
Press the Area number for each Area that is to be Assigned or Un-assigned to this User..
OPTIONS: 0 All Areas De-selected.
1 General Area (Single Area Mode) or Area 1 (Multi-Area Mode) selected.
2 Area 2 selected
3 Area 3 selected
4 Area 4 selected
When the required Areas have been Selected and/or De-selected, press .
e.g. If Area 1 and Area 3 are to be assigned to the User; (And no Areas are currently assigned)
Press 1, 3, <ENTER>.
3 beeps will sound to confirm the new Area assignment data has been programmed.
6. Assign the User Type.
The <A3> Lamp will flash to indicate the system is ready for User Type selection.
The corresponding Zone Lamp (0 to 7) will indicate the User Type selected.
Select the new User Type number .
USER TYPE: 0 Arm only Can only Arm the system.
1 Patrol Can Arm / Can Disarm only after an alarm.
2 Arm/Dis-arm Can Arm and Dis-arm the system.
3 Defer Arm Only Can only perform Timed Disarm.
4 User Auxiliary A Can only Toggle User Auxiliary A On and Off.
5 User Auxiliary B Can only Toggle User Auxiliary B On and Off.
6 Arm/Dis-arm/Isolate Can Arm/Dis-arm the system and Isolate Zones.
7 Master Can perform all operations above & Master User Operations.
3 very short beeps will sound to indicate that the entry is accepted and the new User Type number
will be displayed on the Zone Lamps.
To confirm the selection; Press .
A chirp will sound to confirm the new User Type has been programmed and the system will
automatically advance to the next User number.
7. Add / Change another User or Exit User Programming.
To program or change the next User number simply repeat Steps 3 to 6.
To select another User number to program or change, go back to Step 2.
To exit User Programming; Press .